Chapter 1: A Day in the Life of a New Developer
Your First Steps to Your Digital Kingdom
-
Imagine this: You’re a new developer starting onboarding with your organization, your spirit burning bright with great desire to craft and create.
-
The keys to your new digital kingdom, your laptop and access credentials, have just been handed over to you.
-
Amid the excitement, you discover a welcome email in your inbox, with a link to access the Red Hat Developer Hub (RHDH), your organization’s Internal Developer Portal (IDP).
-
Included in the welcome email are some useful links to provide more details on the technologies you’ll be engaging with in your new role.
-
"It looks like this handy glossary is going to be a useful companion through my journey," you think to yourself.
-
With these resources at your fingertips, you’re now ready to start working on your new project.
| Throughout this guide, you’ll find links to a glossary explaining terms that might be unfamiliar. Feel free to explore the glossary to learn more about the concepts and technologies referred to throughout this guide. |
Logging into Red Hat Developer Hub (RHDH)
-
Eager to check out the RHDH, you quickly follow the instructions from your welcome email.
-
You use this URL to log into RHDH.
-
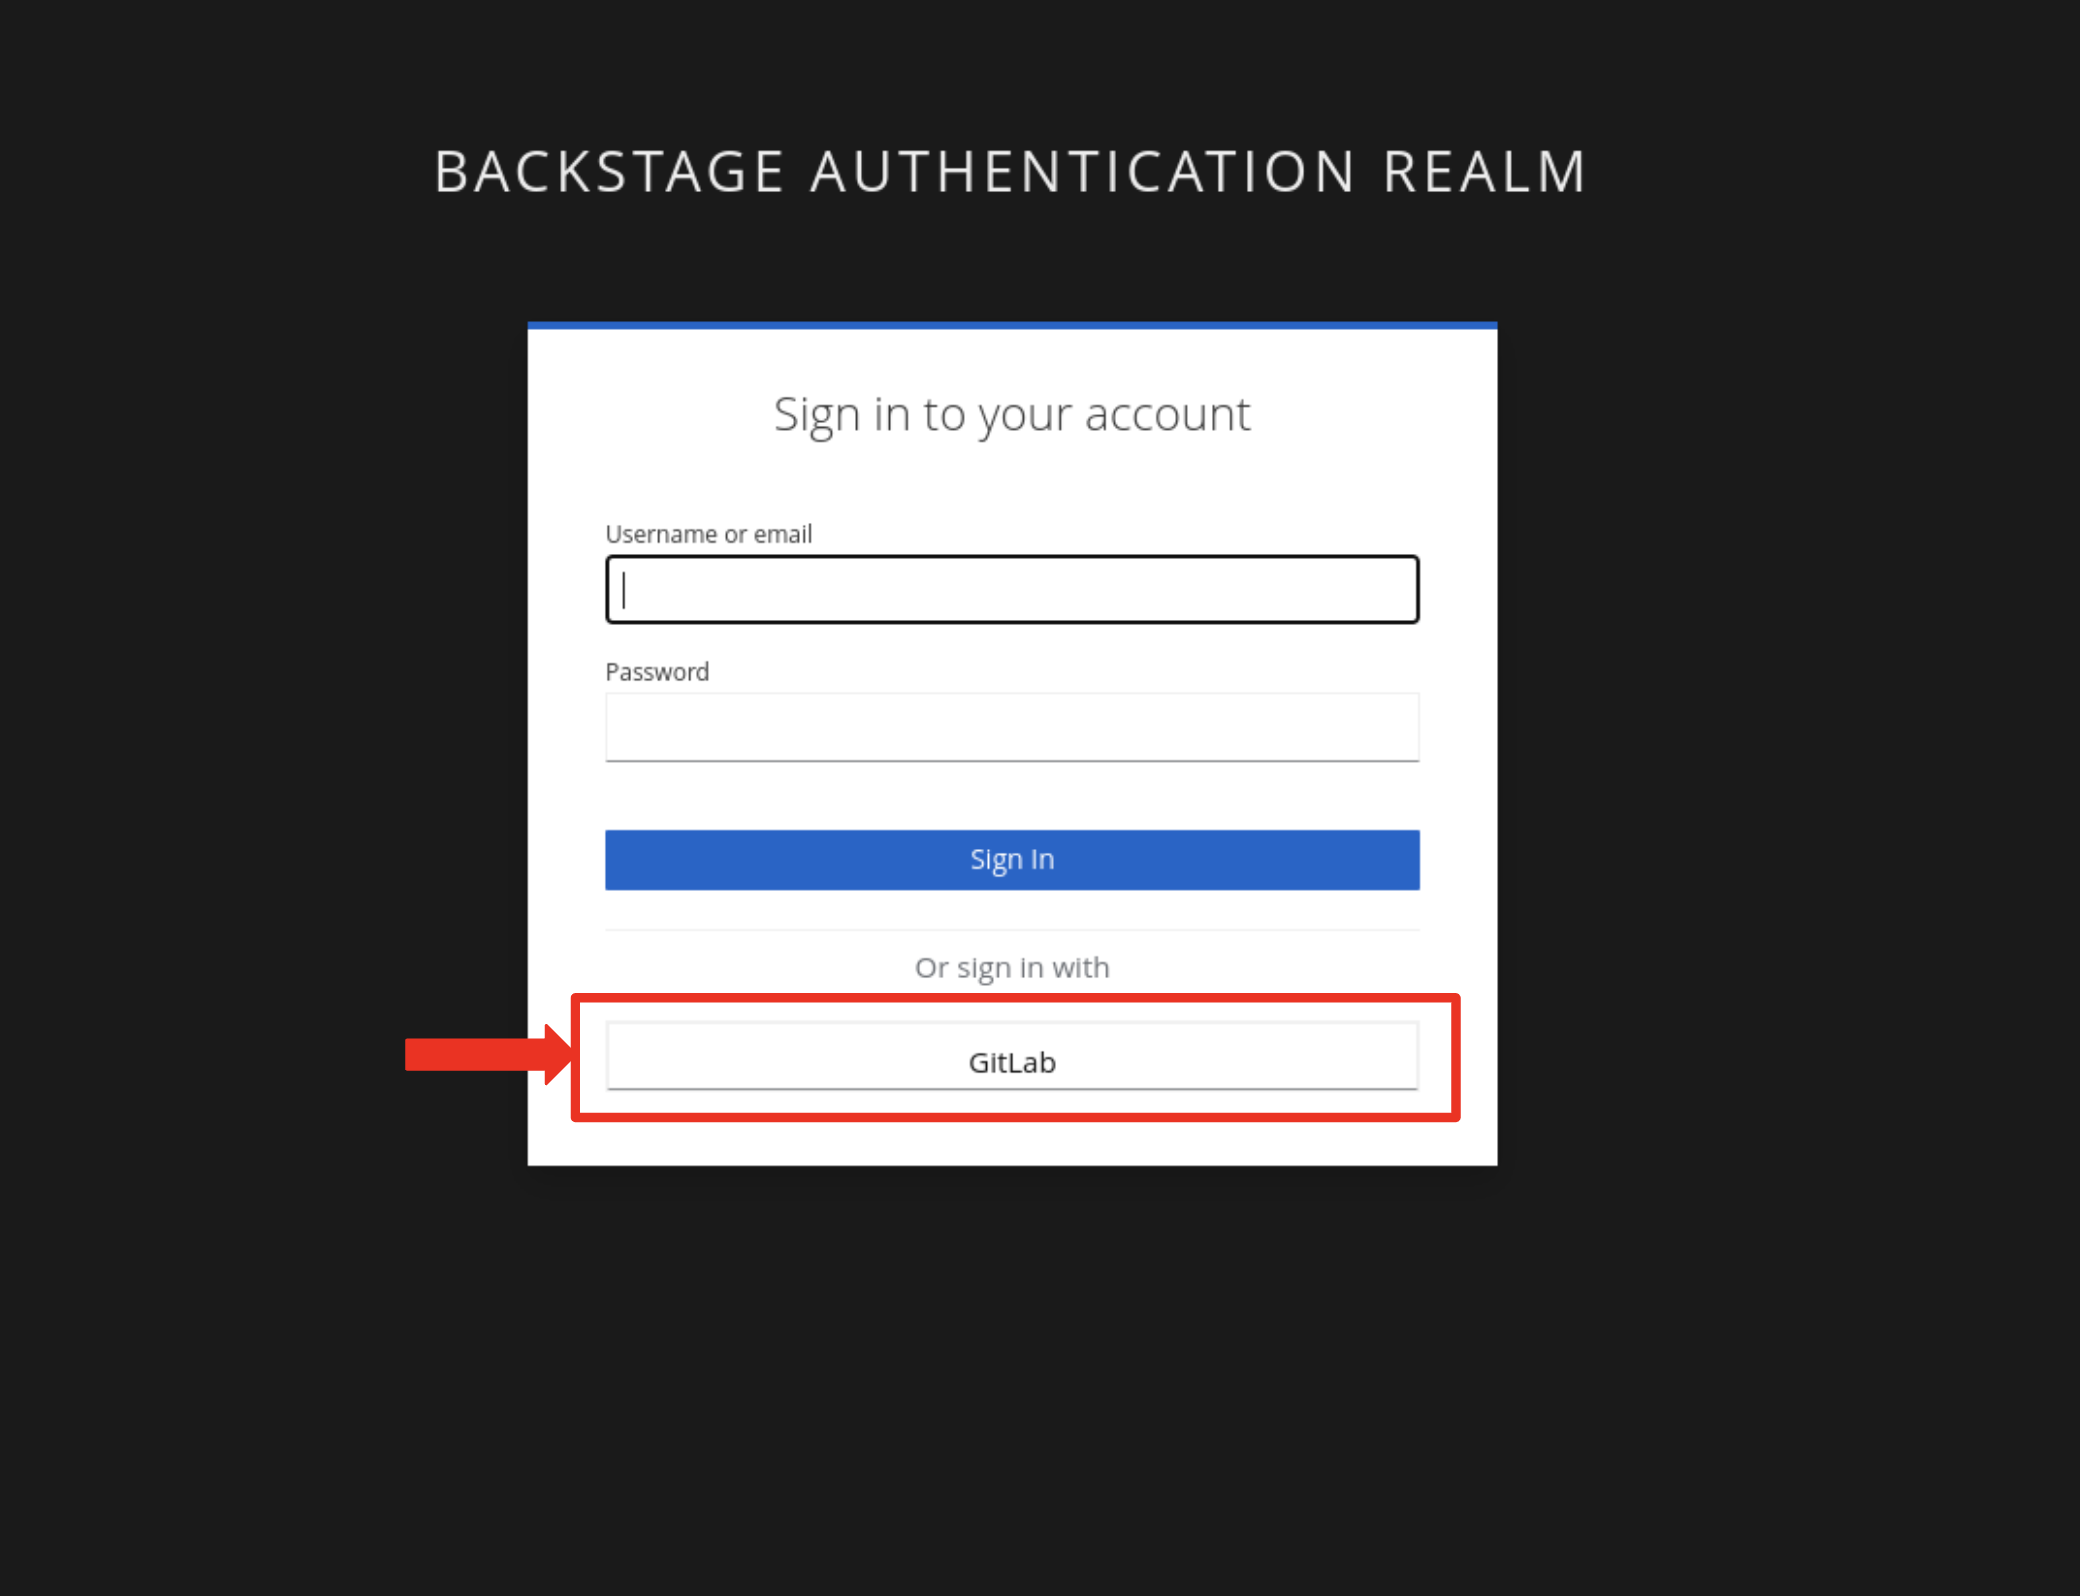
Next, you click on the GitLab button to start the authentication process.
-
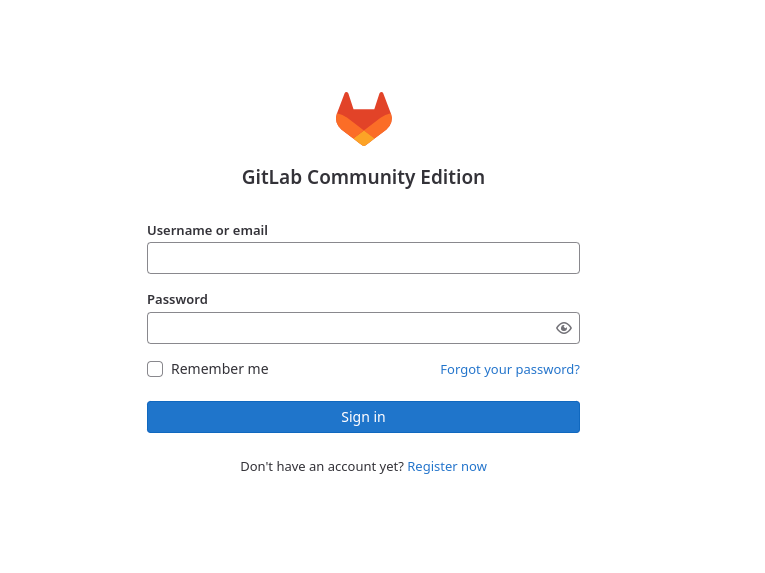
Now, it’s time to enter your username and password as detailed below:
-
Username: {developer_cluster_rhdh_user}
-
Password: {developer_cluster_rhdh_user_password}
-
-
After inputting your credentials, you click the Sign in button.
-
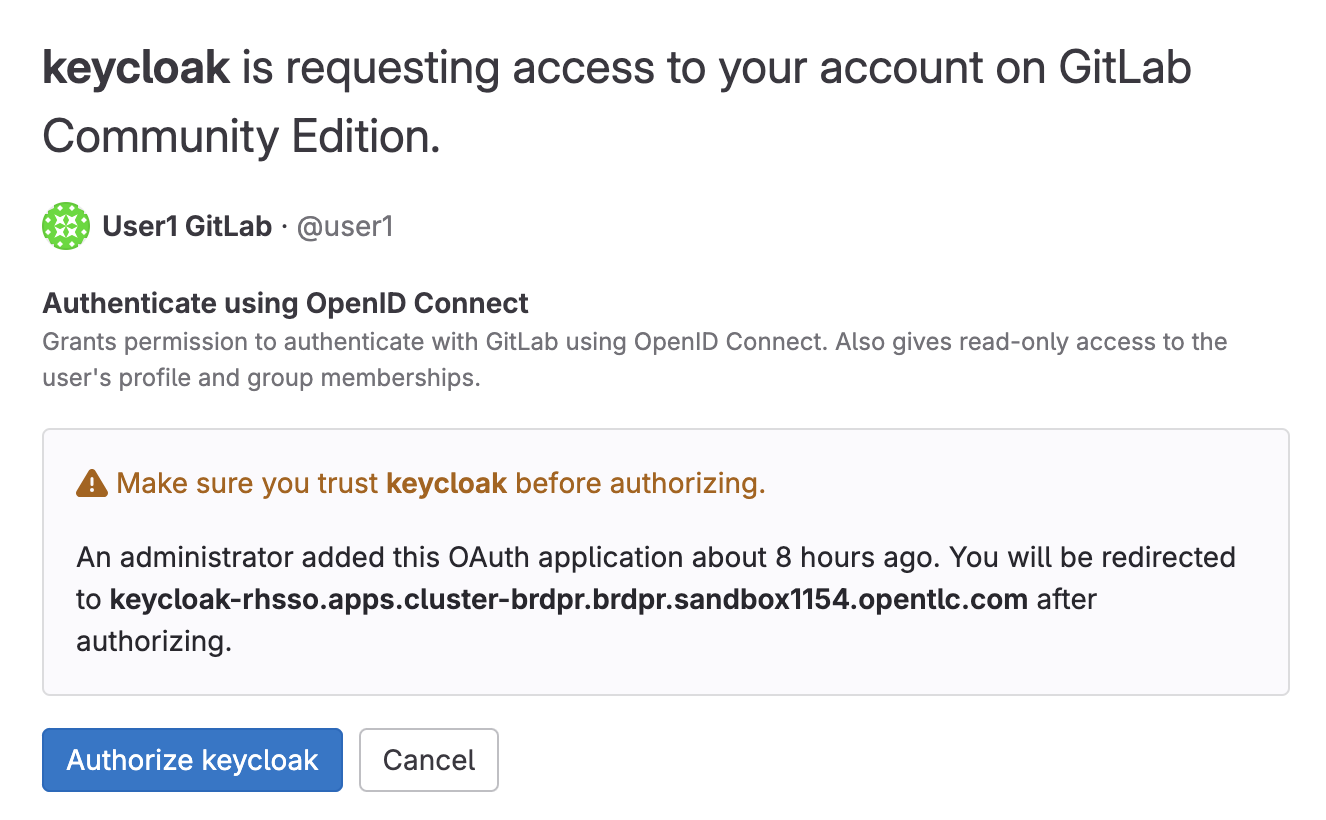
You then click on the Authorize keycloak button to authorize Keycloak to access you account.
-
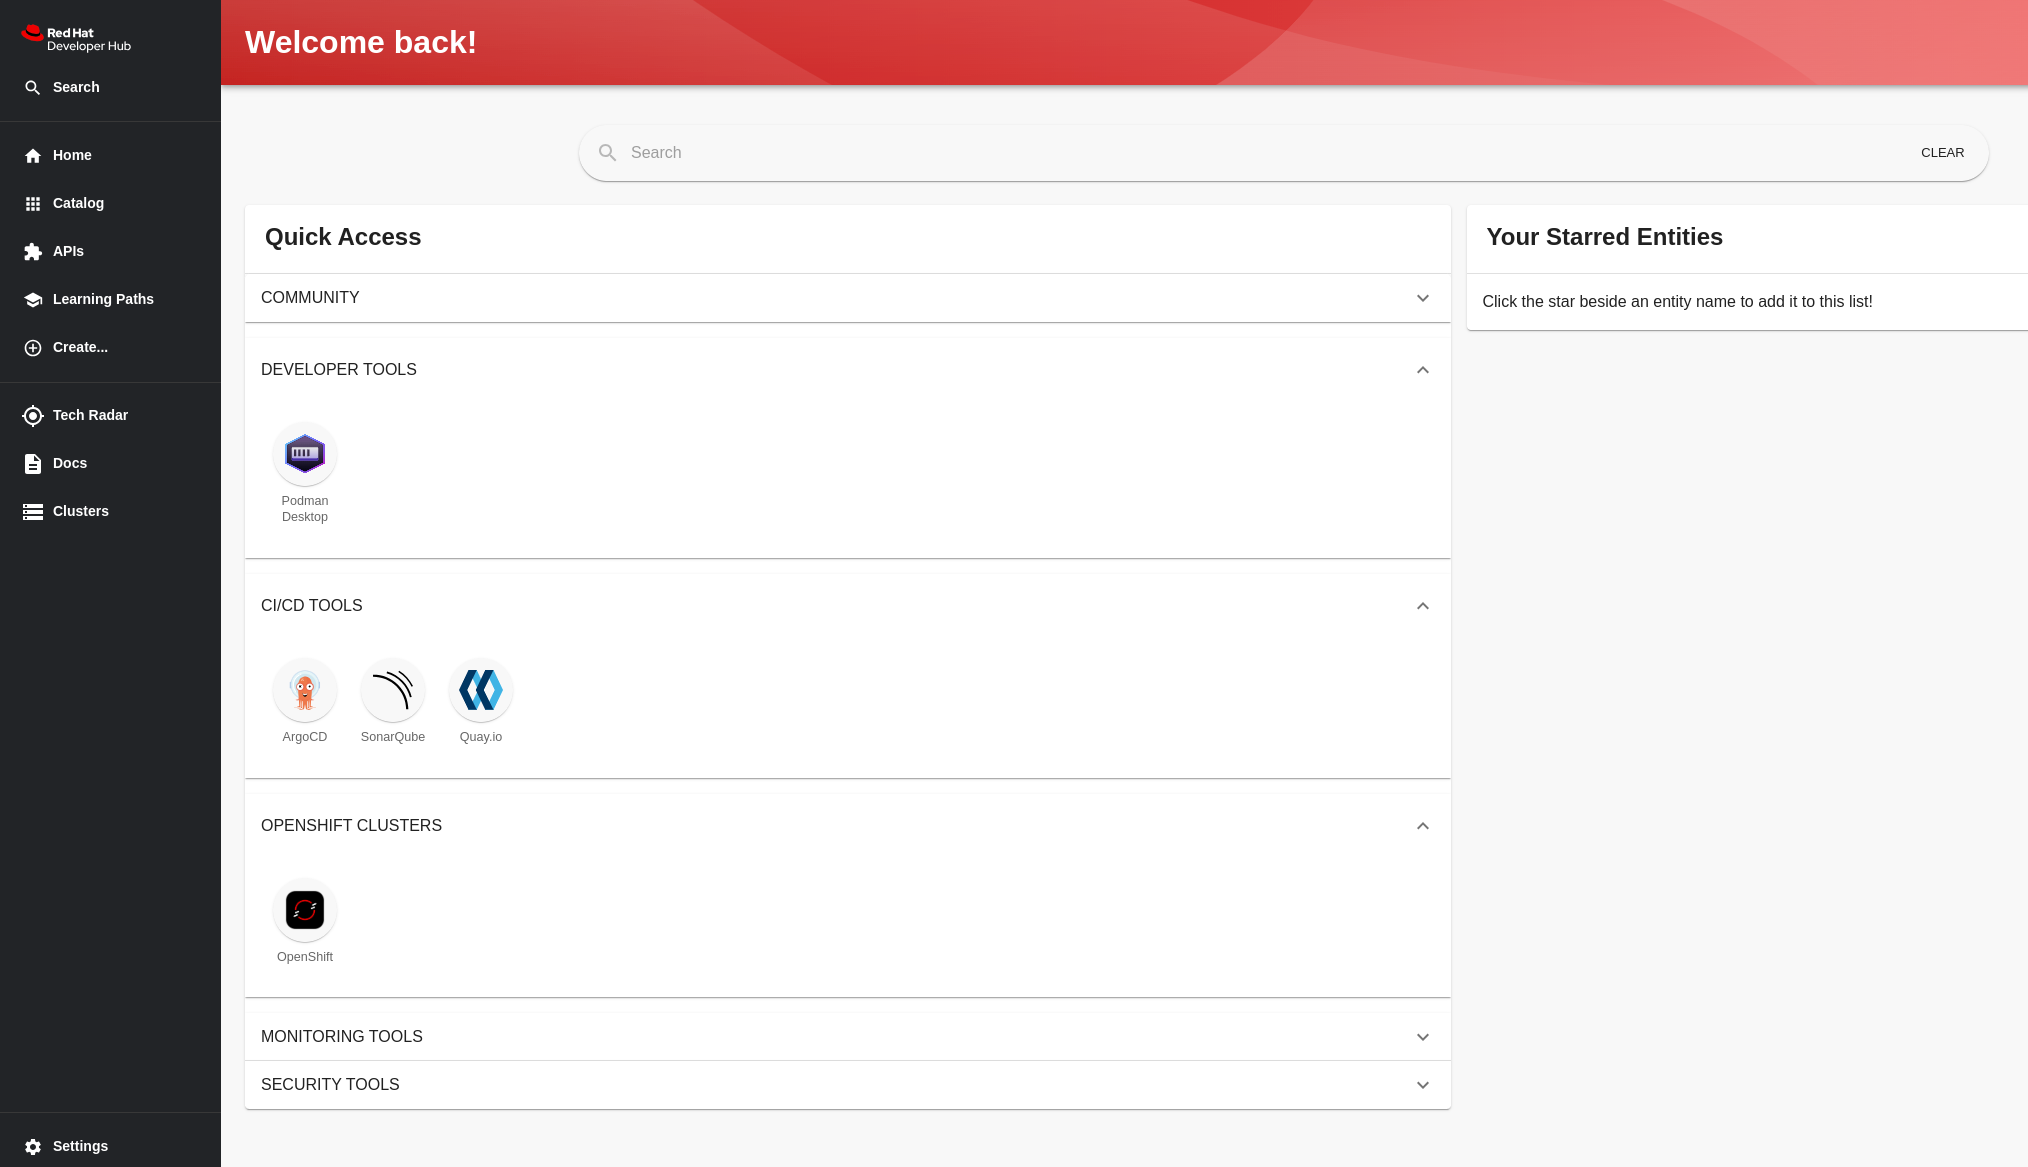
Moments later, you’re welcomed by the RHDH landing page.
Running your first Golden Path Template (GPT)
-
Eager as you are, you immediately want to explore the Golden Path Templates (GPT) you’ve heard so much about from your colleagues.
-
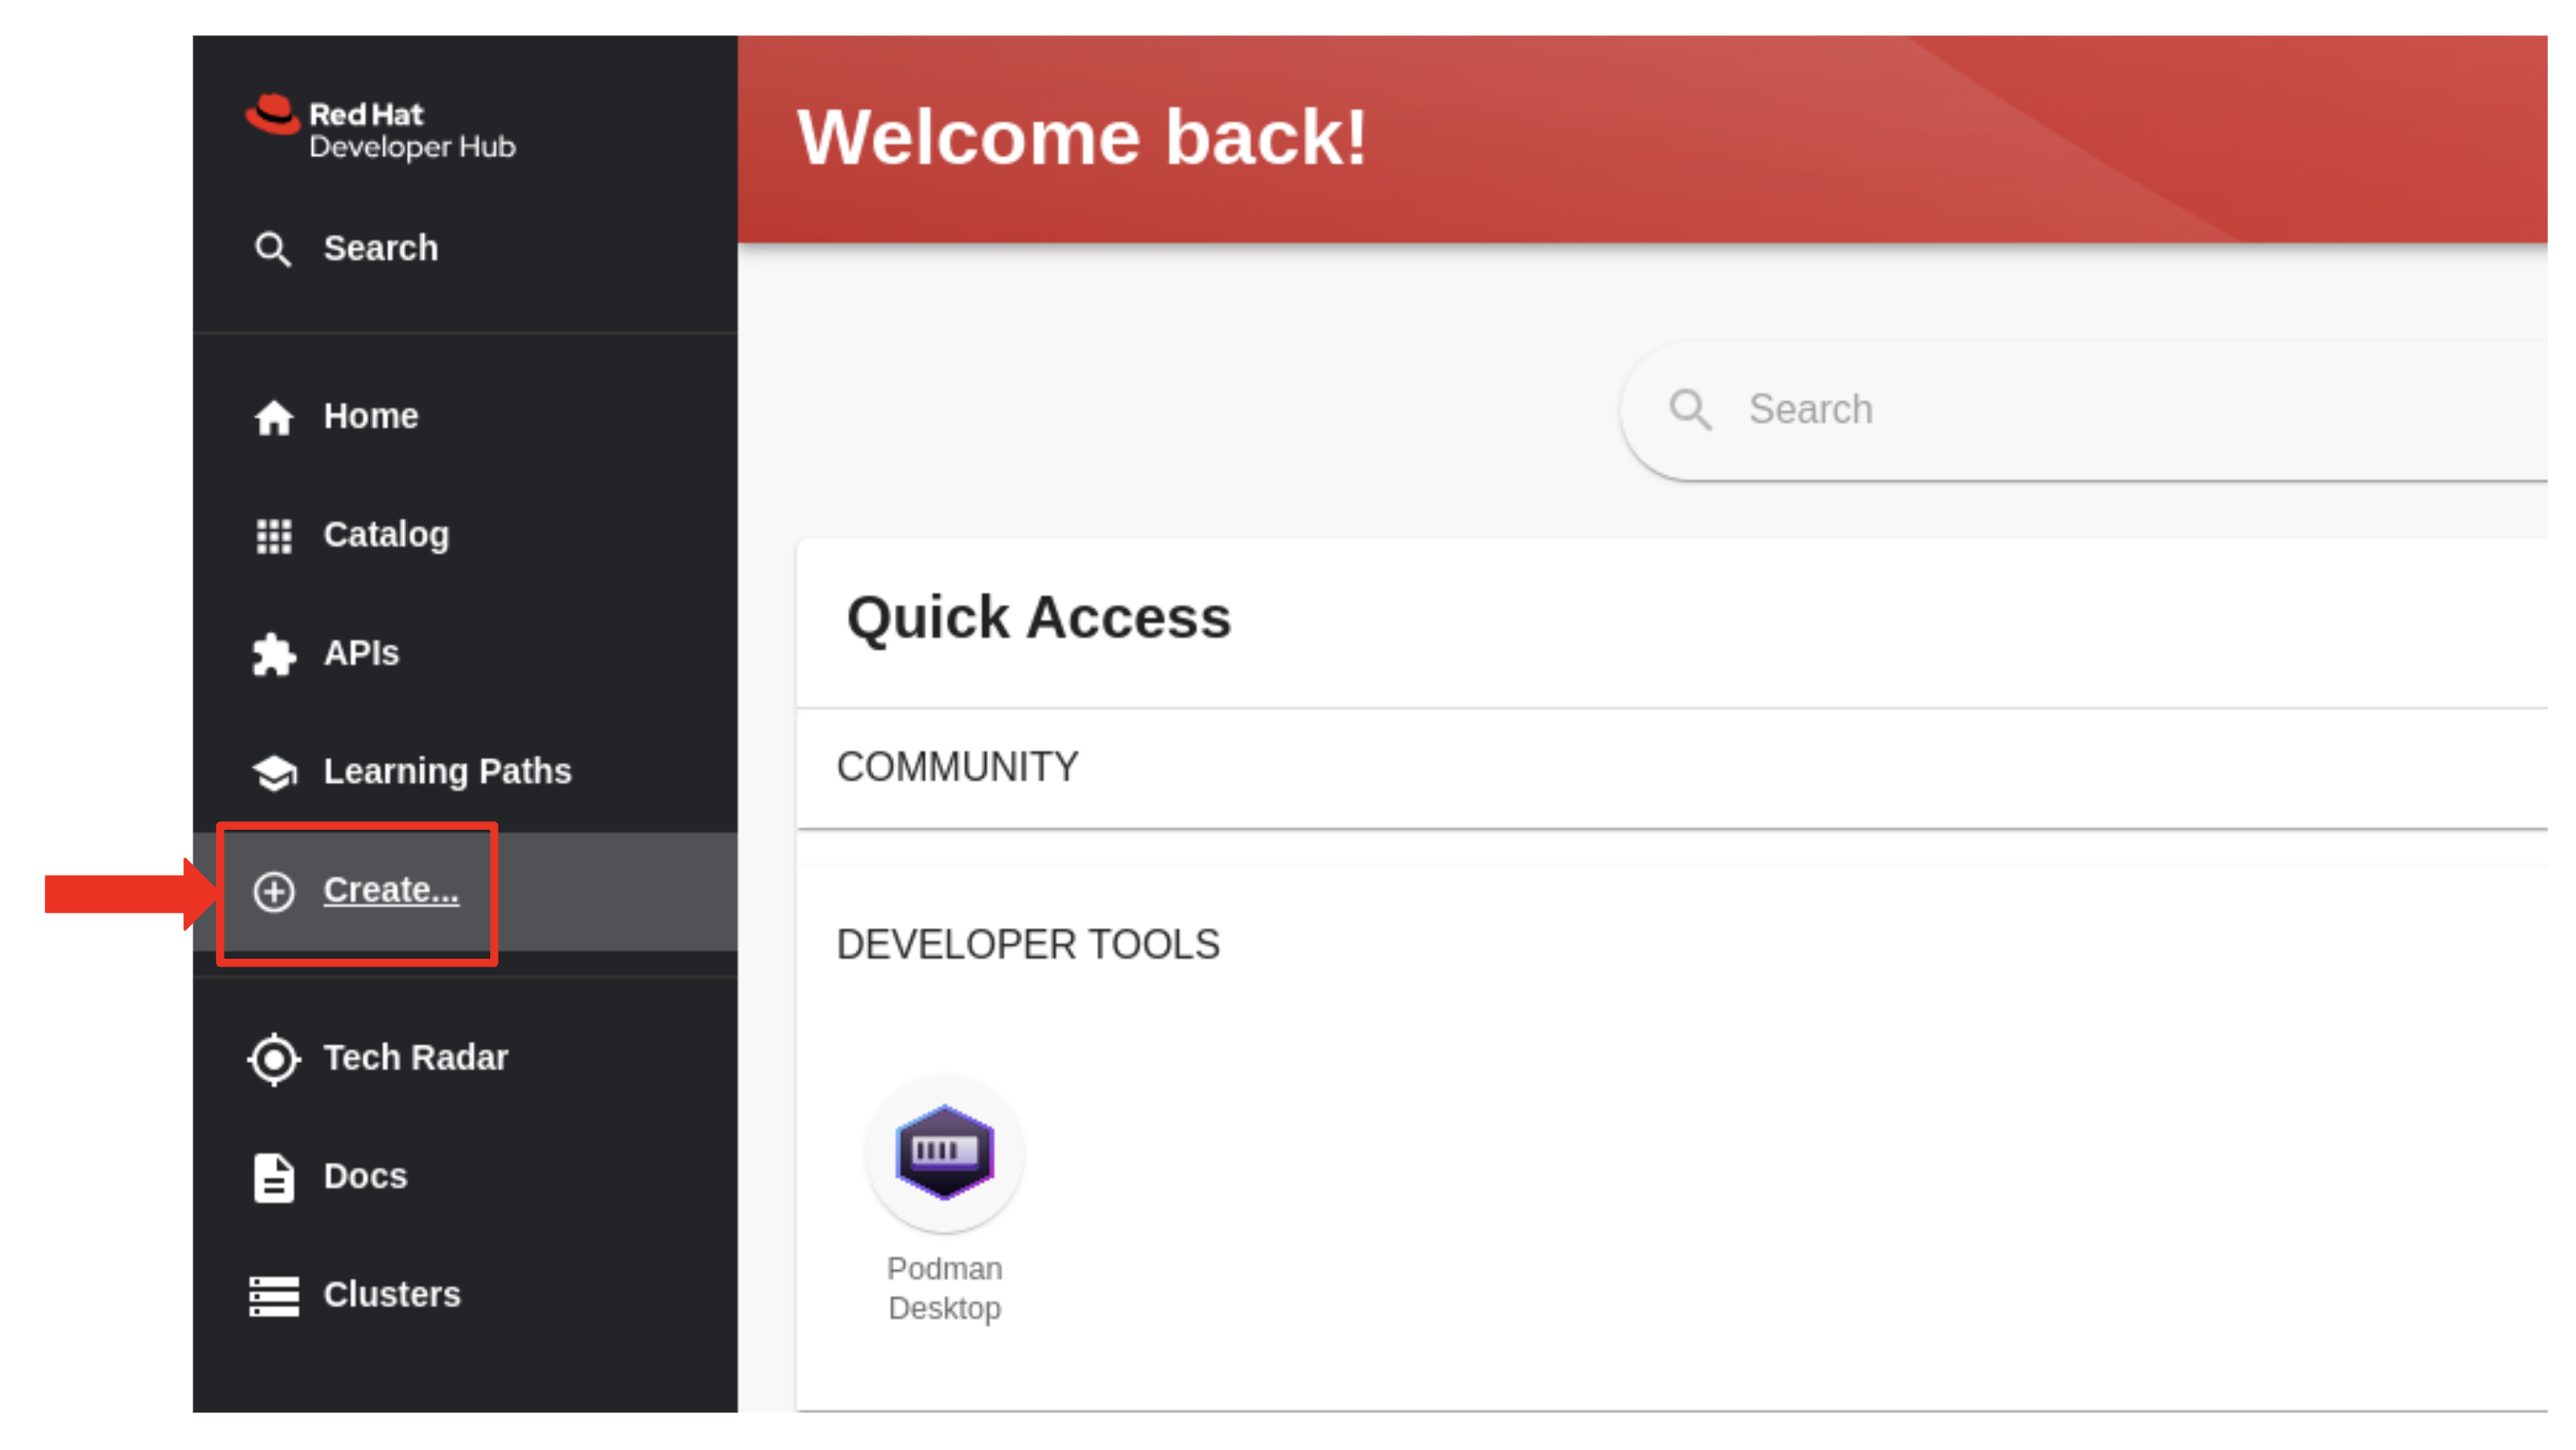
You find and click the Create link in the left menu.
-
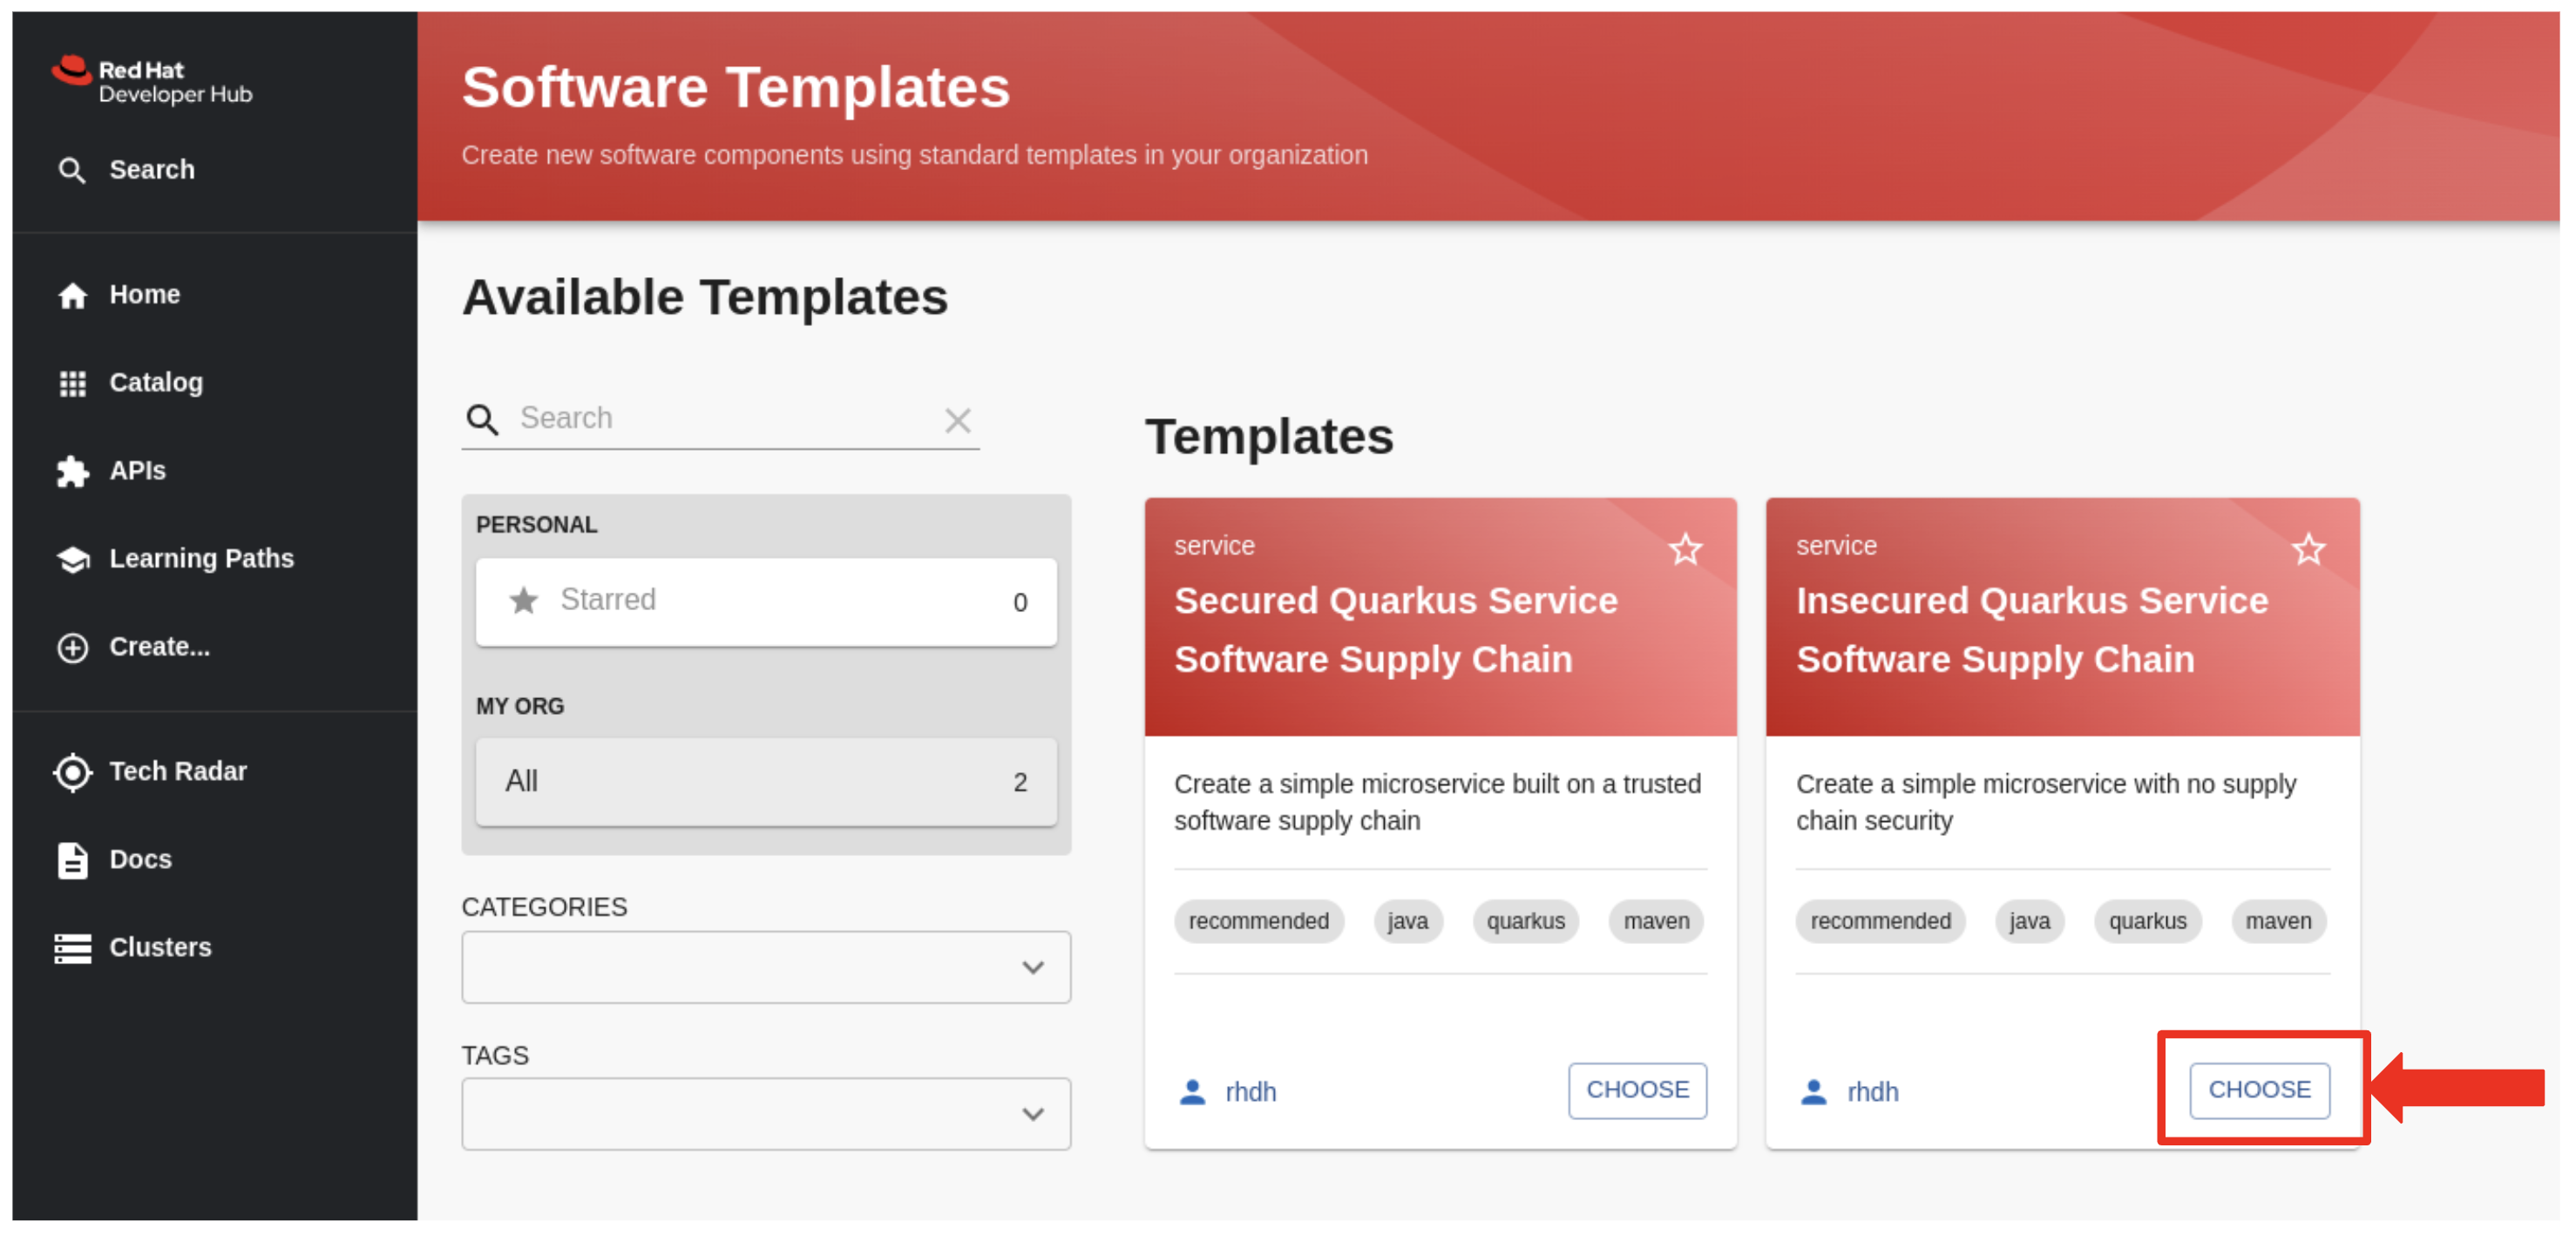
Among the options, you spot the GPT titled Insecured Quarkus Service Software Supply Chain
-
Feeling a mix of excitement and curiosity, you click the Choose button.
| This lab has been pre-configured with two Golden Path Templates (GPTs), a non-secure GPT and a secure GPT. However, lets pretend that our developer only sees the insecure GPT at this point and the naming of the GPT does not hint at the forthcoming challenges associated with running an insecure software supply pipeline. |
-
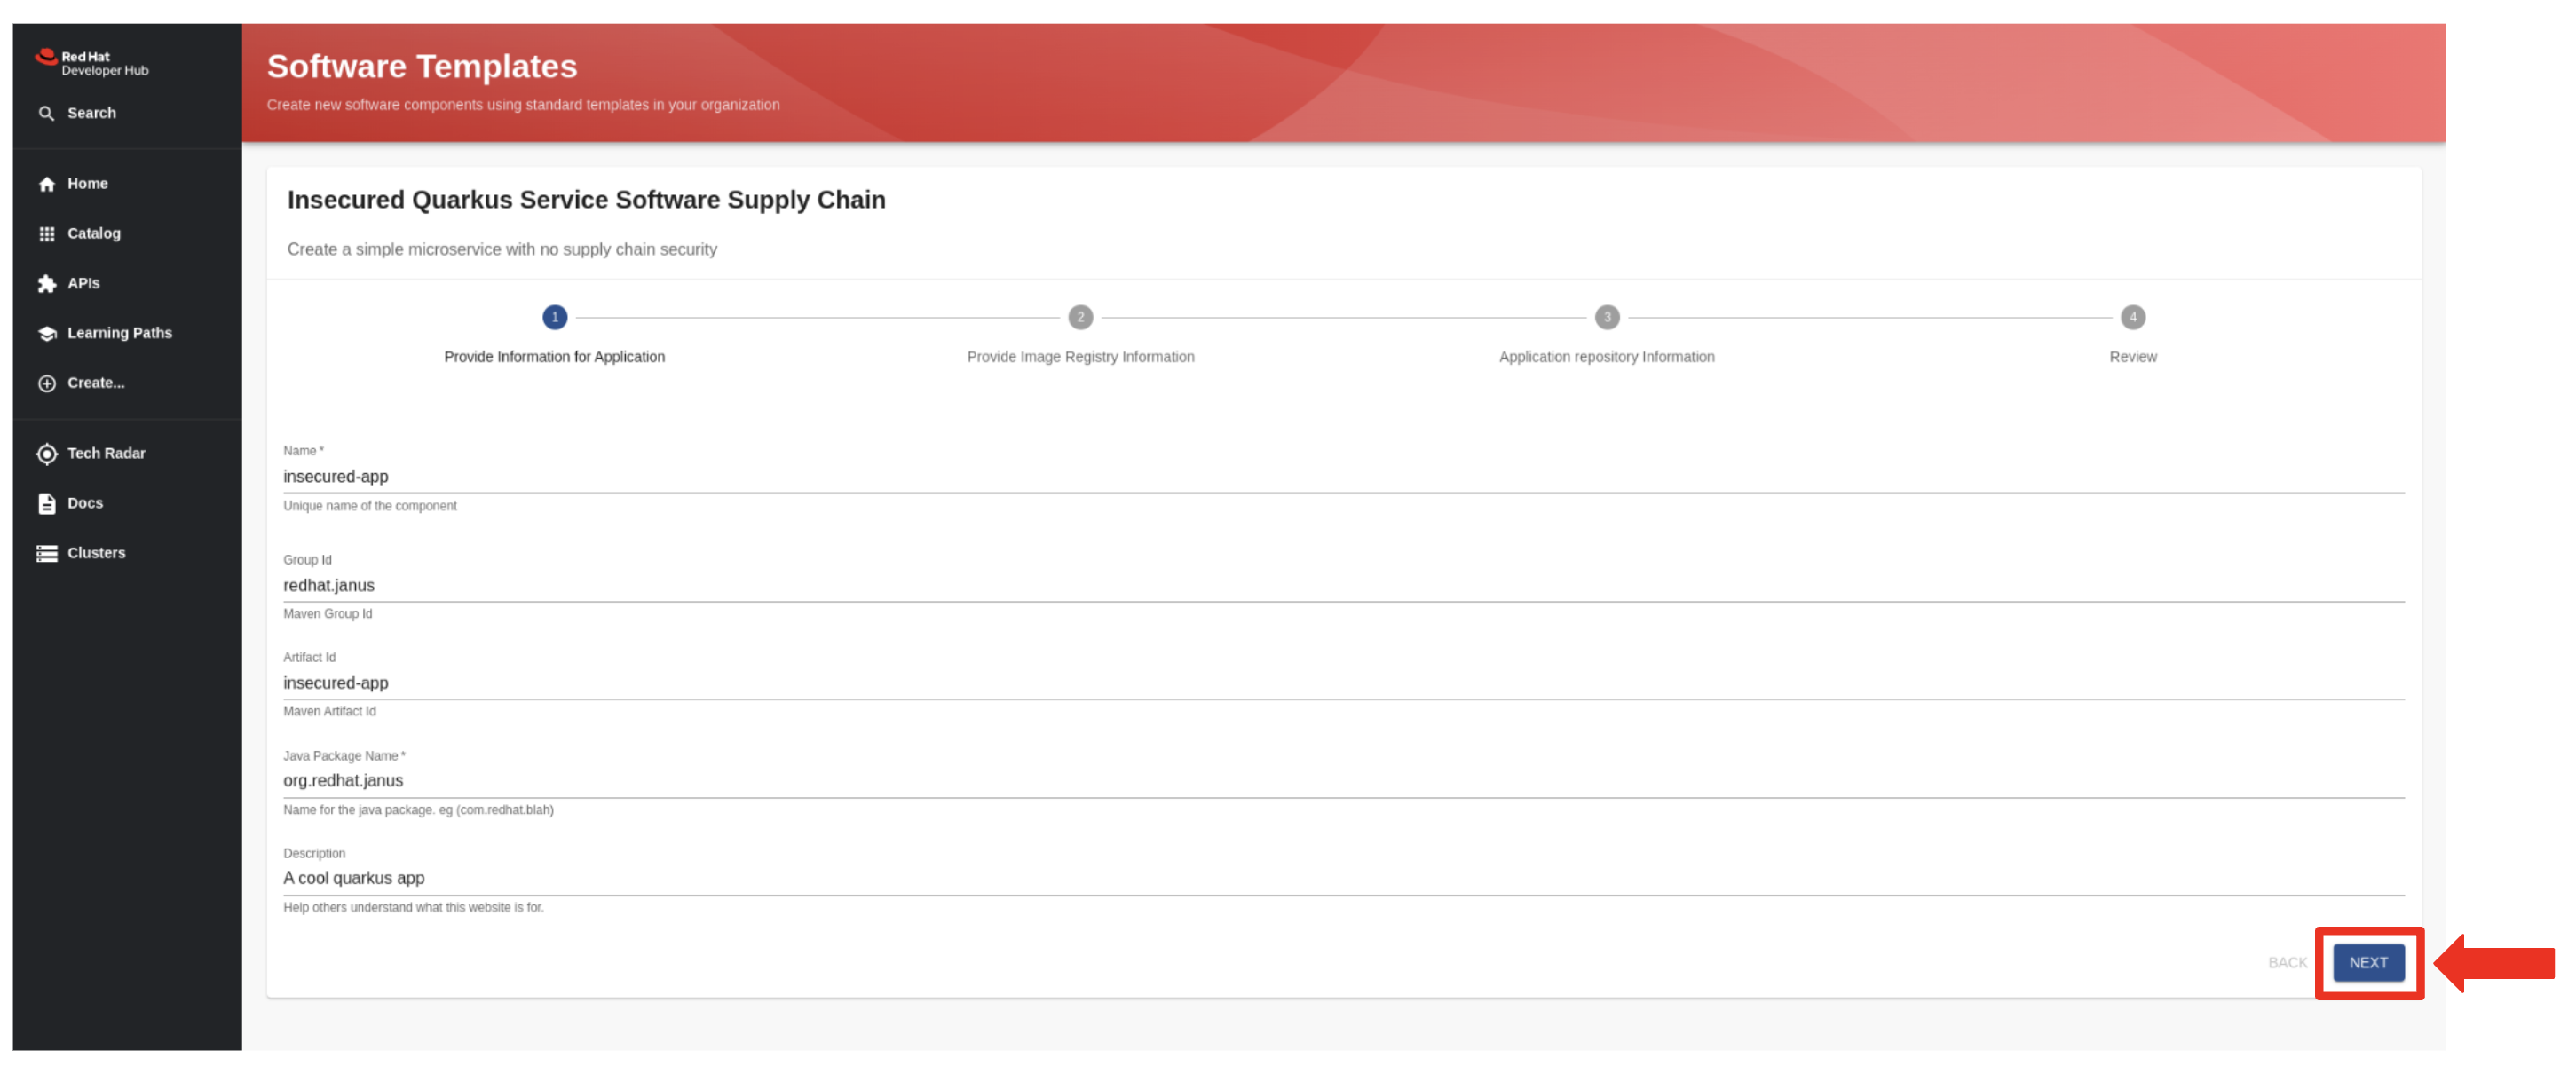
As the form for the Golden Path Template (GPT) appears, you’re pleasantly surprised.
-
Unlike other complicated ticketing systems you’ve used before, this form is refreshingly simple and seems tailor-made for your particular task.
-
"Ah, so my team has opted to use Quarkus for this project. That’s a great framework for developing Kubernetes-native applications," you tell yourself, with excitement sparking within you..
-
You click Next.
-
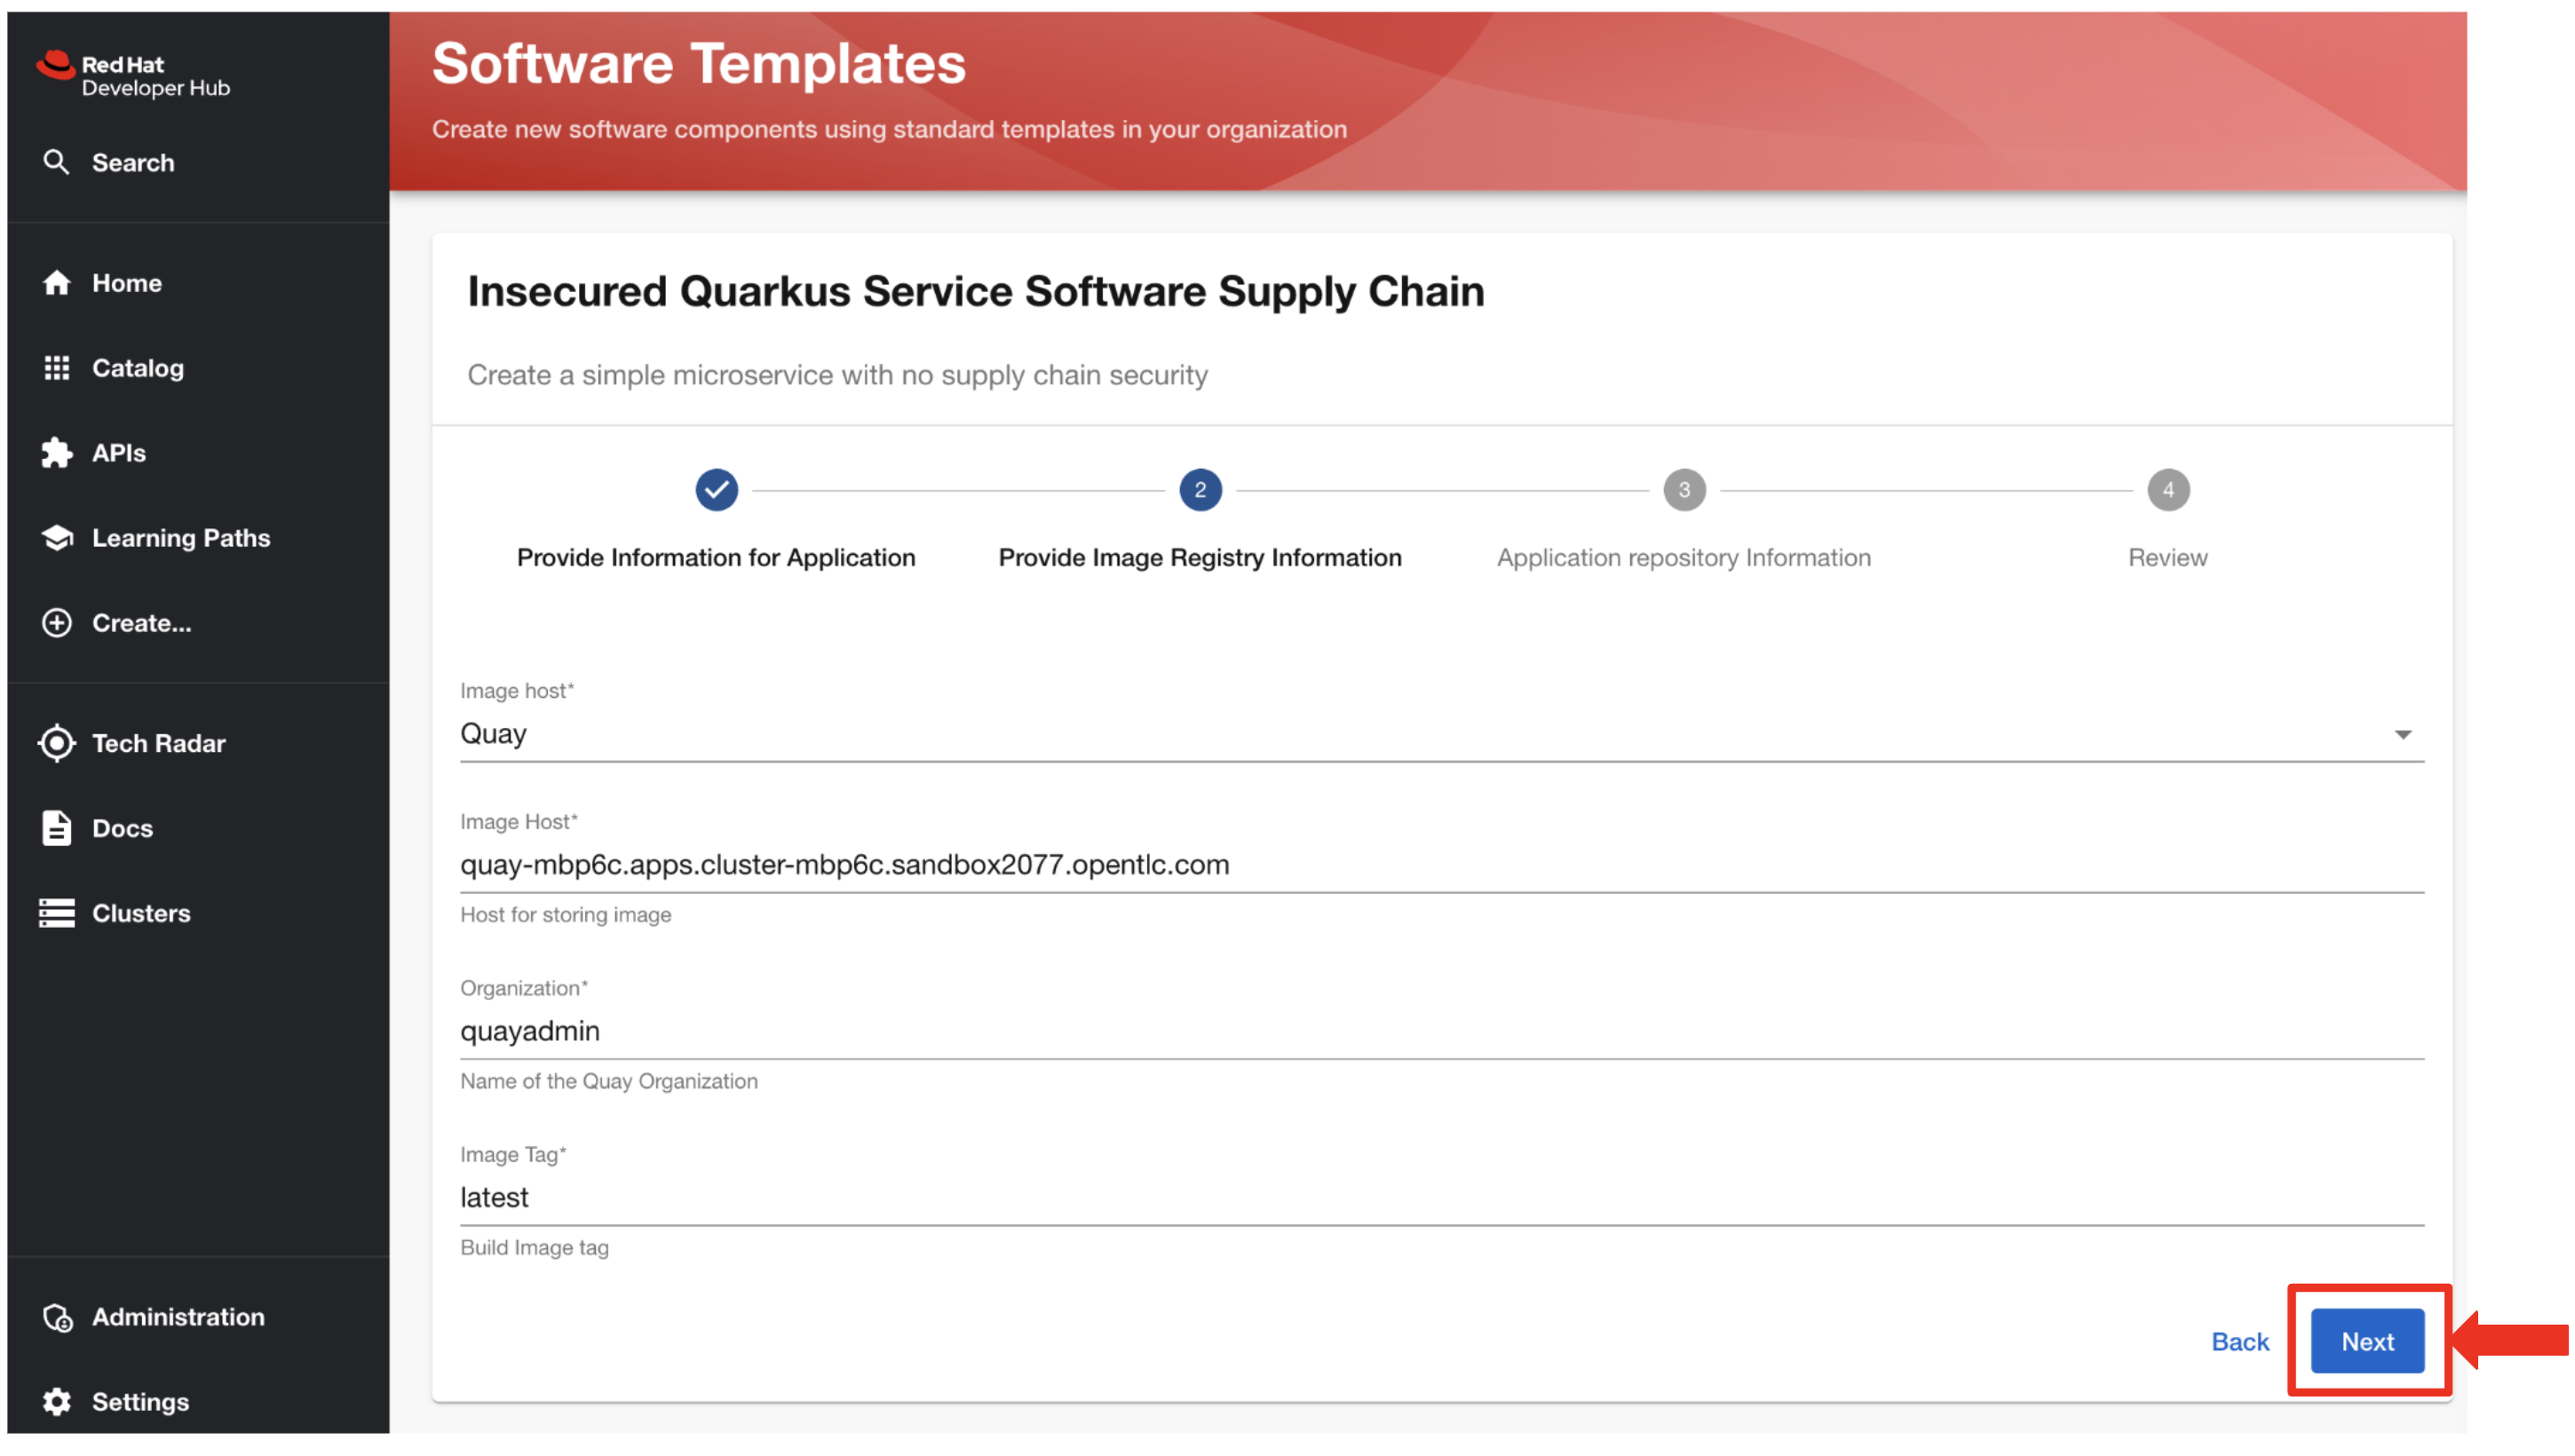
You’re pleased to find all the input fields are already pre-populated for you.
-
You also note that your organization is using Red Hat Quay as the image registry.
-
You click Next on the this form as well.
-
Now, you hit the Review button for a final look at the form inputs.
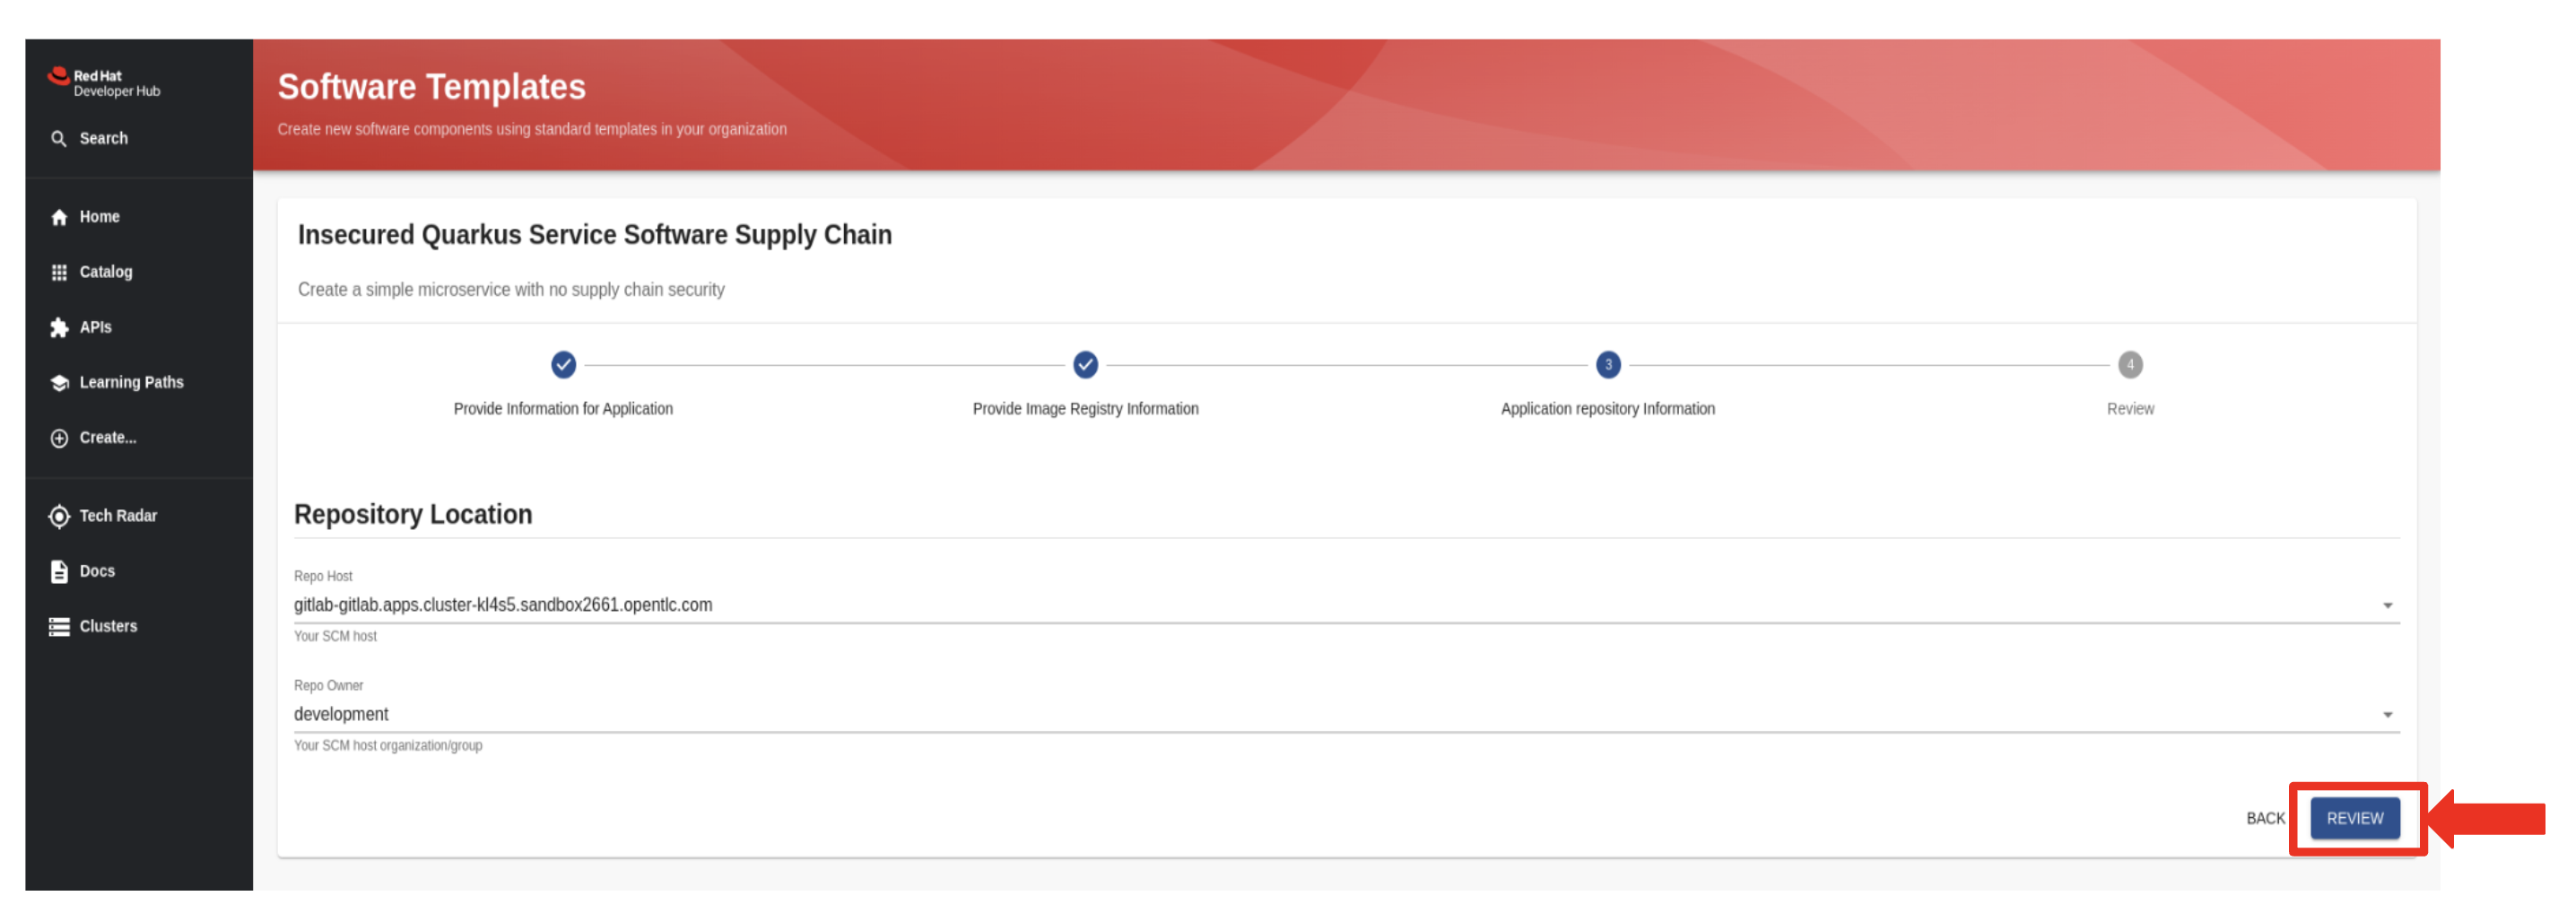
-
Everything checks out, so you confidently click on the Create button.
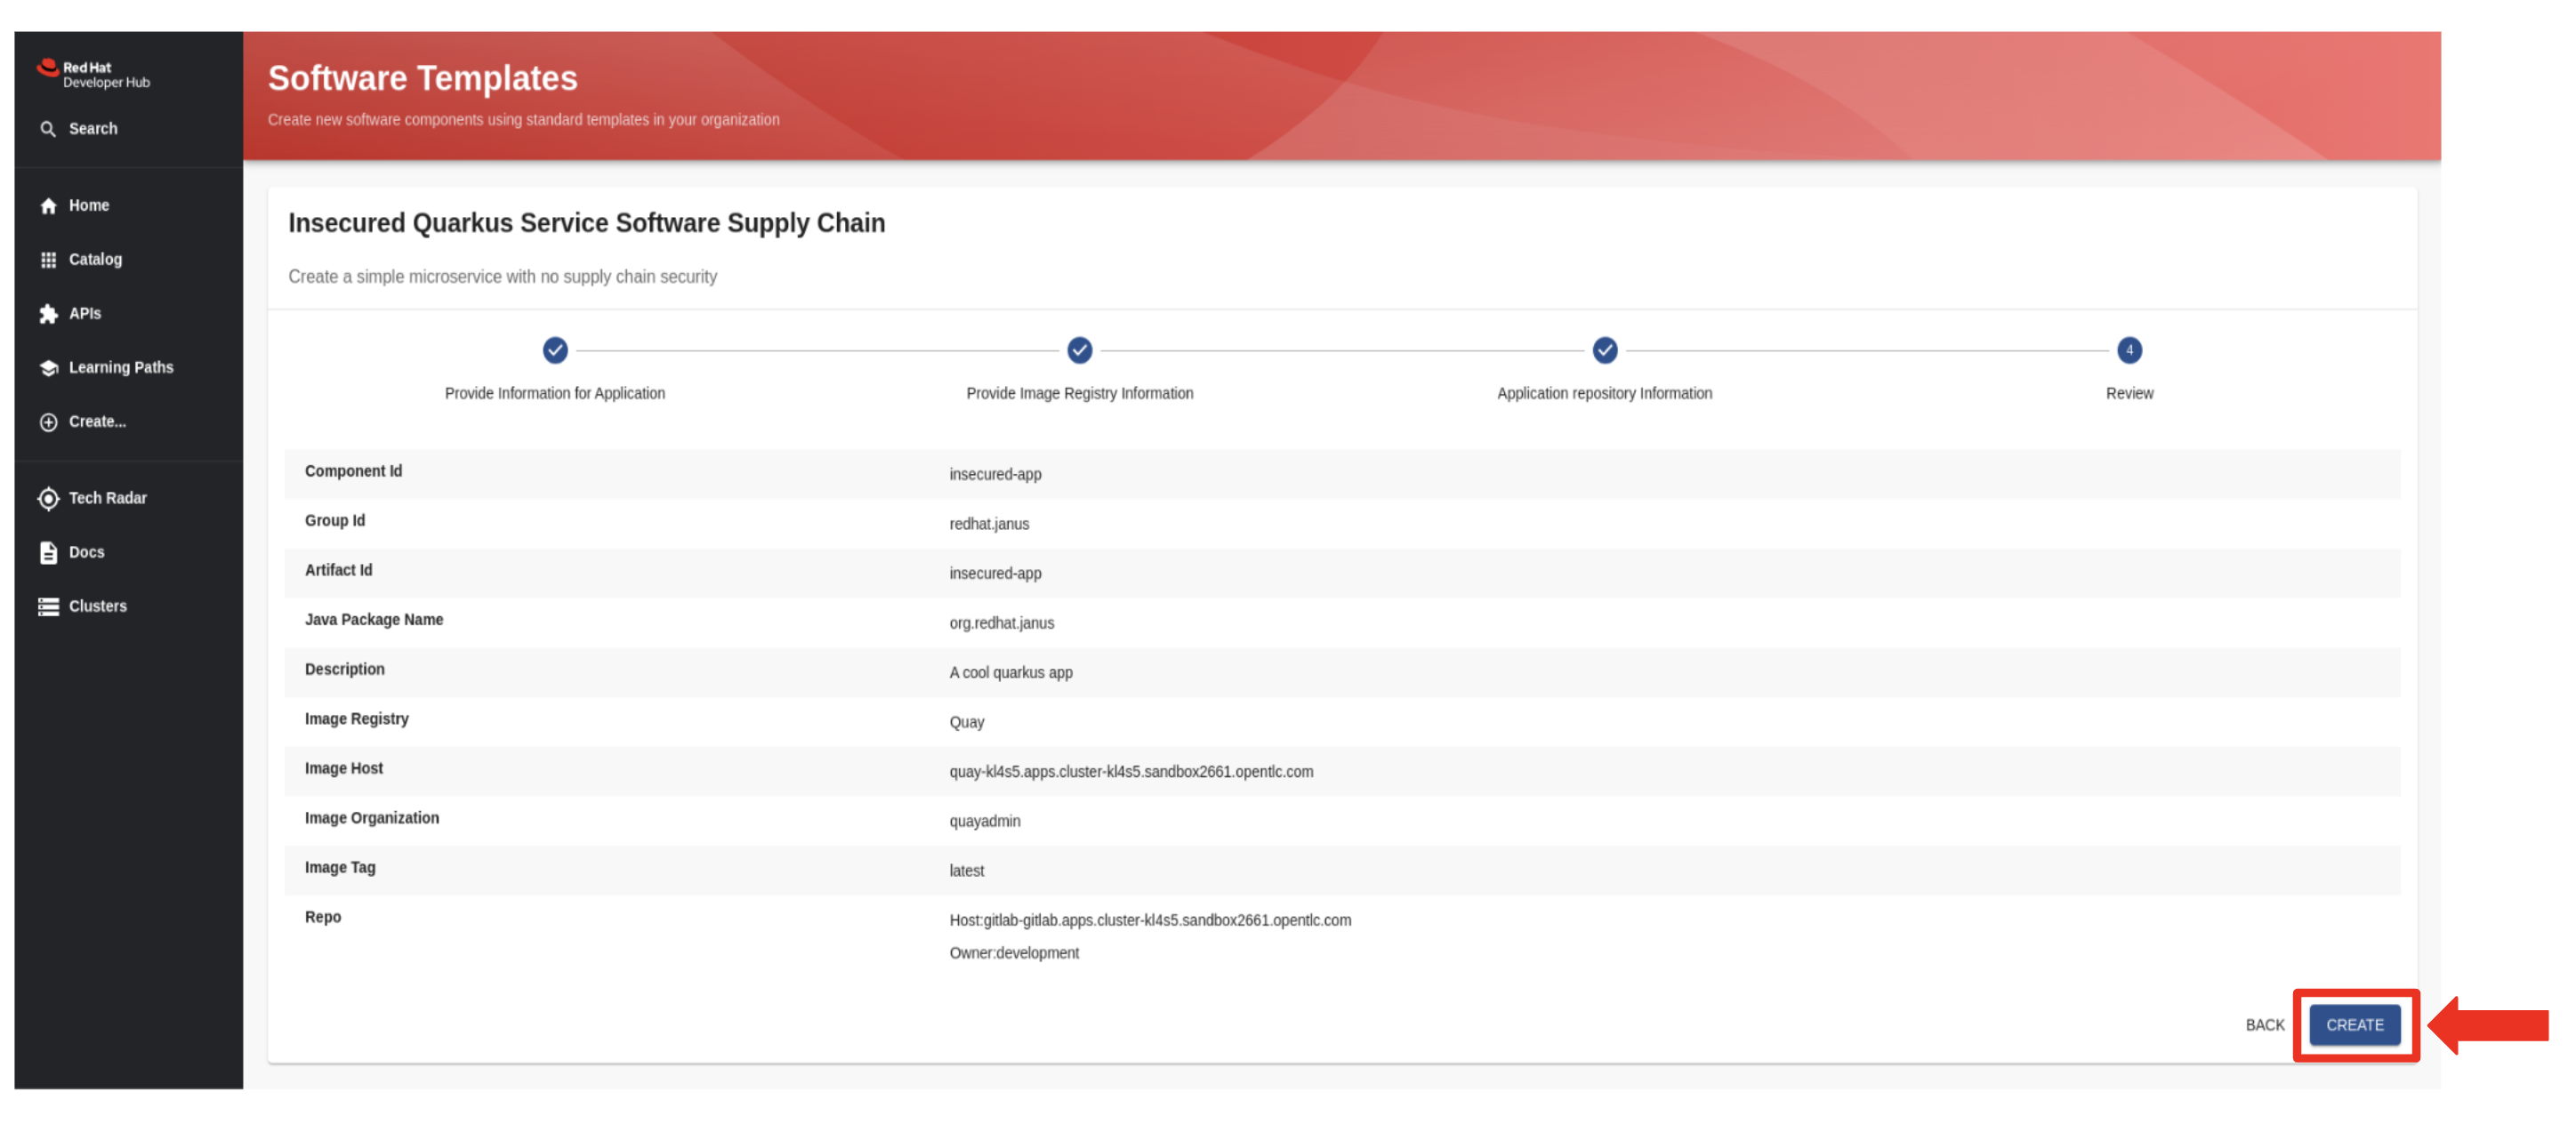
-
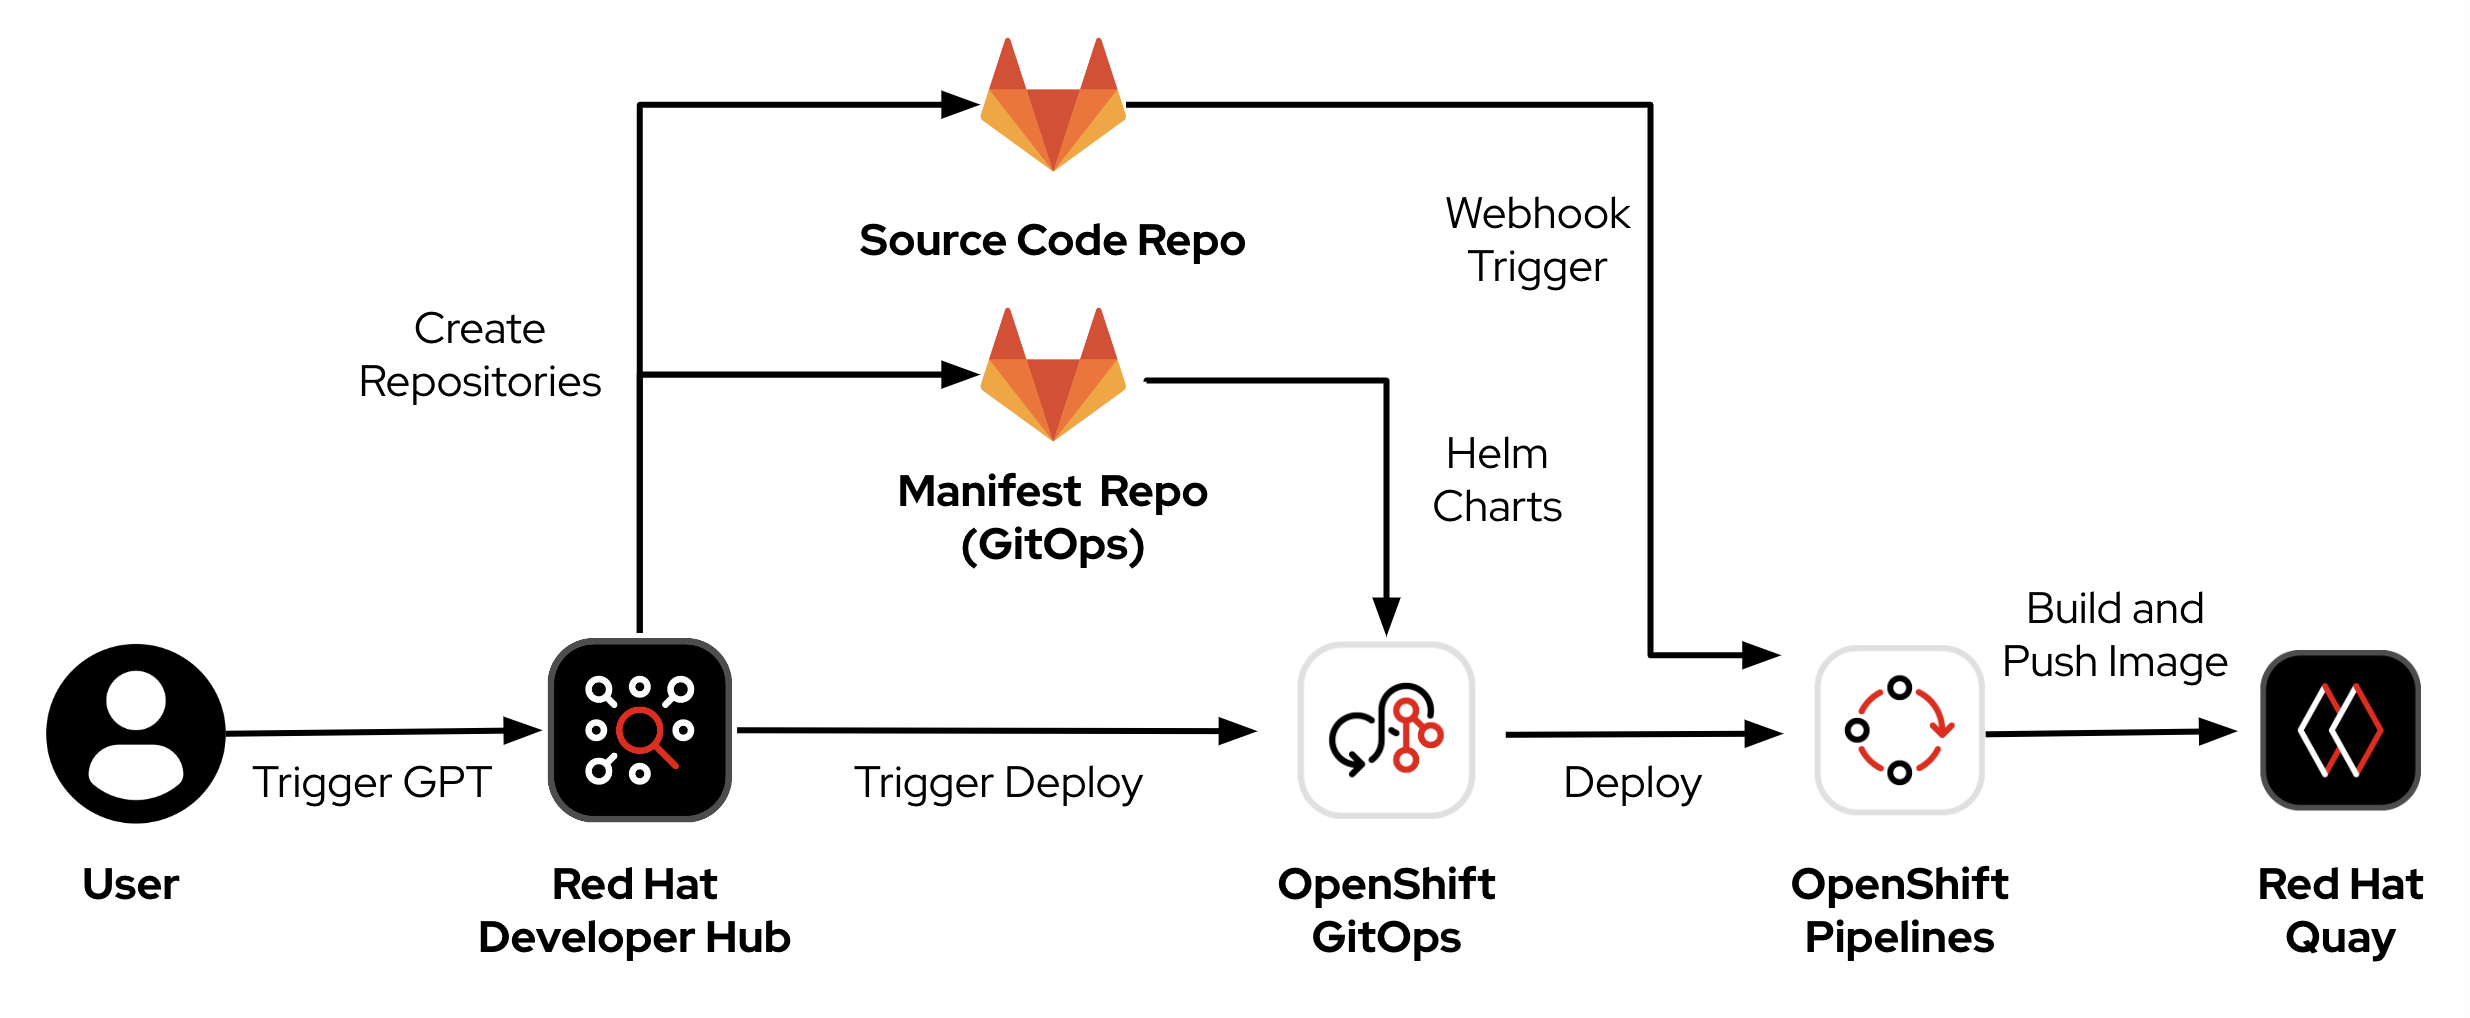
The Golden Path Template (GPT) kicks into action, and in just a few seconds it sets up everything you need for your Quarkus application.
-
The GPT has done quiet a bit of heavy lifting on your behalf here:
-
It created two repositories in Gitlab: one for the application source code and the other for OpenShift GitOps manifests.
-
It instructed OpenShift GitOps to create an application and all the specified resources in the manifests in the target OpenShift cluster.
-
OpenShift GitOps then processed the Helm Charts in the manifests git repo to deploy a CI pipeline in OpenShift Pipelines to build your application and push it to Red Hat Quay.
-
| You might be wondering, what if my organization uses tools other than OpenShift GitOps? What if you’ve invested in Azure DevOps, for example? The great news is that every step in a Golden Path Template is fully customizable, and we can swap out any tool used in a step with one of your choice. This flexibility is made possible through an extensible ecosystem of plugins. These plugins enable you to select your preferred tools from the existing plugins marketplace or even develop your custom plugins. So, in a nutshell, a GPT adapts to your organization’s workflow, not the other way around. |
-
You click on the Open Component in Catalog link.

-
And just like that, you’re directed to your Dashboard, where all the tools you need to start coding are readily available at your fingertips.

-
The first thing you decide to do is dive into coding on your project.
-
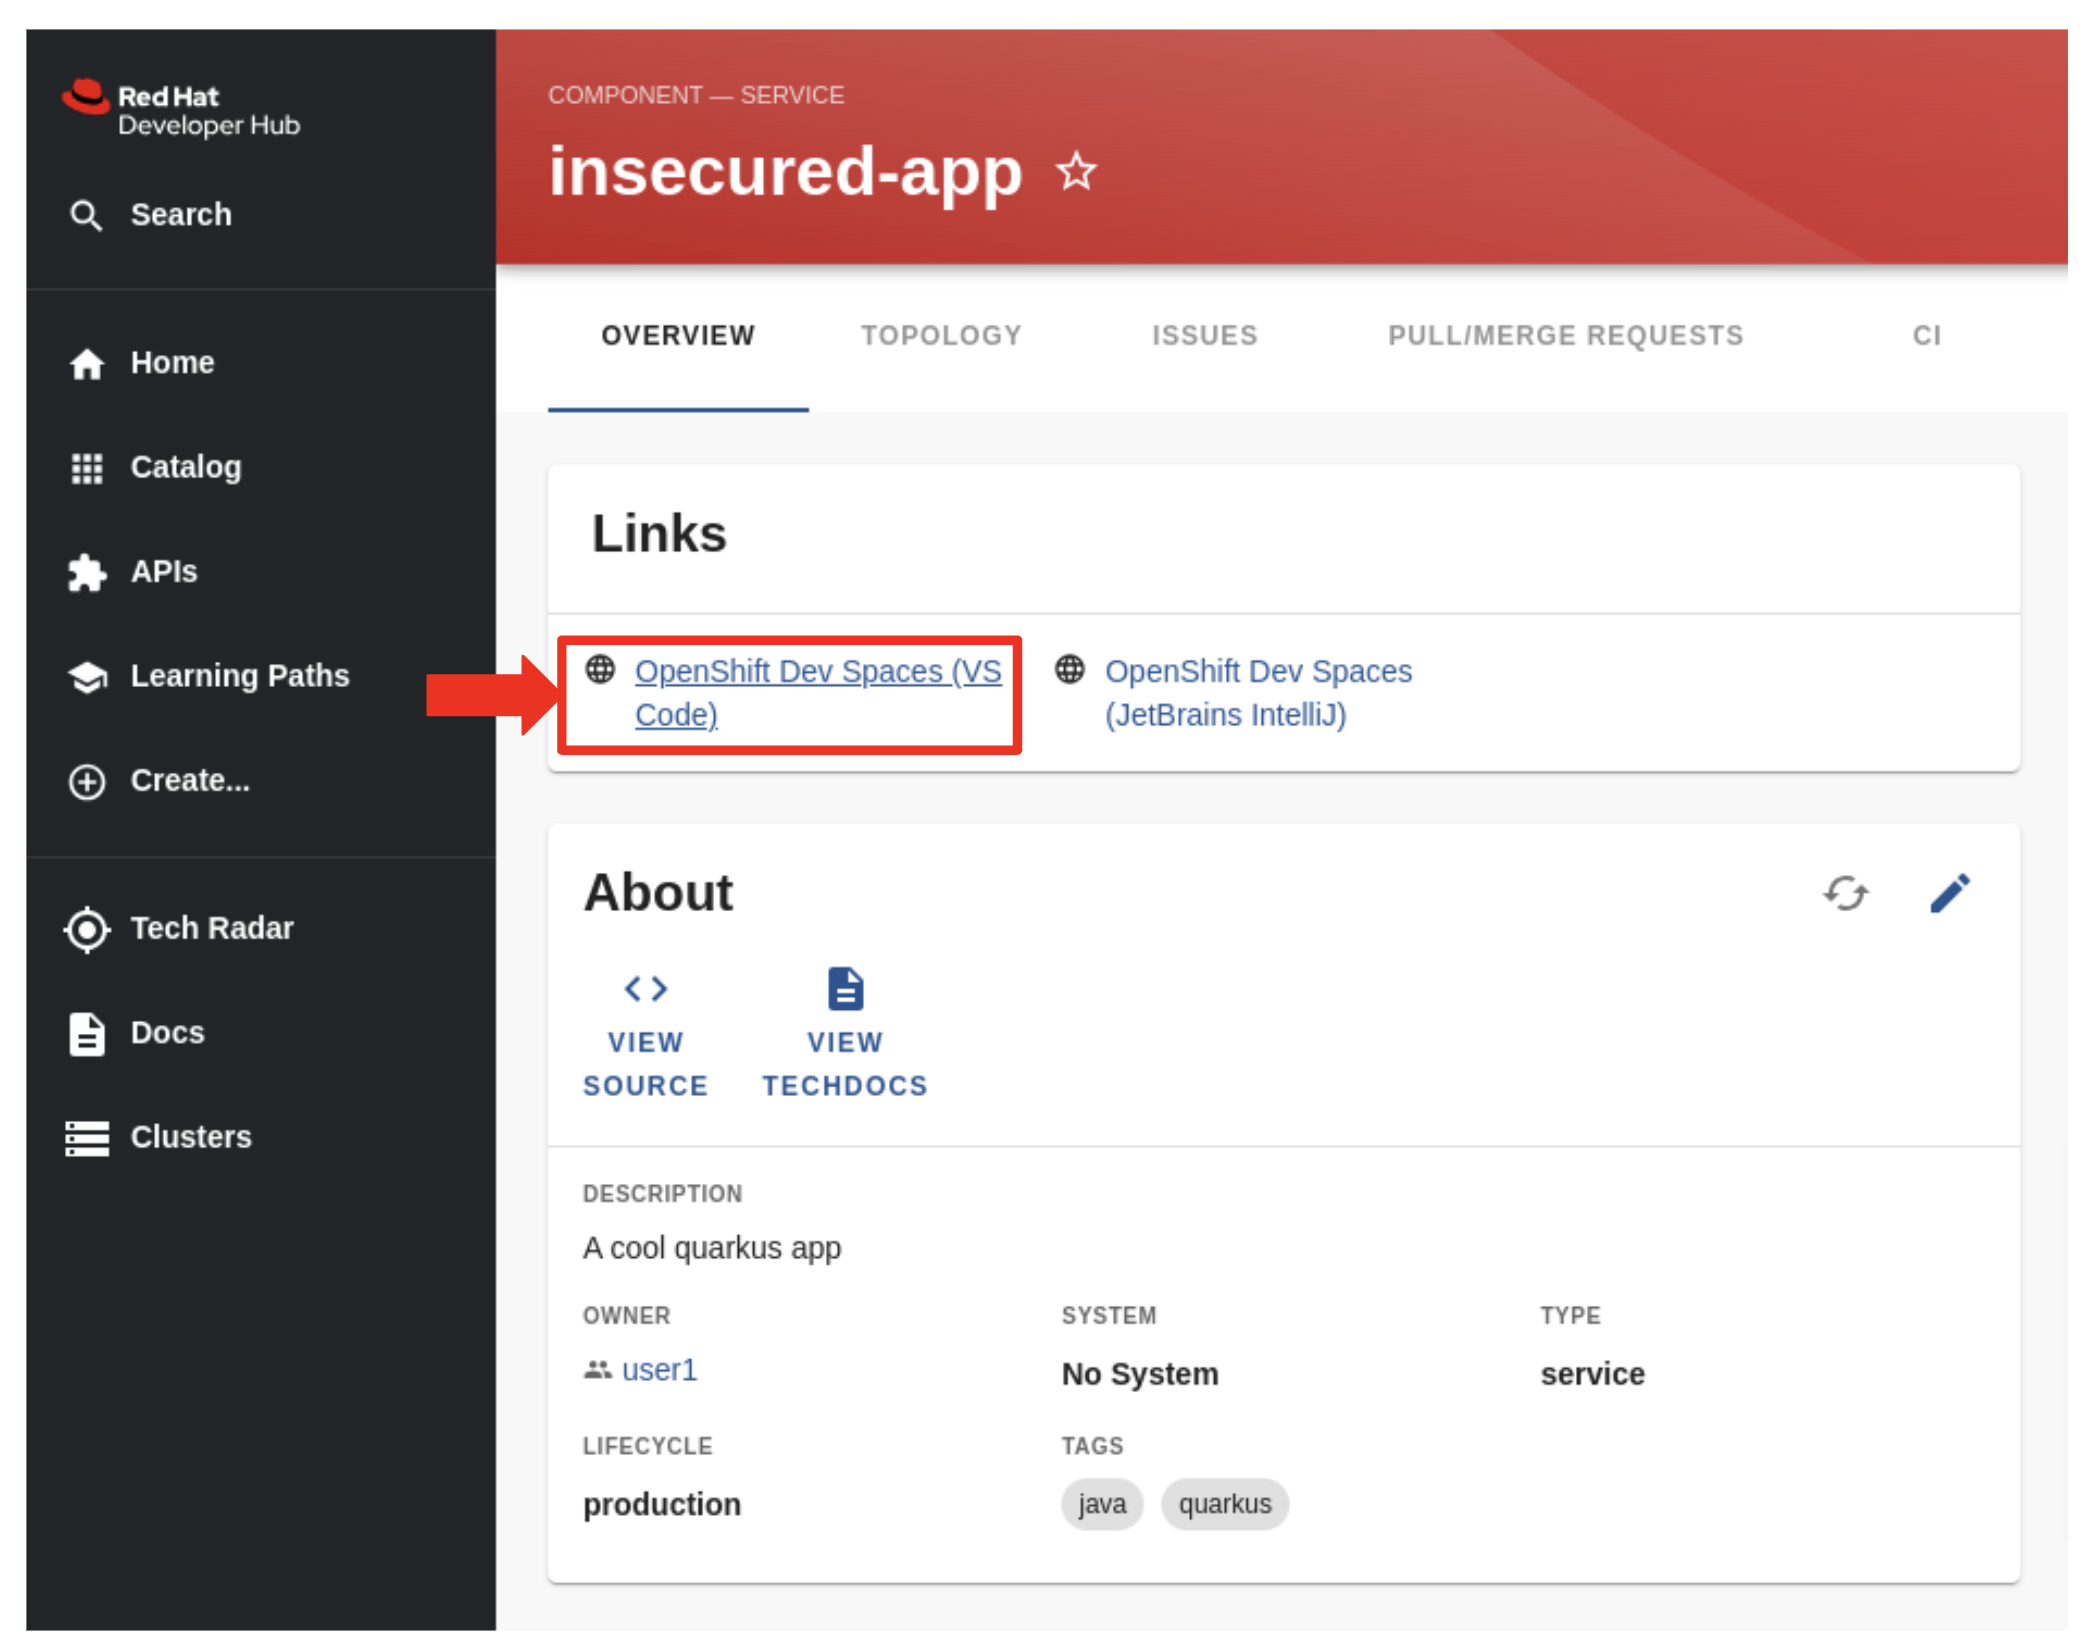
You decide to use the Integrated Development Environment (IDE), OpenShift Dev Spaces, that Developer Hub has been configured to use. You find and click on the OpenShift Dev Spaces (VSCode) link conveniently located in your Dashboard.
| OpenShift Dev Spaces is a Kubernetes native workspace and IDE that is part of the OpenShift platform. This tool allows your platform team to offer a full fledged IDE that requires zero configuration and effort by your app developers. |
-
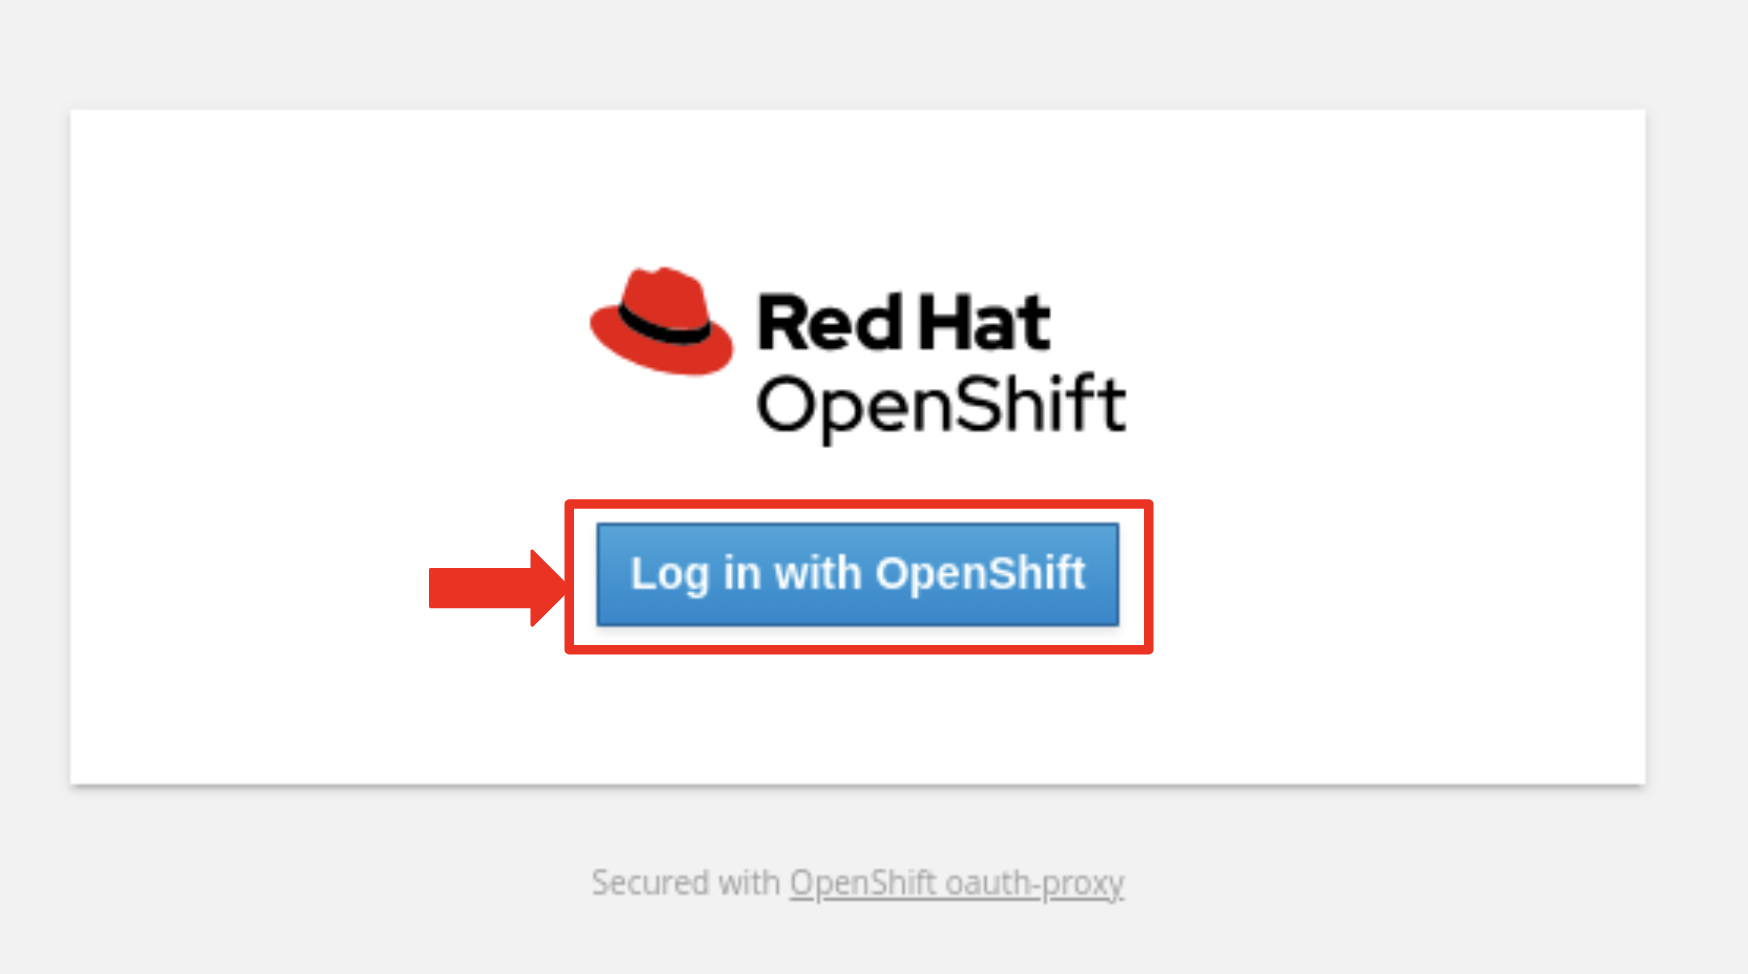
You log in using your OpenShift credentials by clicking the Log in with OpenShift button.
-
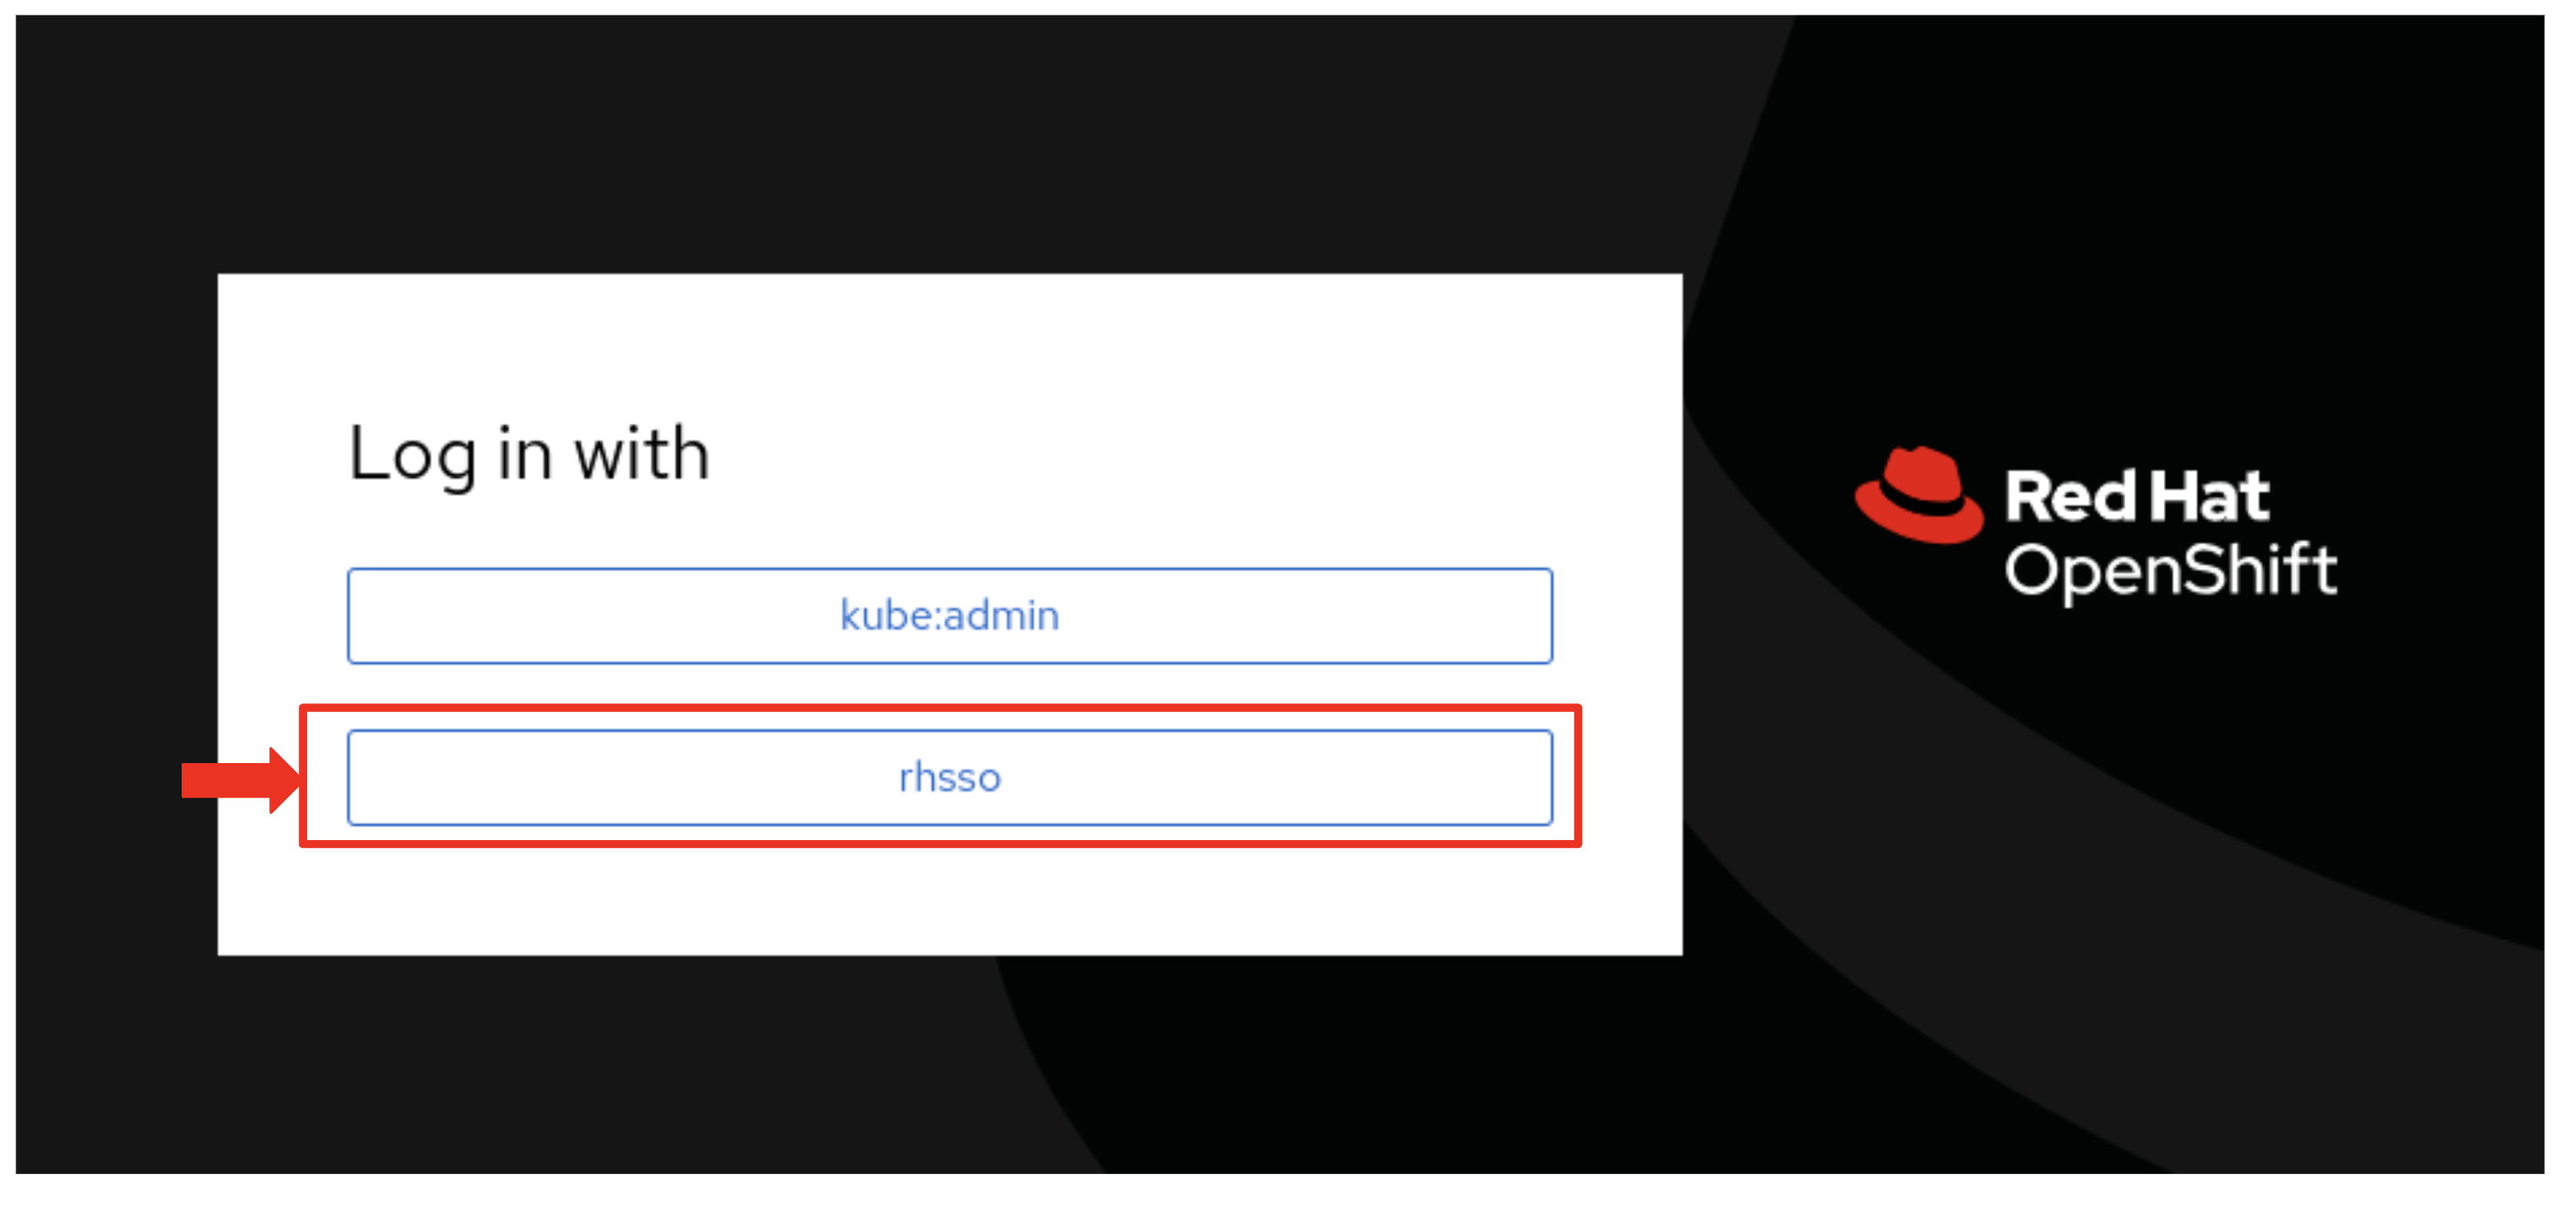
Then, you choose the Single Sign-On option by clicking the rhsso button
-
You then enter your username and password as follows:
-
Username: {developer_cluster_rhdh_user}
-
Password: {developer_cluster_rhdh_user_password}
-
-
After inputting your credentials, you click the Sign in button.
-
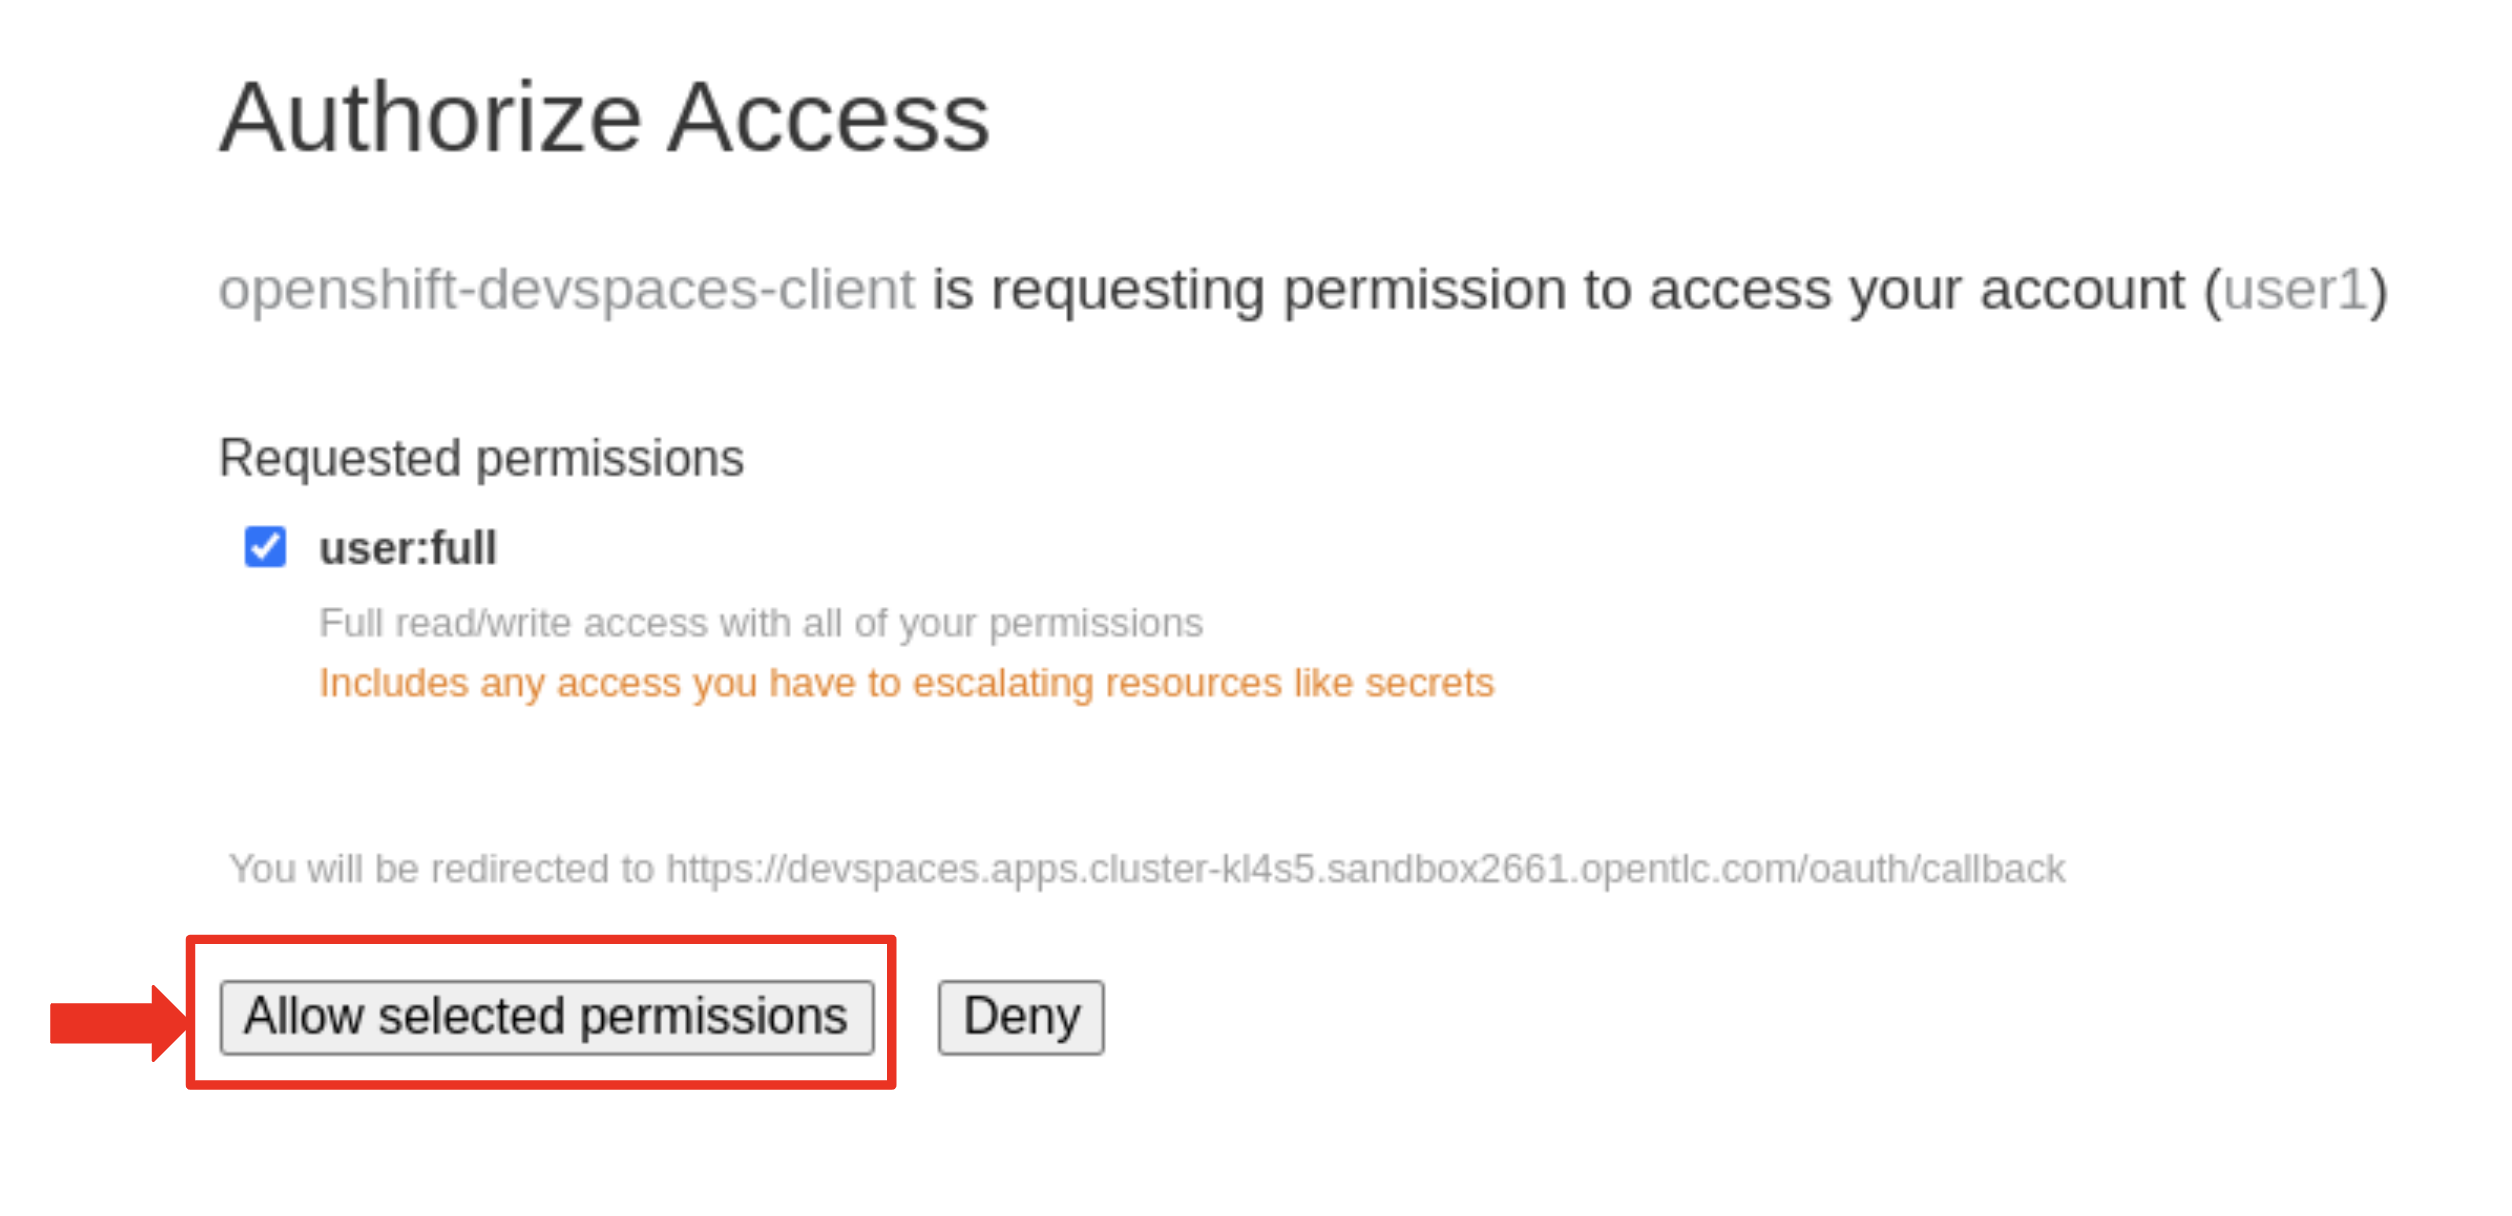
You authorize OpenShift Dev Spaces to access your account by clicking the Allow selected permissions button.
-
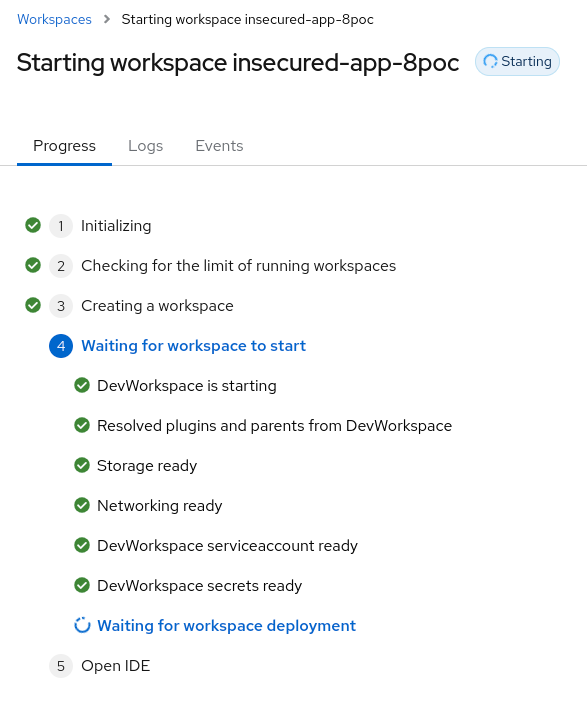
OpenShift Dev Spaces then begins creating your workspace, processing a Devfile containing all the configuration needed to set up your development environment.
| A Devfile is a YAML configuration file that serves as a portable definition for a development environment. It is designed to be a universal format that can describe any type of development environment, making it easier for developers to code, build, test, and run applications across different tools and platforms without the need to manually configure each environment. |
-
A prompt Do you trust the authors of this repository? will appear. Select Do not ask me again for other repositories and then click Continue

-
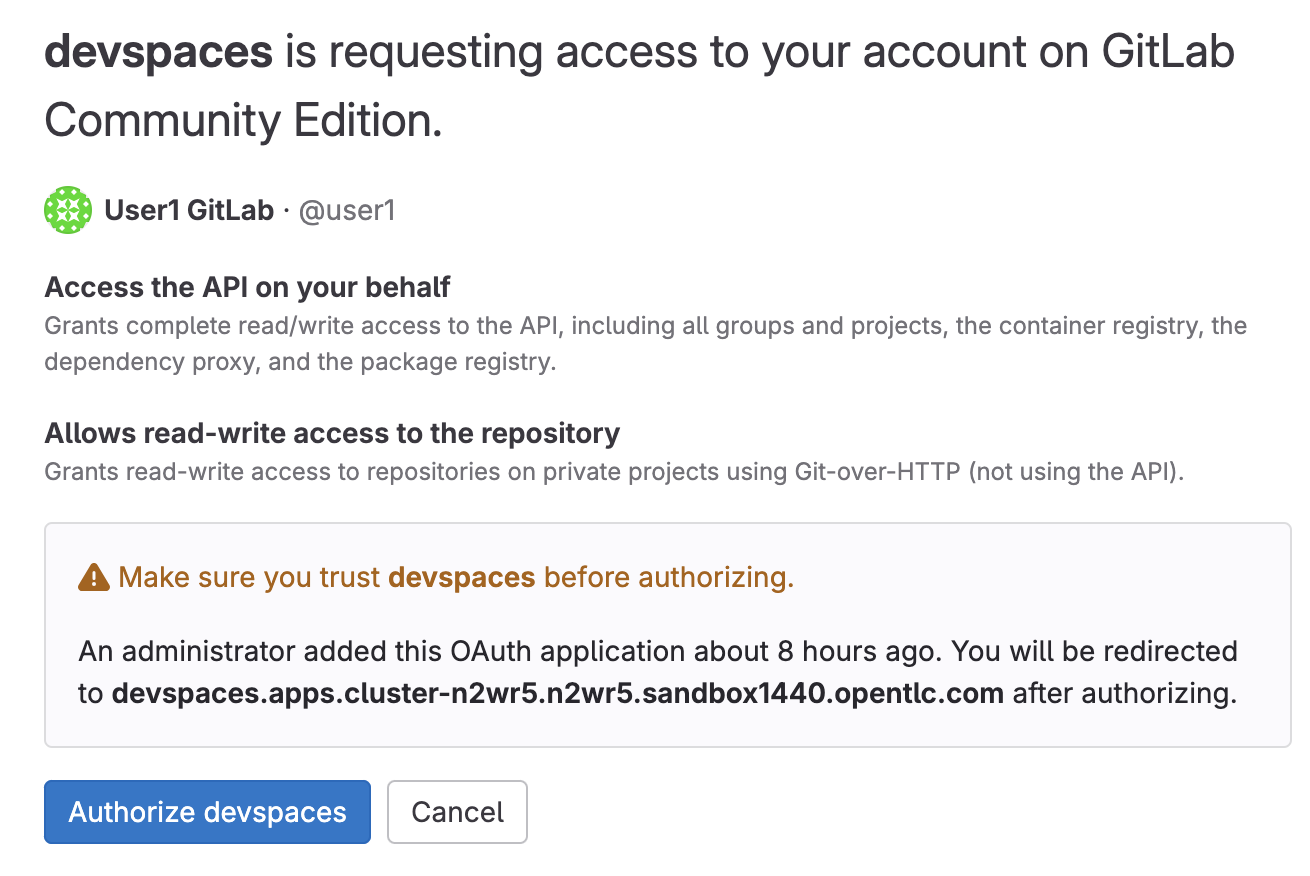
Subsequently, you click Authorize devspaces to grant OpenShift Dev Spaces access to your GitLab account.
-
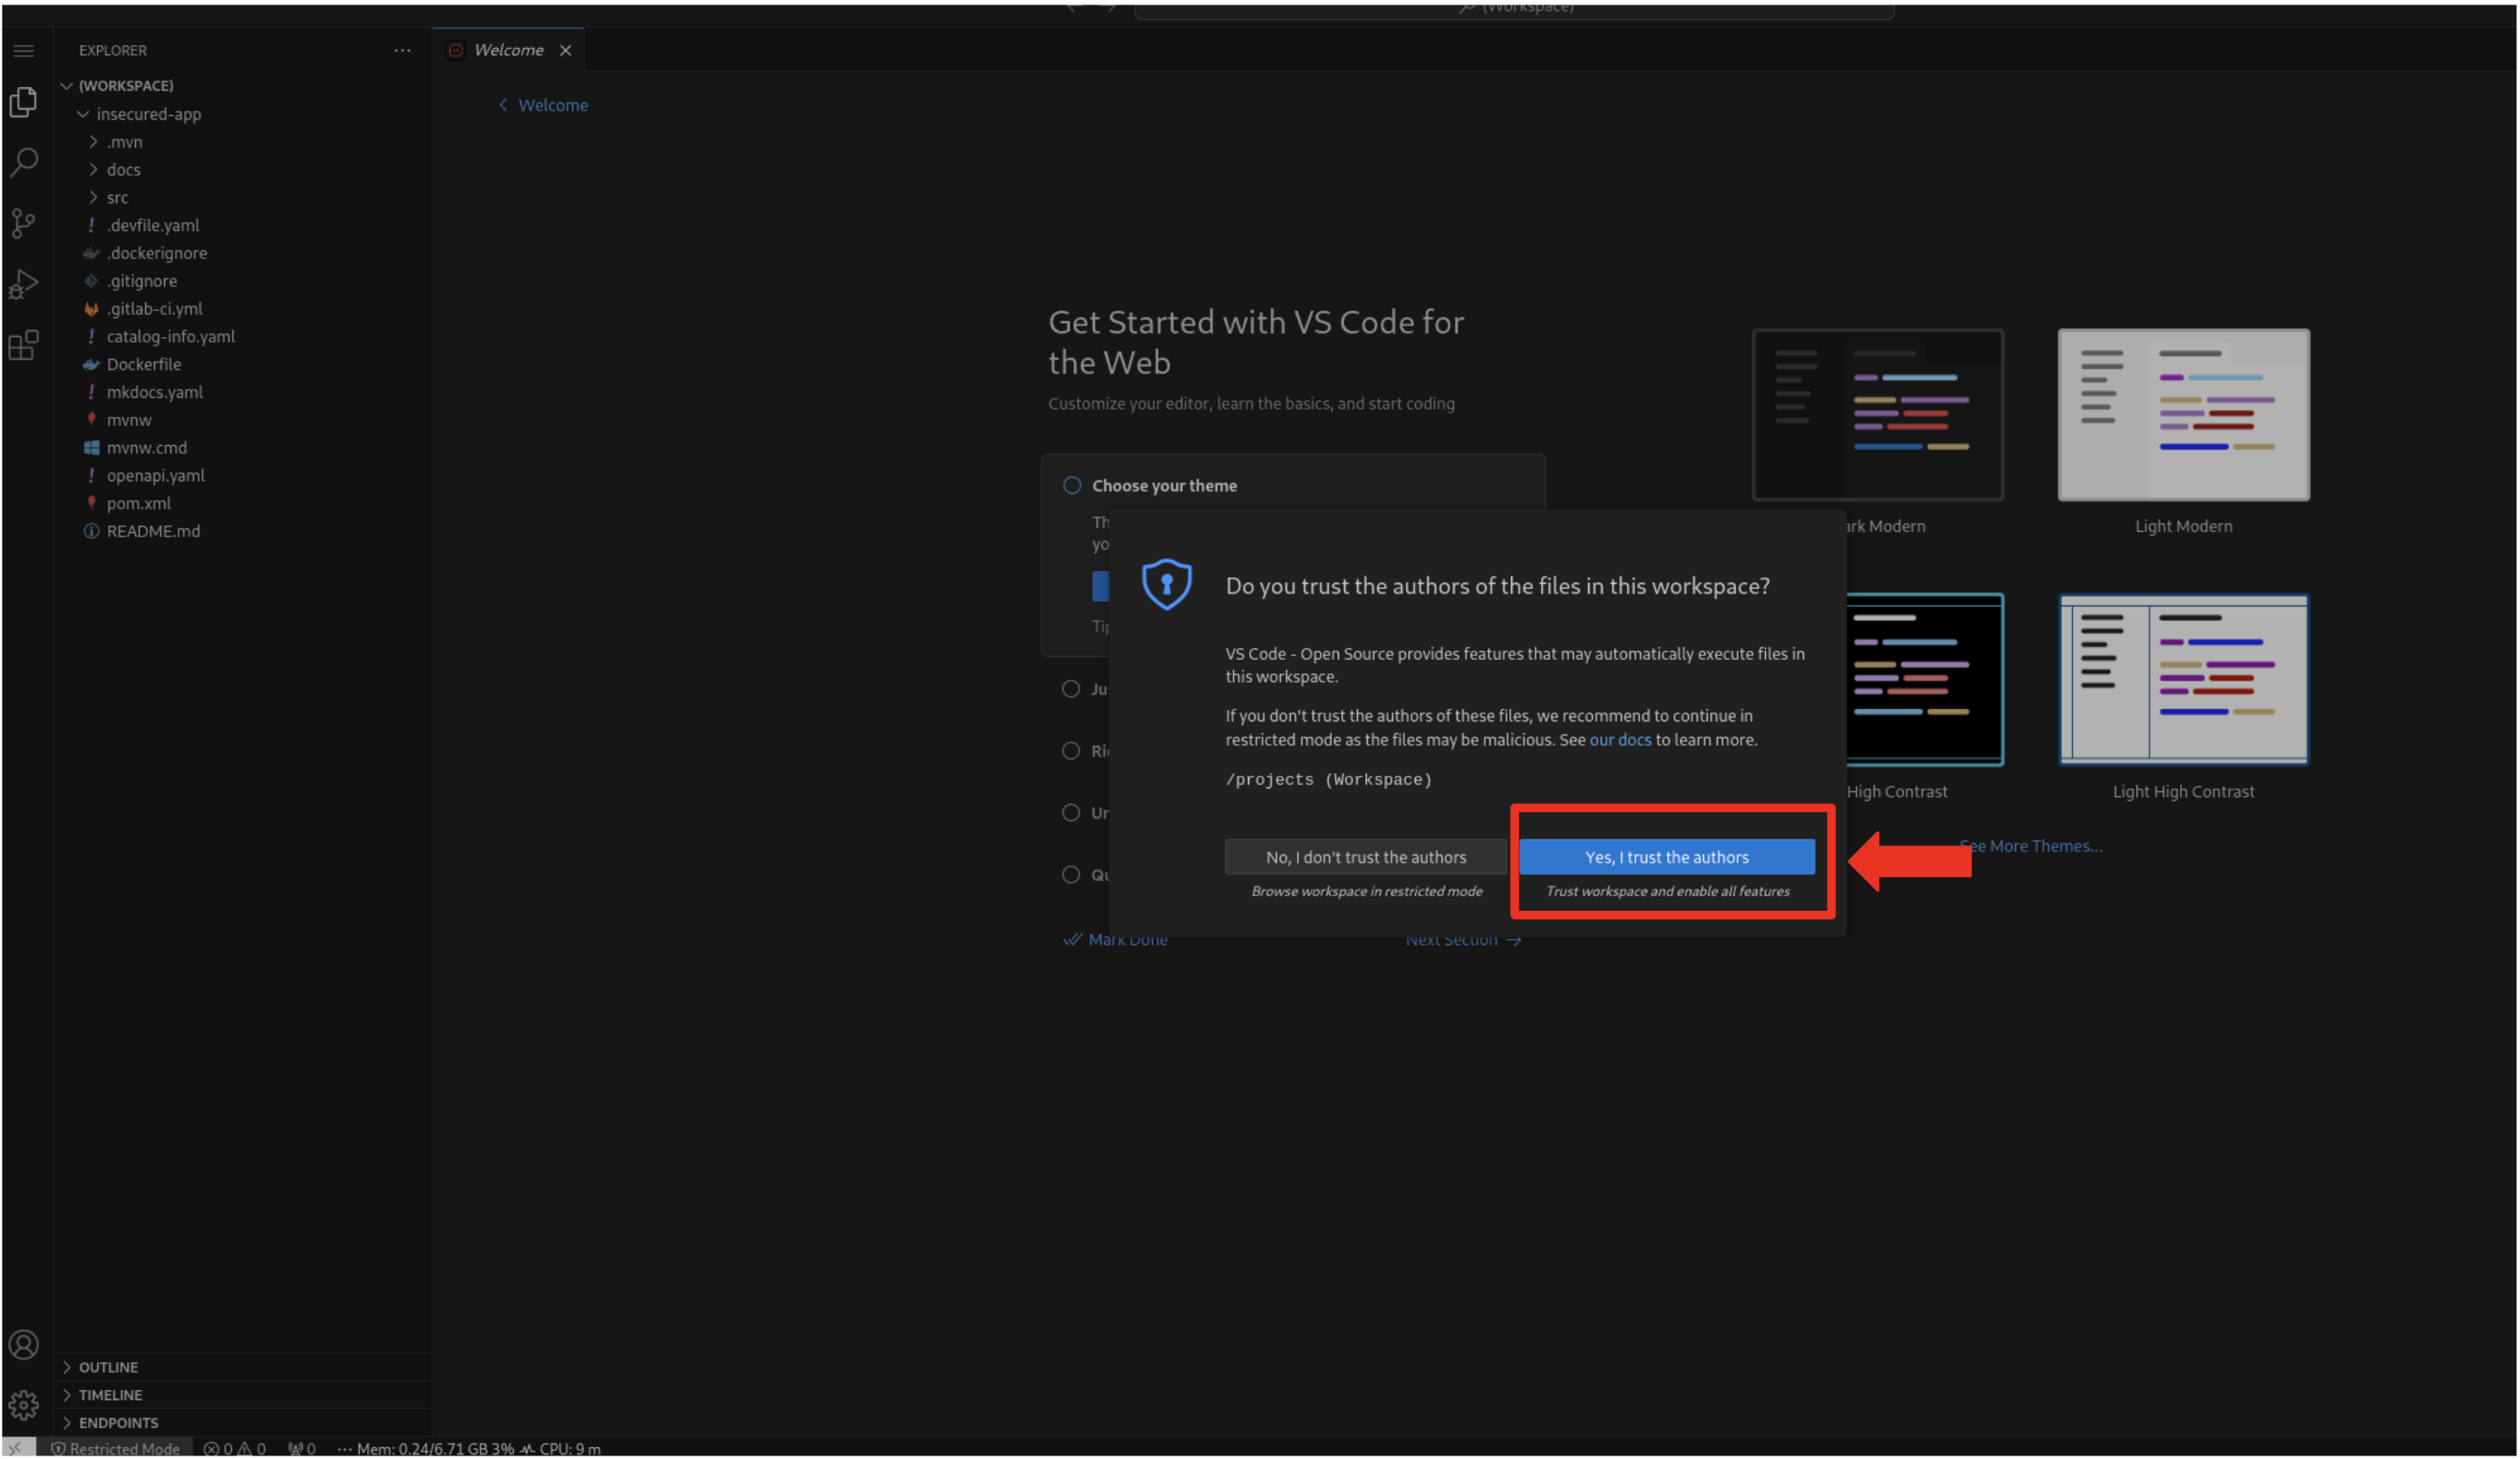
After waiting a few minutes for OpenShift Dev Spaces to finish setting up your workspace, you’re presented with a fully fledged IDE accessible from your browser.
-
You click the button Yes, I trust the authors.
-
To accomplish your task, you need to:
-
Update the hello method in the ExampleResource.java class.
-
Update the JUnit test verifying this method’s output.
-
Amend the documentation to reflect your changes.
-
| The JUnit test for the Hello method needs updating; otherwise, the Build step in the CI/CD pipeline would fail due to discrepancies between the code and its test. |
-
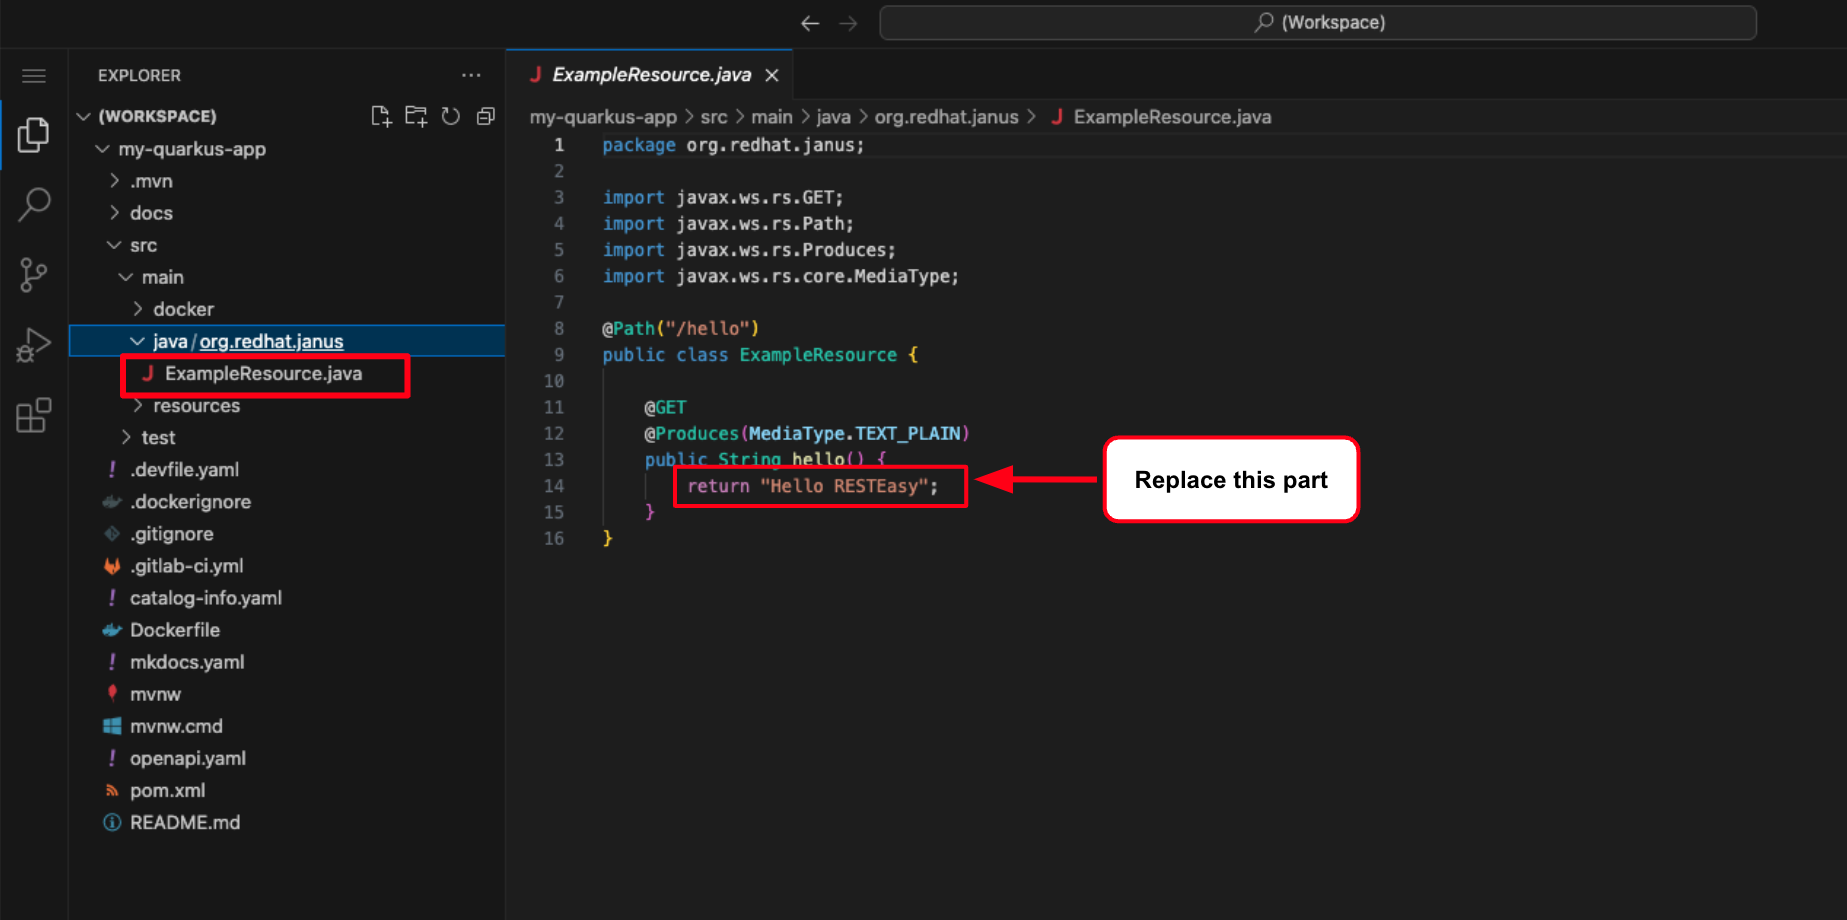
In your insecured-app workspace, you expand the folders src → main → java, and then open the ExampleResource.java file.
-
On line 14, you replace the return message of the hello method from "Hello RESTEasy" to "Hello from RHDH".
-
Next, you update the JUnit test for this method.
-
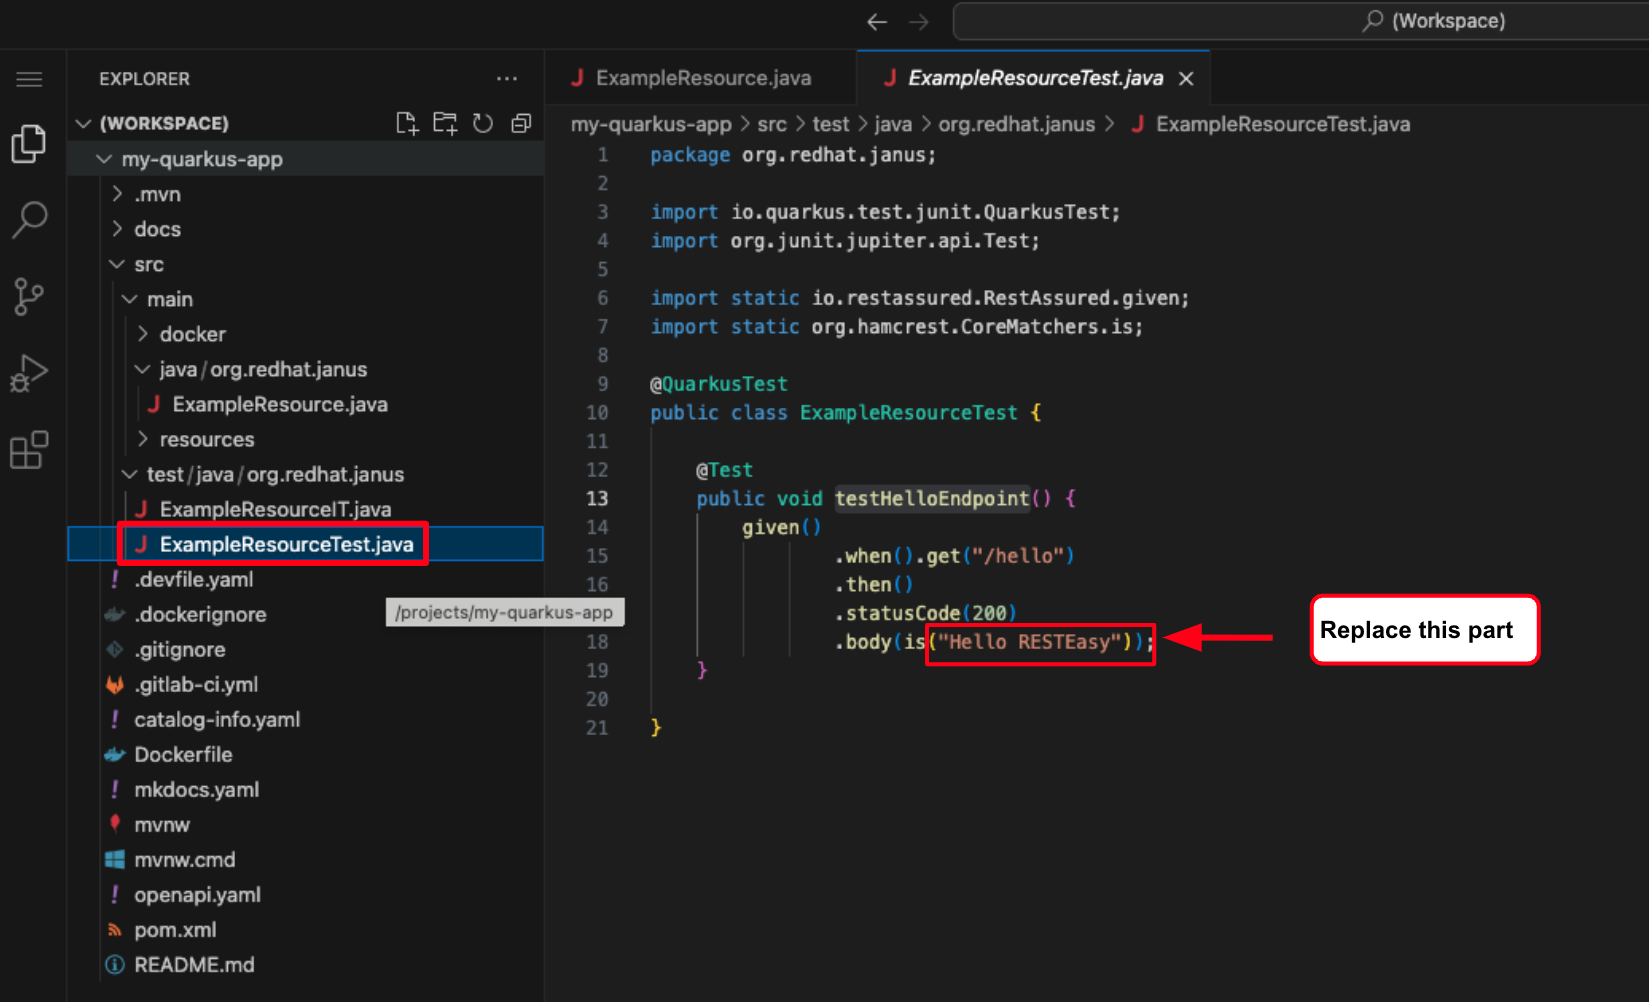
You expand the folders src → main → test, and open the ExampleResourceTest.java file.
-
On line 18, you change the expected text from "Hello RESTEasy" to "Hello from RHDH".
-
You recall your team’s explanation that the documentation coexists with the code, nestled in the same git repository as a markdown file.
-
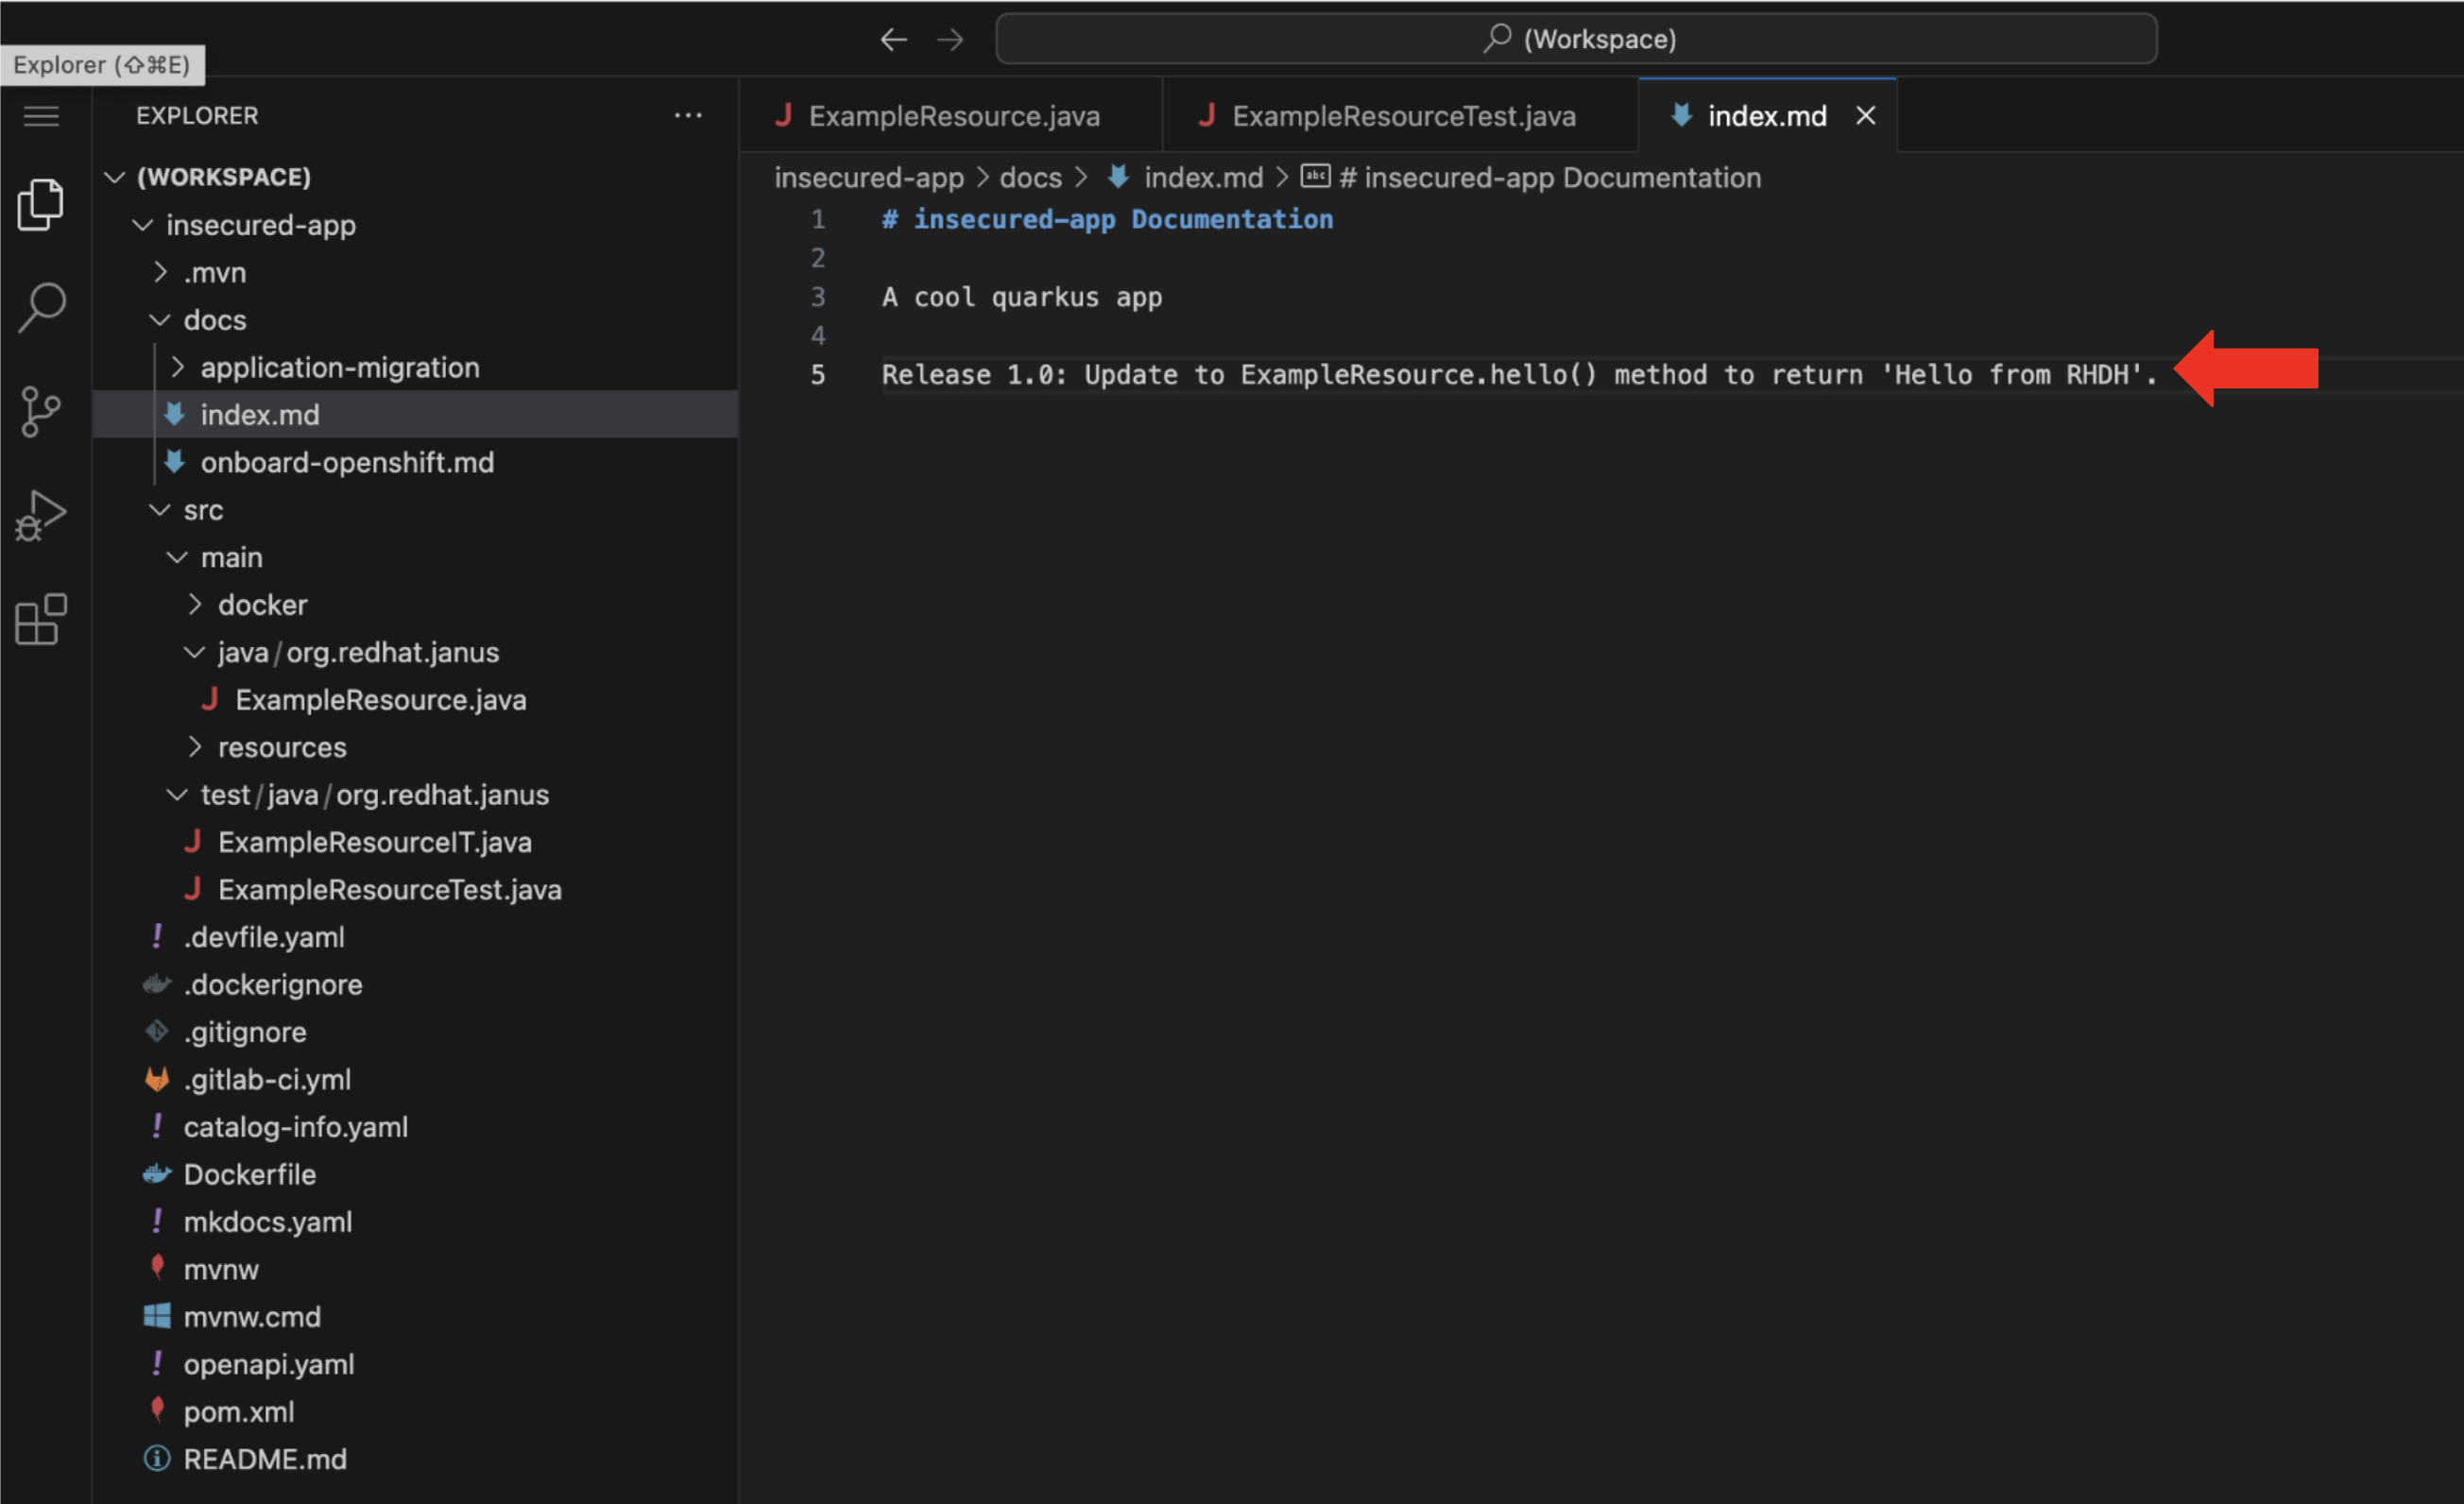
You expand the docs folder and open the markdown file Index.md.
-
At the document’s end, you add: "Release 1.0: Update to ExampleResource.hello() method to return 'Hello from RHDH'."
-
Having completed your task, you’re ready to commit your changes.
-
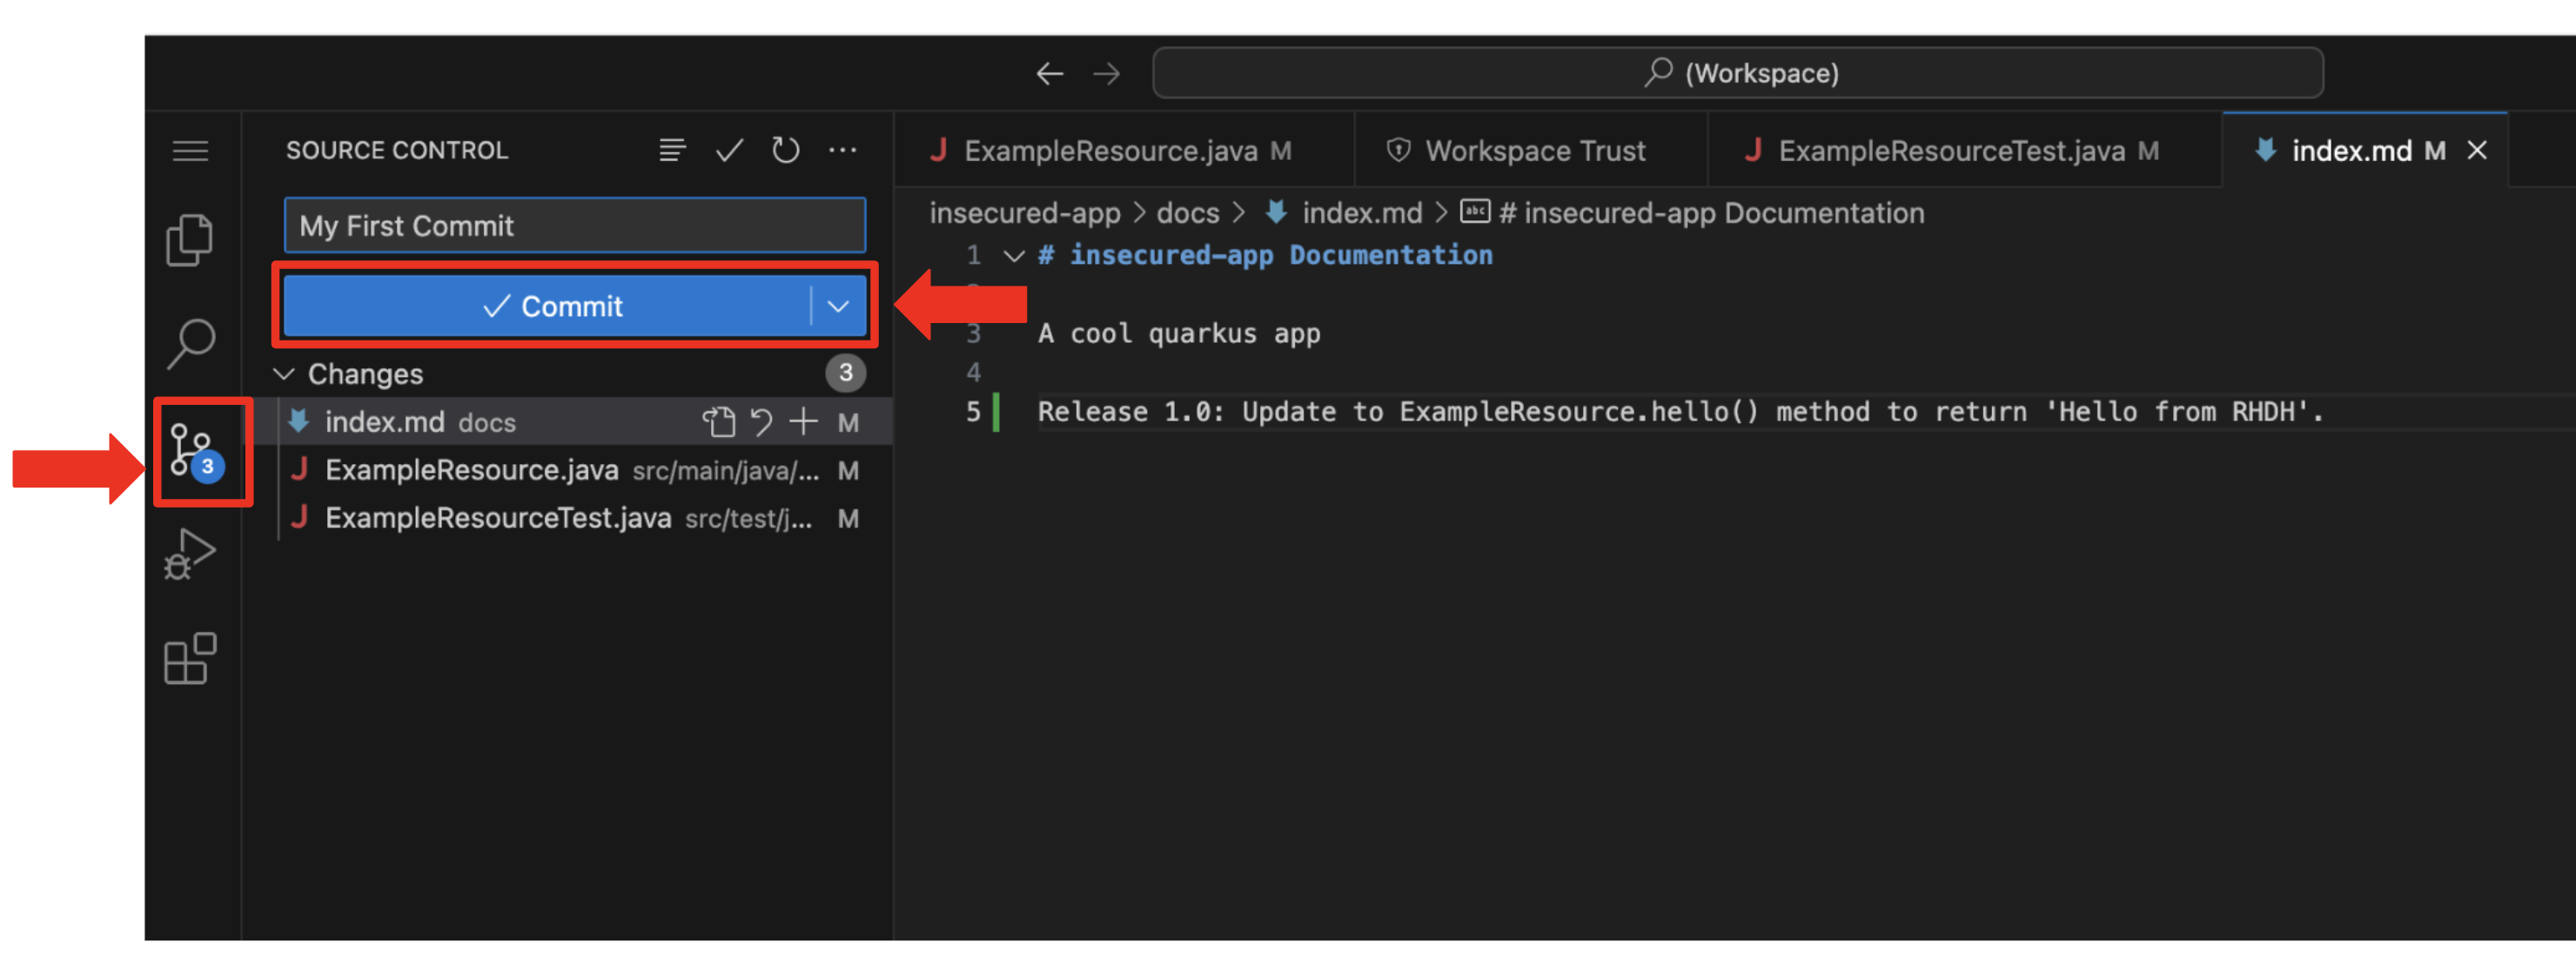
You click on the Source Control icon located in the left menu.
You may or may not be prompted to trust your workspace again. Go ahead and follow the prompts to trust the workspace if required. 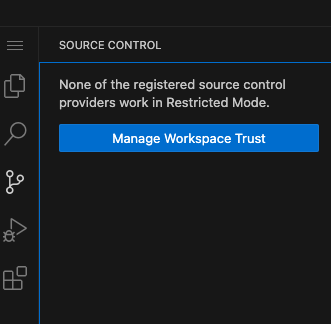
-
Then, you enter the commit message "My First Commit" and click on the Commit button to finalize your changes.
-
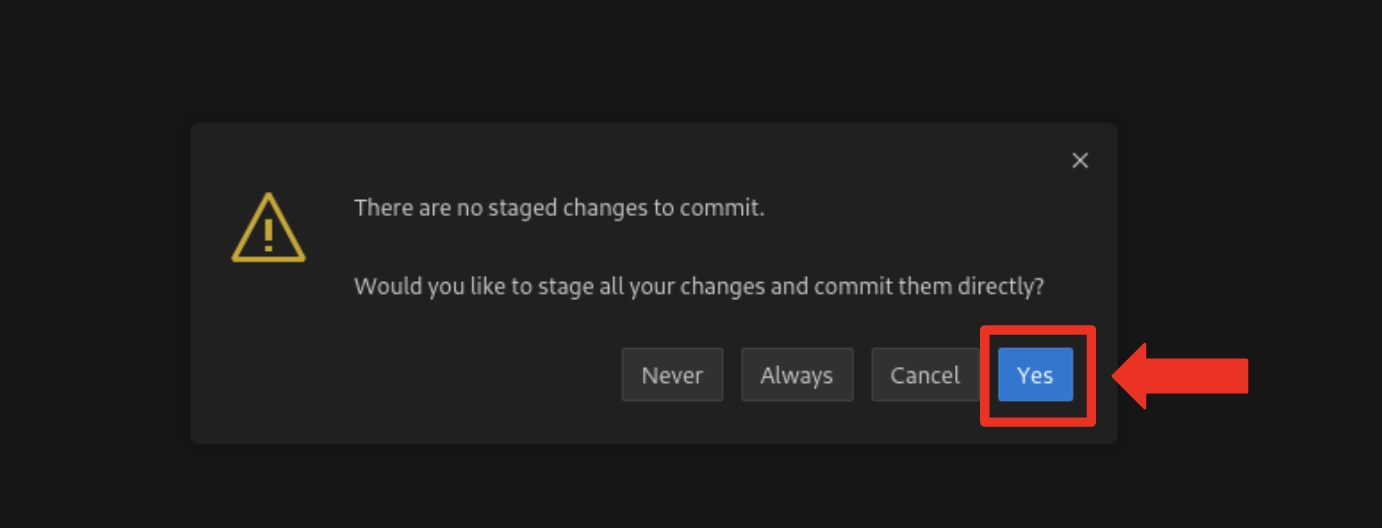
In the pop-up window that follows, you click Yes to stage your changes.
-
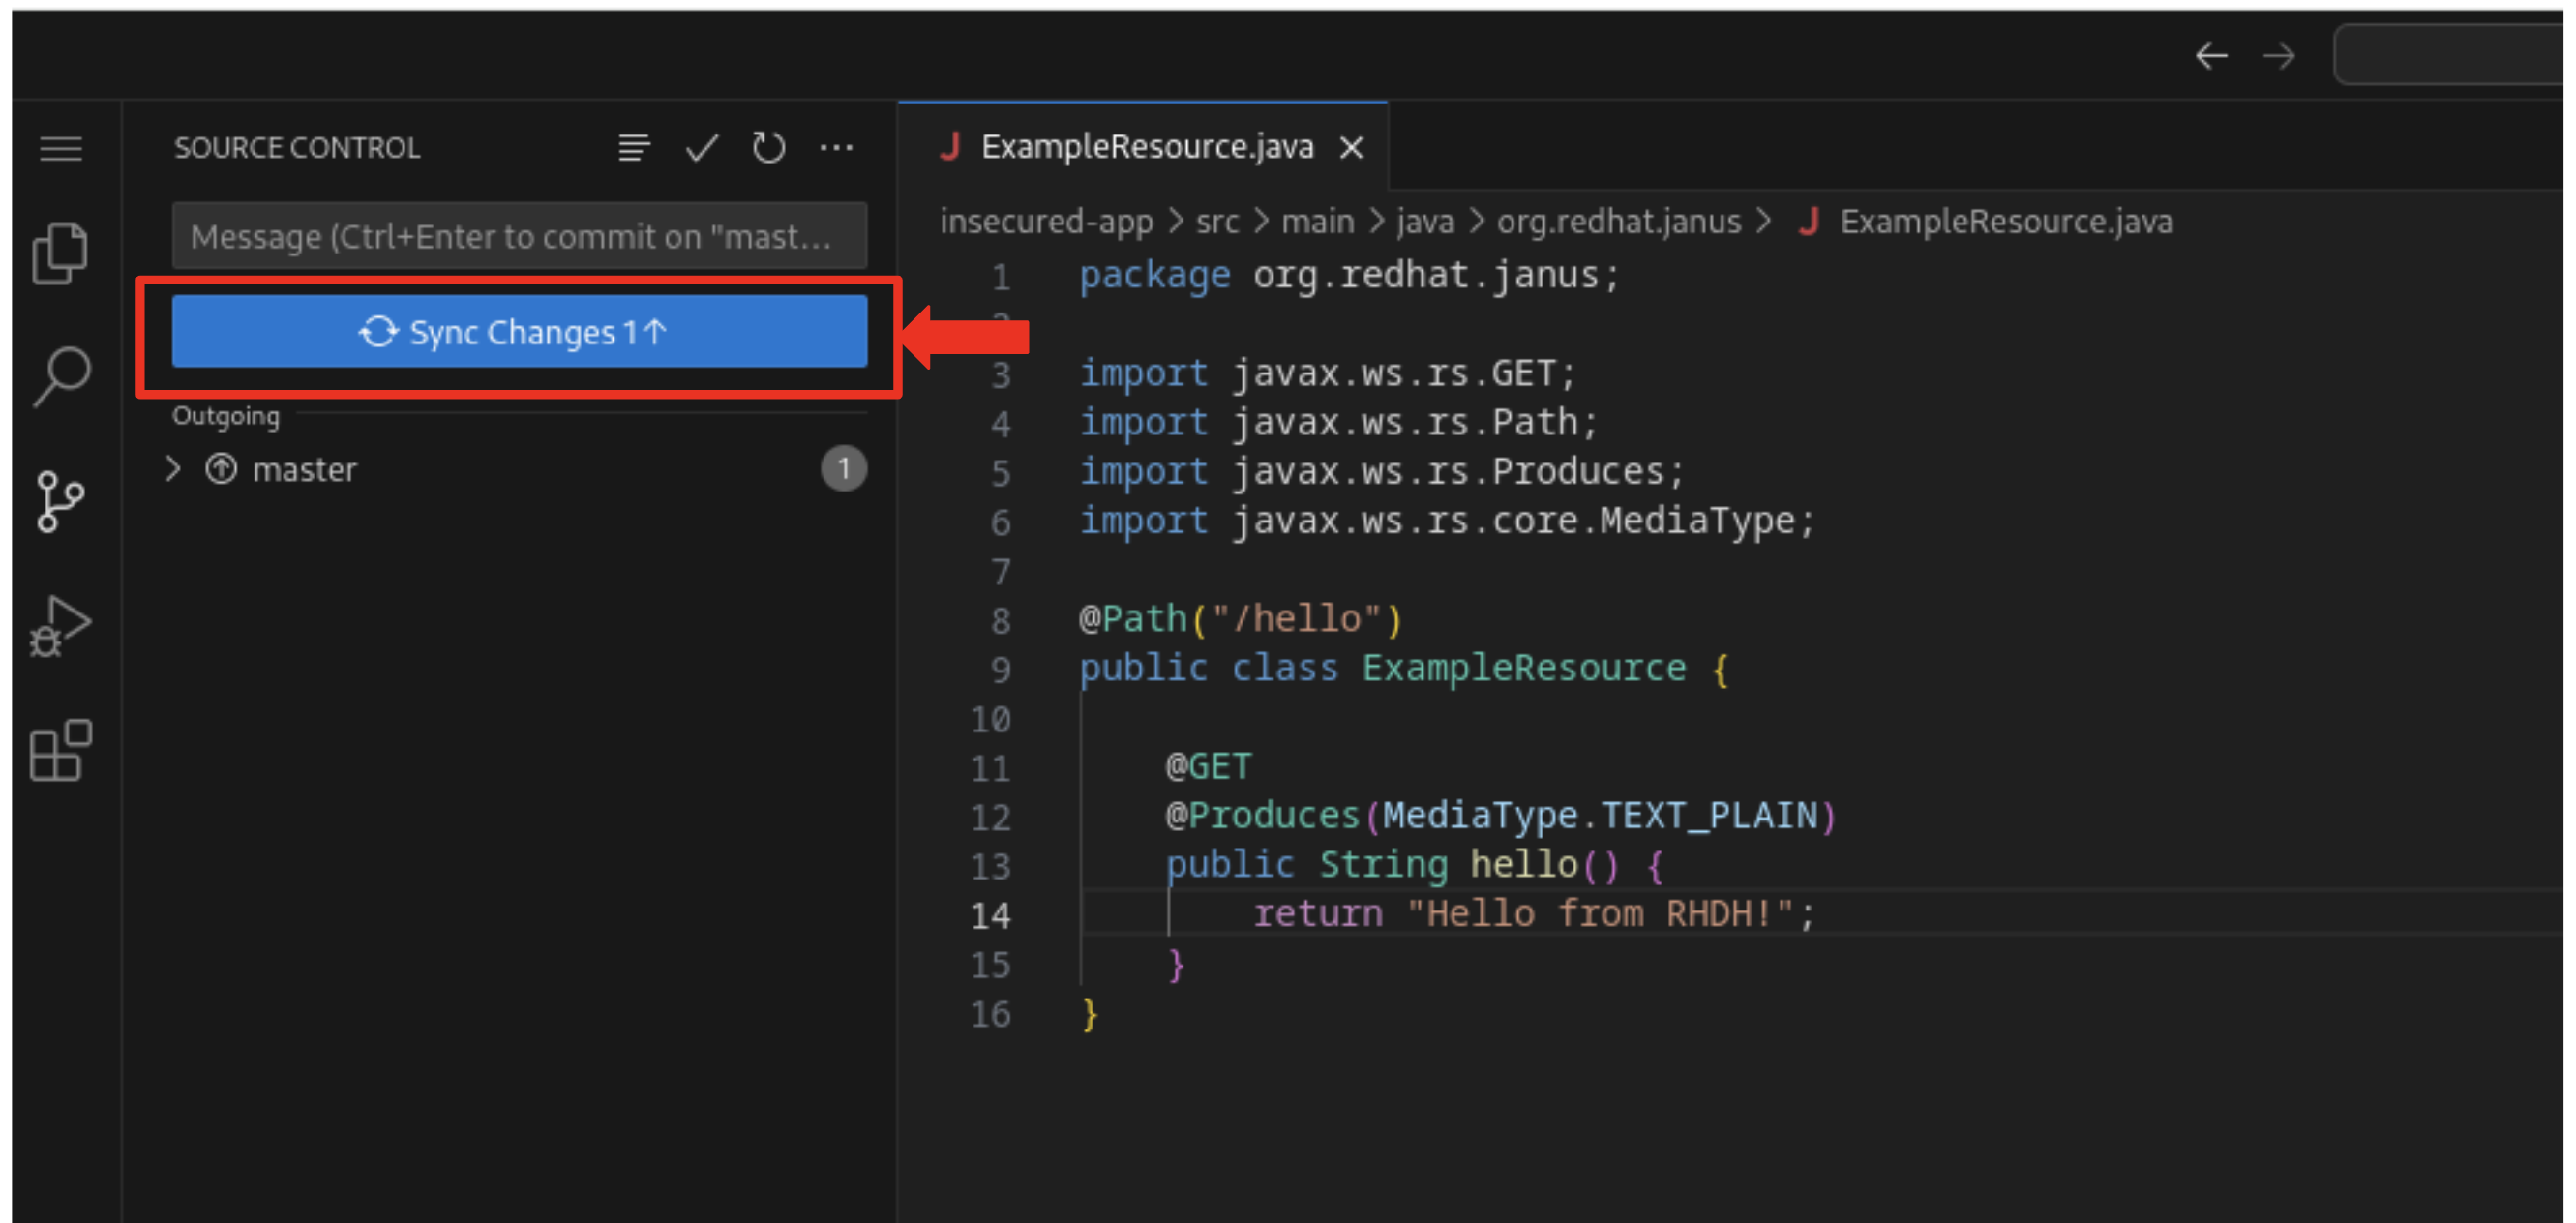
Finally, you click on the Sync Changes button.
-
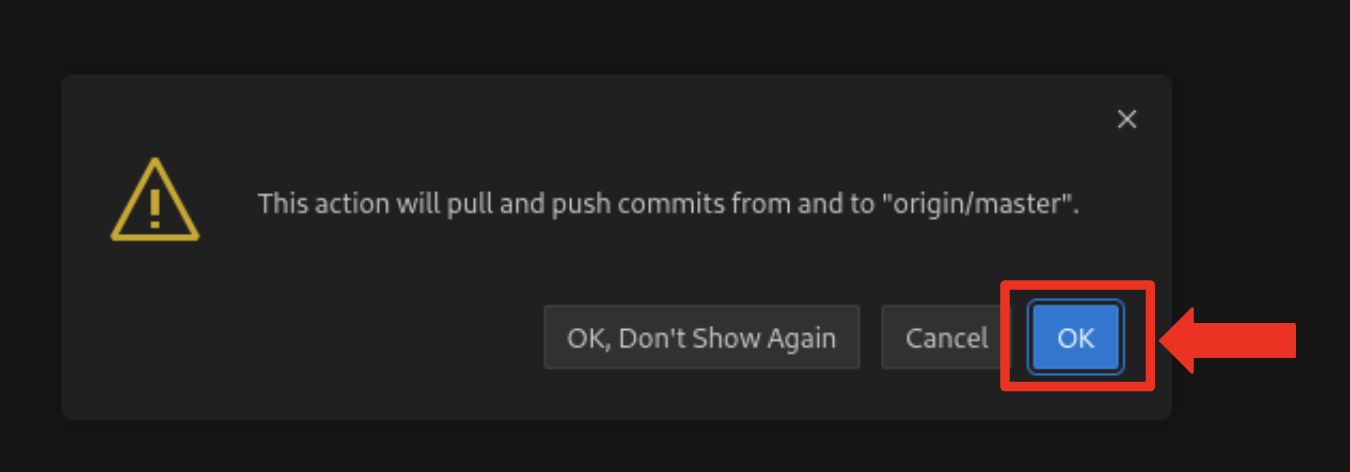
In the pop-up that follows, you click OK to push your changes and complete the process.
-
You’ve successfully implemented your change and updated the documentation in one commit, following the "docs as code" methodology where documentation is treated with the same level of care and under the same process as source code.
-
You are delighted by knowing that following this methodology ensures that your documentation is as current as your code itself.
-
Your commit triggers the build pipeline for your Quarkus application.
-
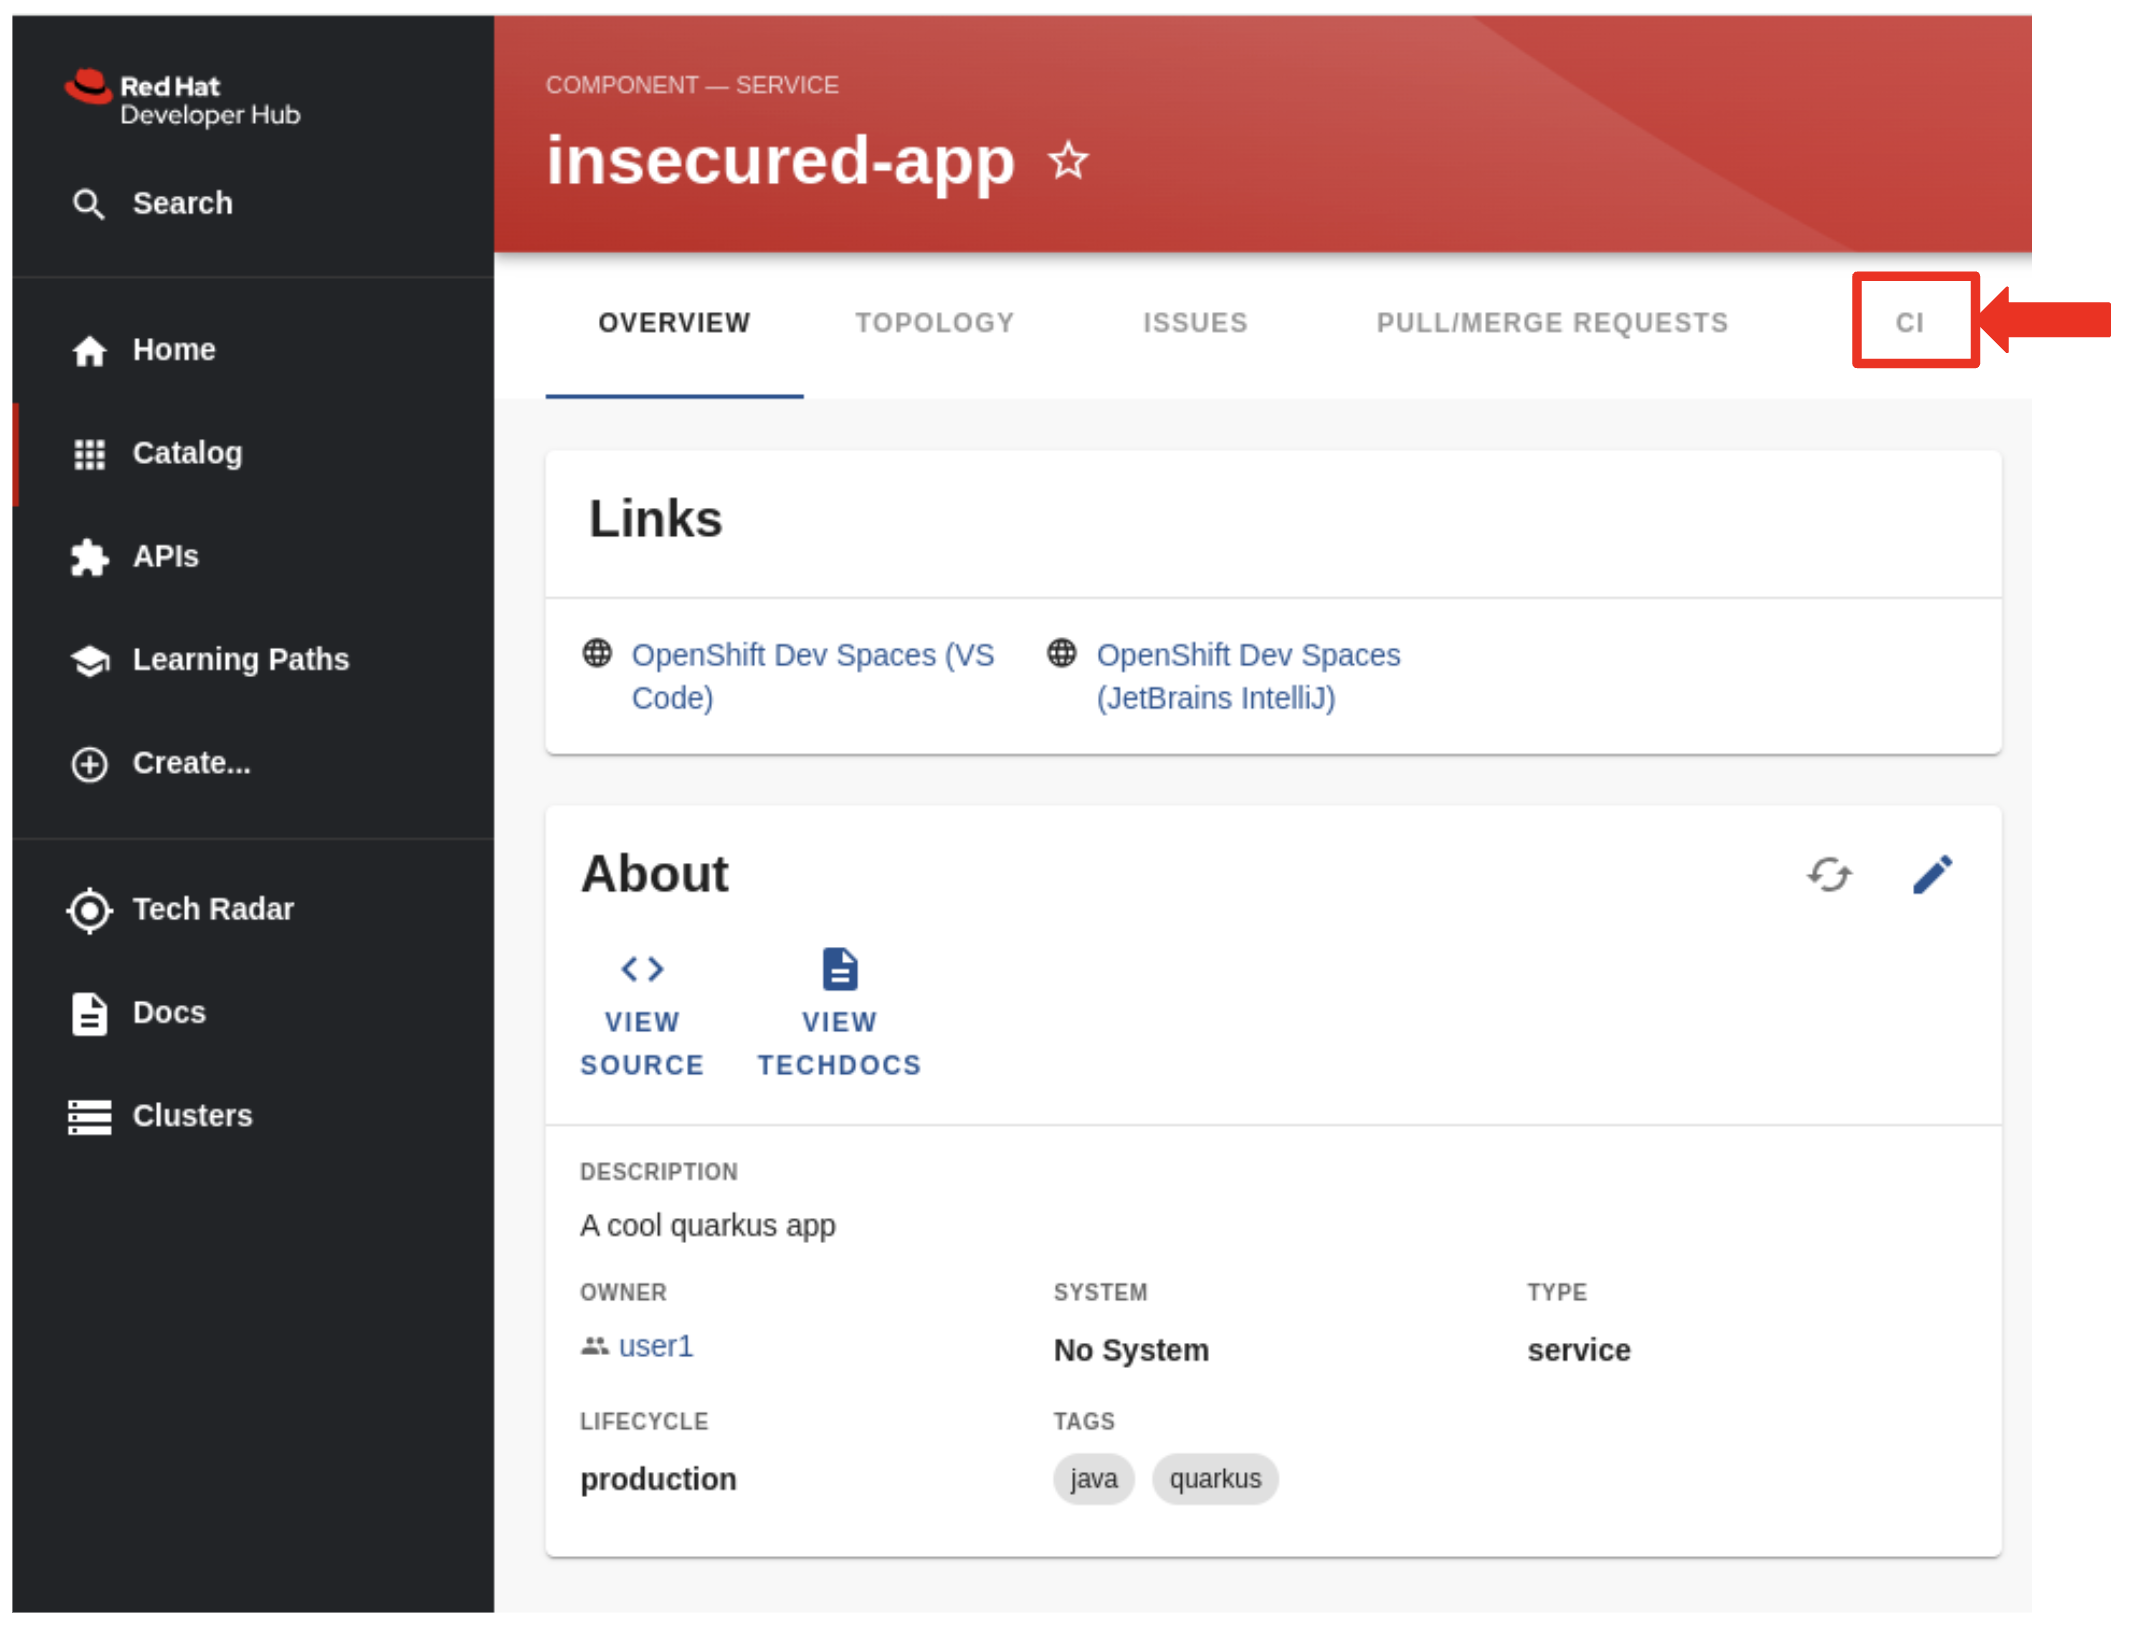
You switch back to the RHDH Dashboard tab in your browser and select the CI tab from the top menu.
-
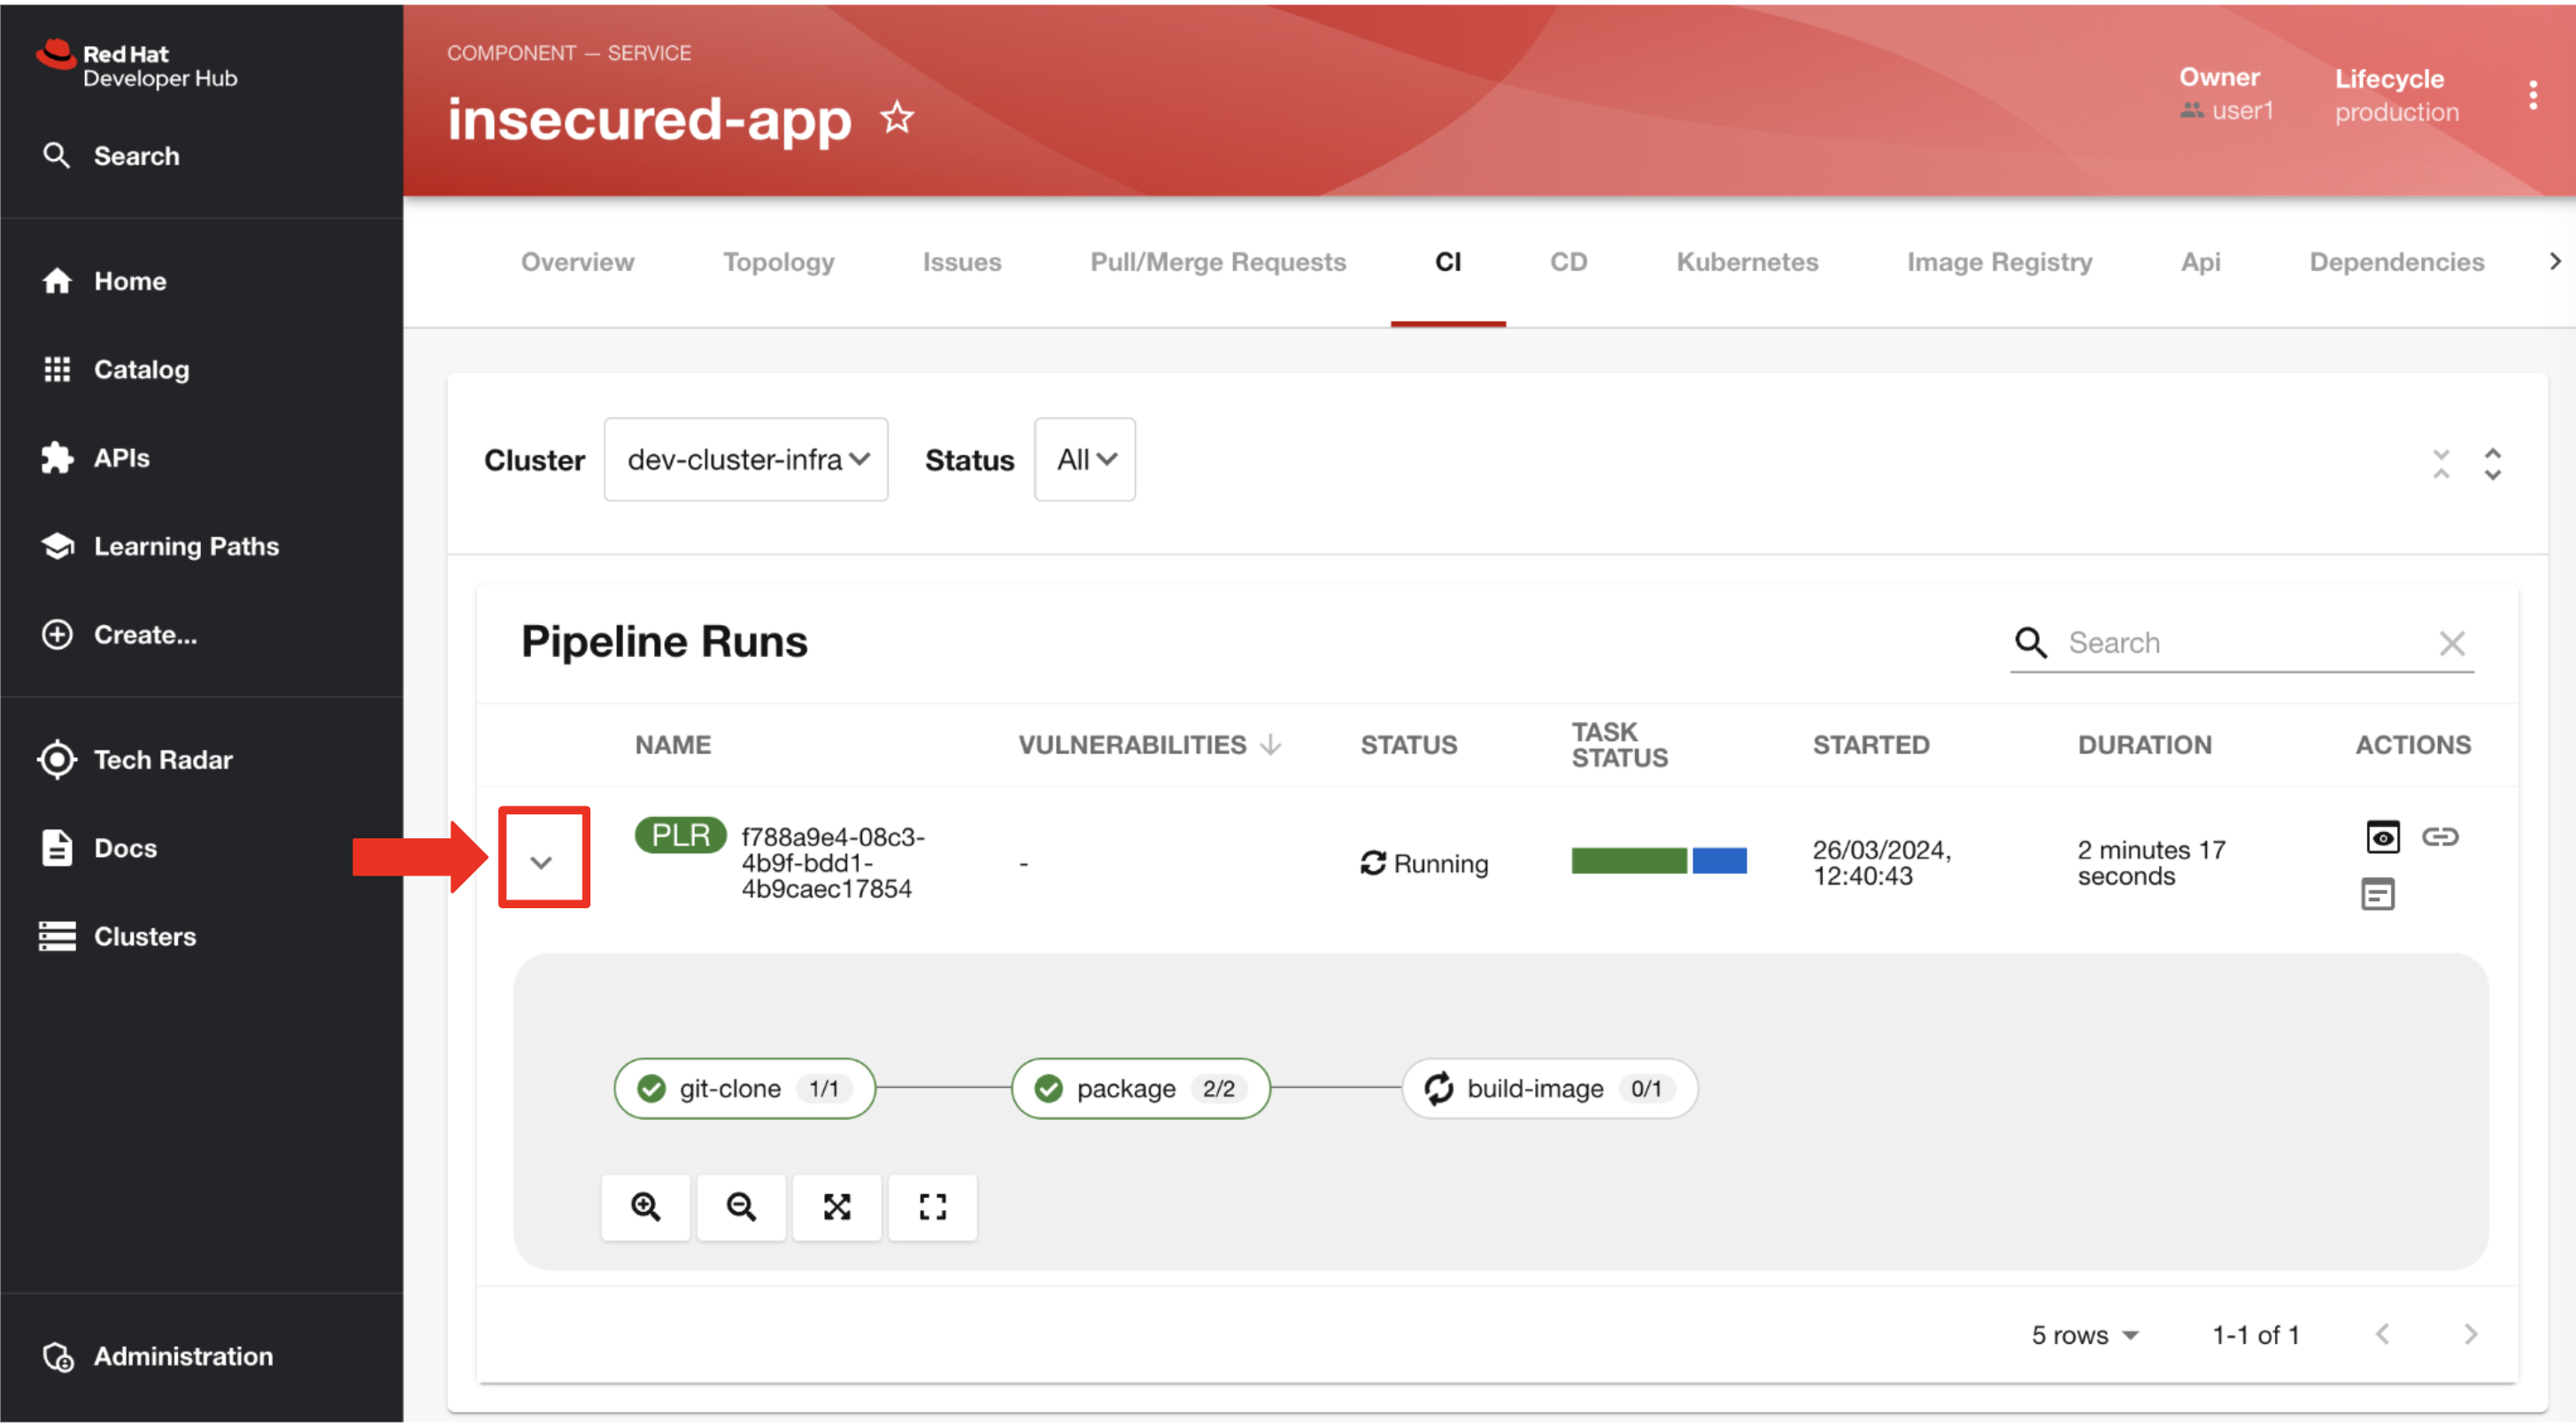
And just as you expected, a build pipeline has already been triggered.
-
You eagerly expand the pipeline view to monitor the progress of this pipeline run.
-
After a few minutes of anticipation, the pipeline run concludes, and the application image is successfully built.
-
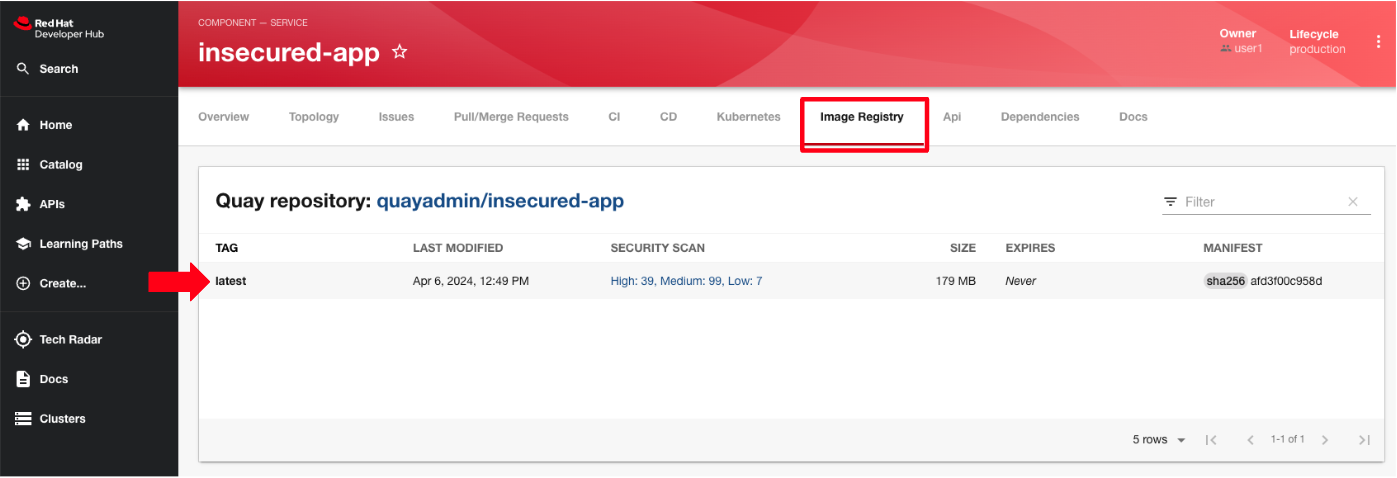
You select the Image Registry tab from the upper menu and confirm that your image has been pushed to the Registry.
| This is another plugin in action allowing RHDH to integrate with Red Hat Quay. |
-
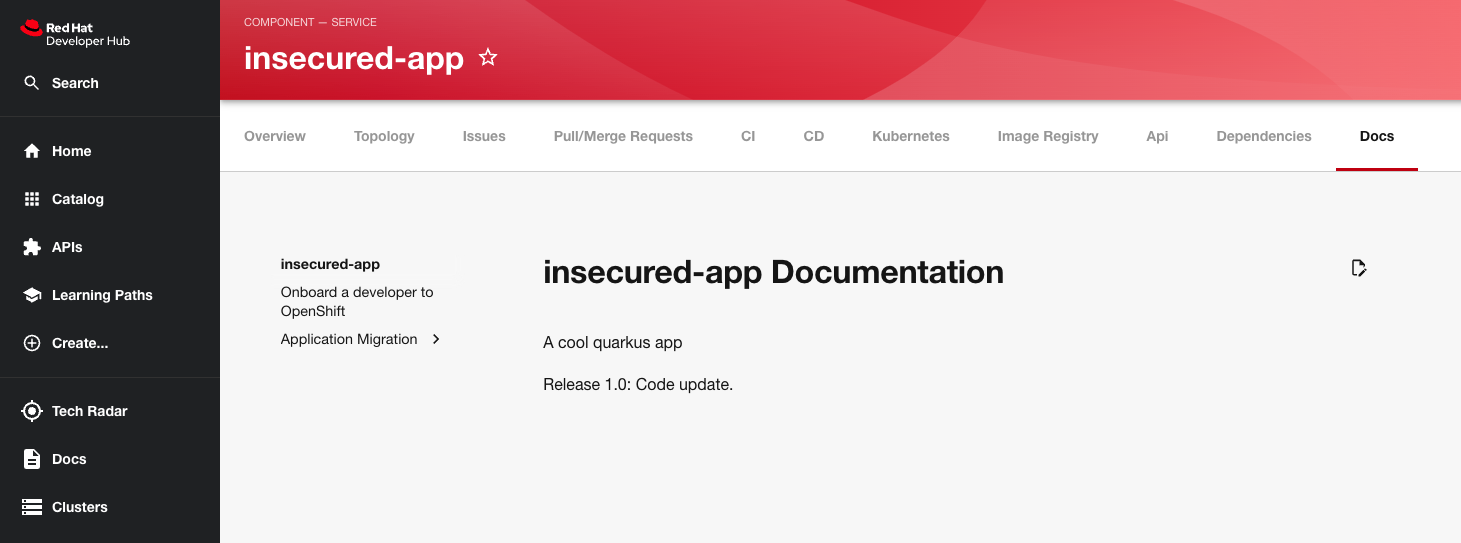
Finally you switch to the Docs tab and verify that documentation is up to date.
-
With a sense of accomplishment, your task now complete, you draft an email to the QA team, inviting them to begin testing your changes.
Chapter 1 - Summary
Our story unfolds with a bright-eyed developer starting his new role, welcomed by the innovative environment of the Red Hat Developer Hub (RHDH). This Internal Developer Portal (IDP), with its Golden Path Templates (GPTs) streamlined and automated his onboarding process. The GPT offered a self-service approach to project initiation, enabling our developer to quickly dive into his task, without the overhead of configuring the underlying technology of the development environment.
The next chapter of our story uncovers the risks associated with providing developers with the tools to create great code without the necessary security guard rails that are crucial for safeguarding the organization against security threats.