ACCELERATE APPLICATION DEVELOPMENT LAB GUIDE
DEVELOPER EXPERIENCE & POLYGLOT
The foundation of all successful modern applications is a stable cloud-native development platform. Our OpenShift Container Platform enables your developers to swiftly deliver an application wherever they need it. Inside of the console, a developer and operations admin each have their own console view to improve their focus and gain quicker access to the features they might need within that platform. Being flexible in what programming language to use allows the developer to use the right tech for their specific job, while providing unified packaging and management.
-
Navigate to the Application UI
-
Log in to your OpenShift Console with username
heroes_userand passwordheroes_password. -
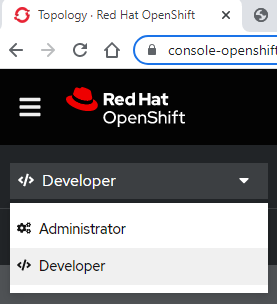
Ensure you select Developer from the dropdown.
-
Note: For the purpose of this lab, with multiple users accessing the same environment simultaneously, admin access is limited. When you deploy this solution on your own, you will likely have access to more Administrative rights than provided in this lab.
-
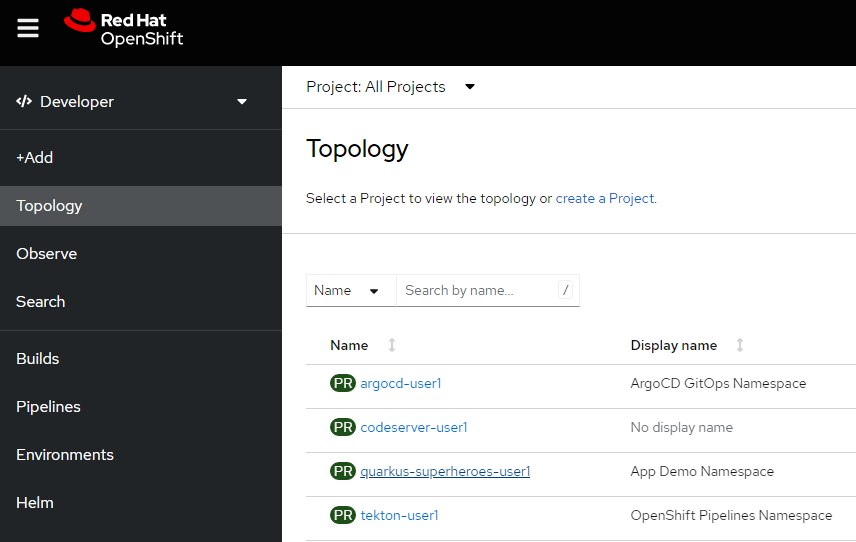
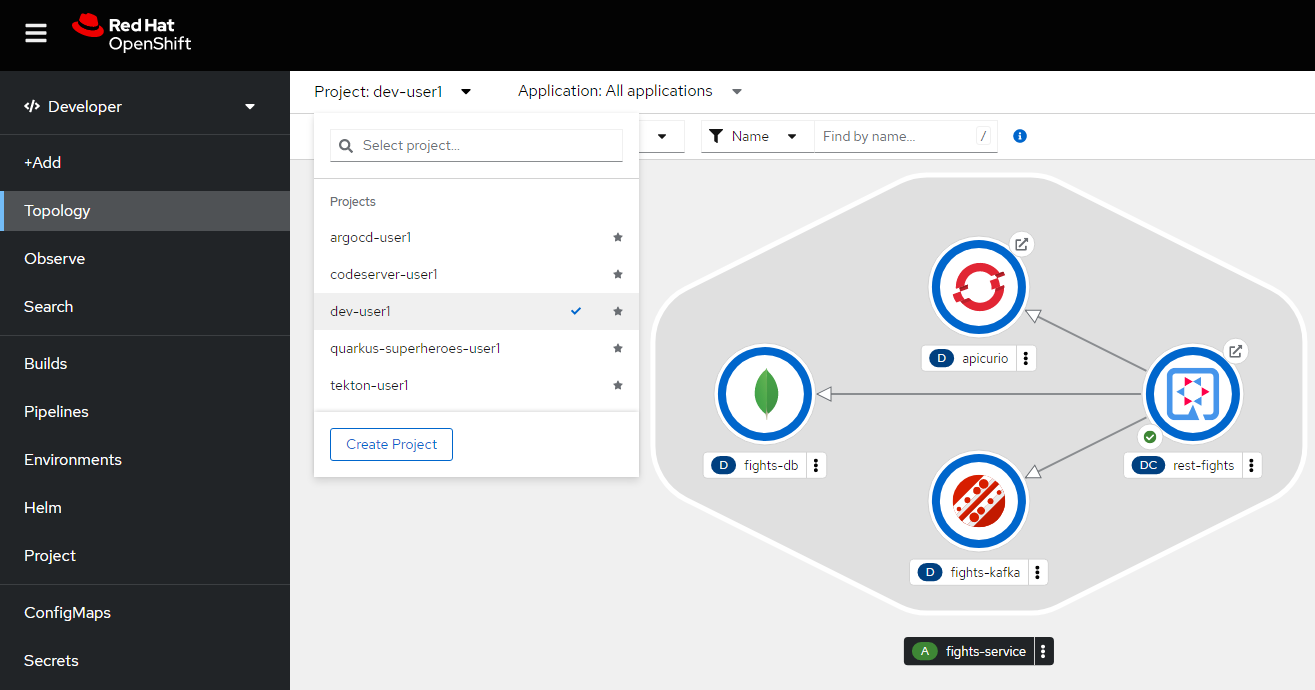
Select Topology in the left hand menu and choose quarkus-superheroes-
heroes_user
-
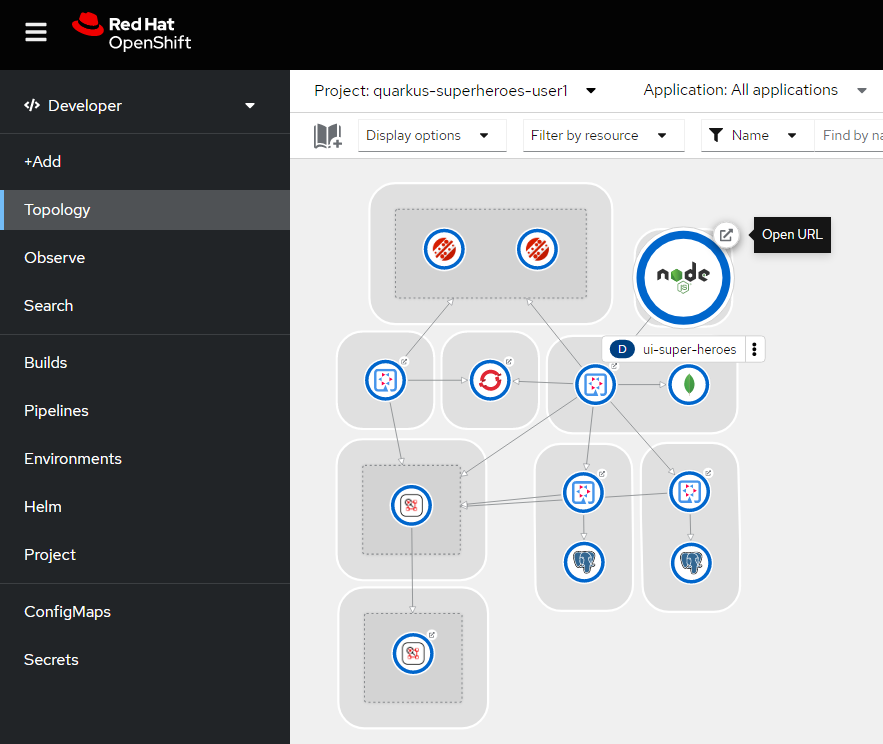
Locate and hover over the NodeJS icon, to reveal the OpenURL link - click OpenURL to open the application.
-
Alternatively, click here for direct access.
-
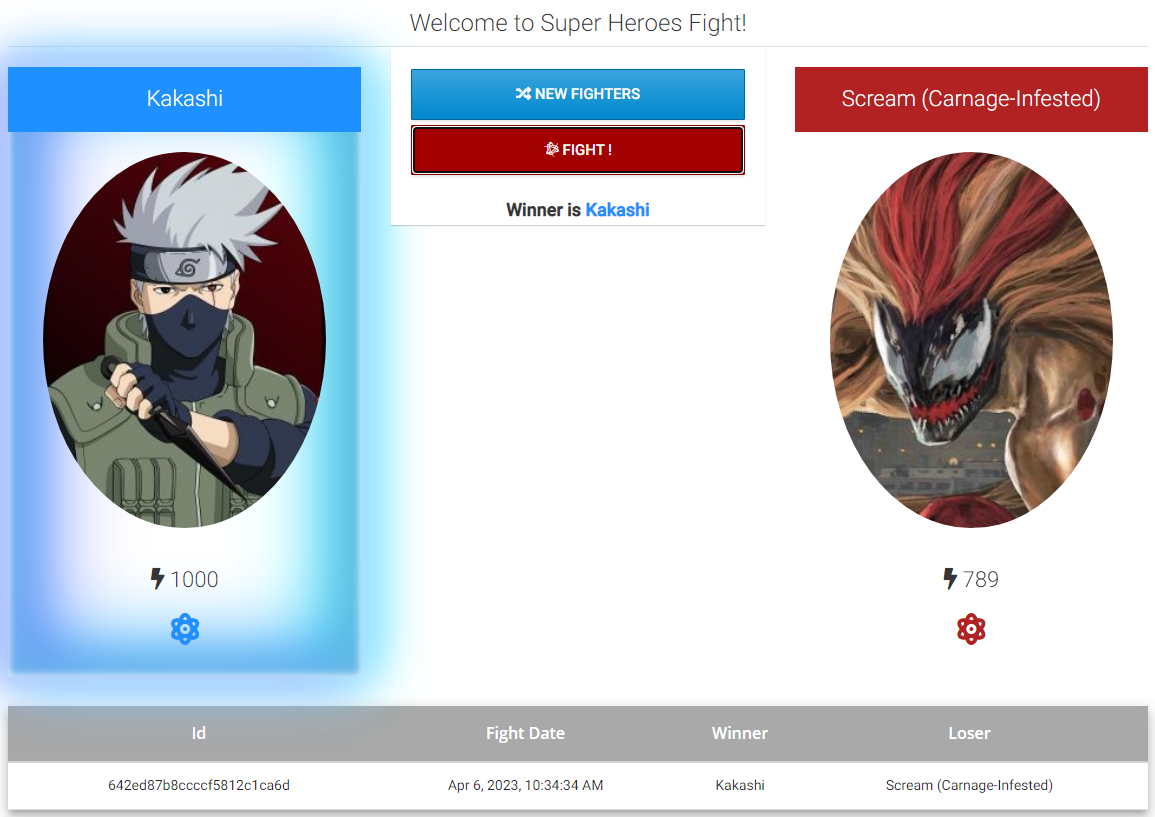
Run your first Fight
-
Two opponents are pre-loaded upon loading the application, but you can select New Fighters if you’d like..
-
Click the Fight button.
-
-
Take note of the following components involved in this activity:
-
A User Interface to display the application.
-
The Backend services, one that loads from Broker A (Hero), one that loads from Agent B (Villain) and one that runs a comparison between the two (Fight).
-
The Utility services, which are the microservices that keep track of the winner counts, etc.
-
-
Take some time to review the graphical representation of everything involved in this application.
-
Recognize the components we outlined in the presentation of this lab, and what we just encountered in our first attempt at running the application.
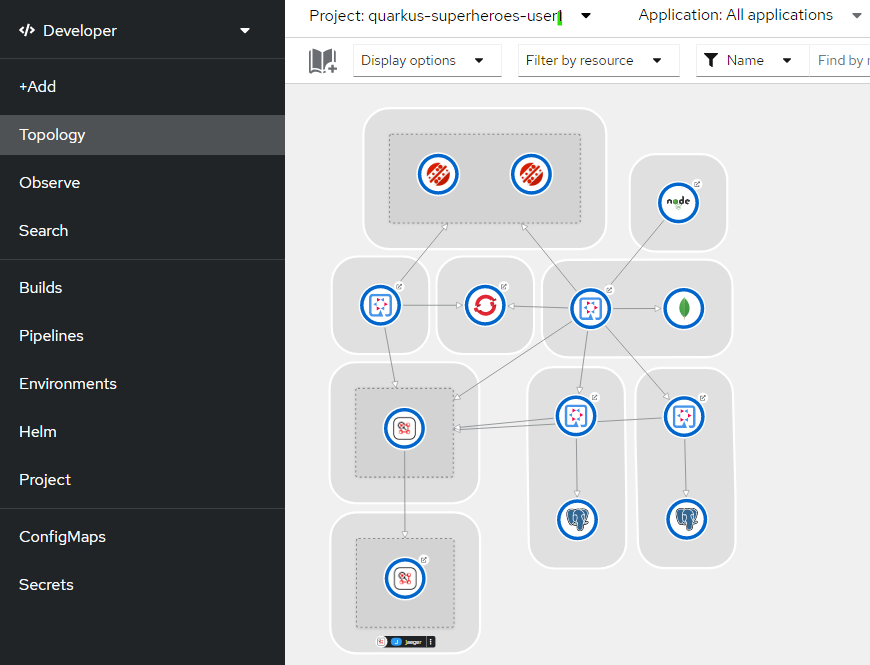
Developers can also examine the developer perspective, where they gain access to metrics, builds, pipeline, configurations, and most importantly the topology of the application. With this graphical representation, developers can quickly interpret all the available services, how they are connected, review their status and even access details about each available component.
Take a closer look at this topology. Specifically, you will find that all three backend services were written in Java, and our UI is based on NodeJS. OpenShift allows your developers to choose what the right language and the right framework is for the job at hand. Whether because of the available libraries, the nature of the framework, or simply because the developer has more experience with it, being able to use their preferred language is key to enabling them to deploy new applications with speed. This polyglot approach gives that choice and freedom back to the developers, while simultaneously unifying the way to manage them.
LIVE CODING
Improve and expedite the inner loop development process with live coding where code changes are automatically reflected in your running application. In essence:
CODE → REFRESH BROWSER → REPEAT
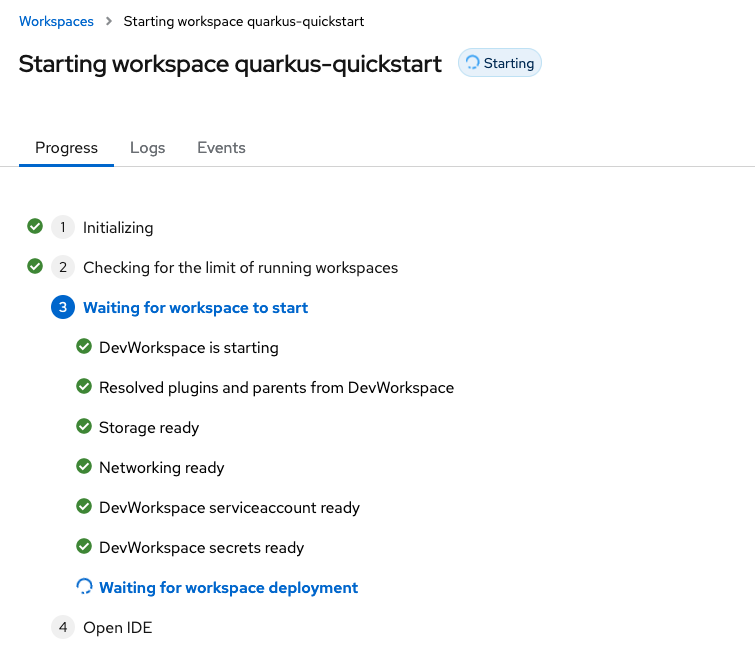
We are going to use OpenShift Dev Spaces to work with the application code.
-
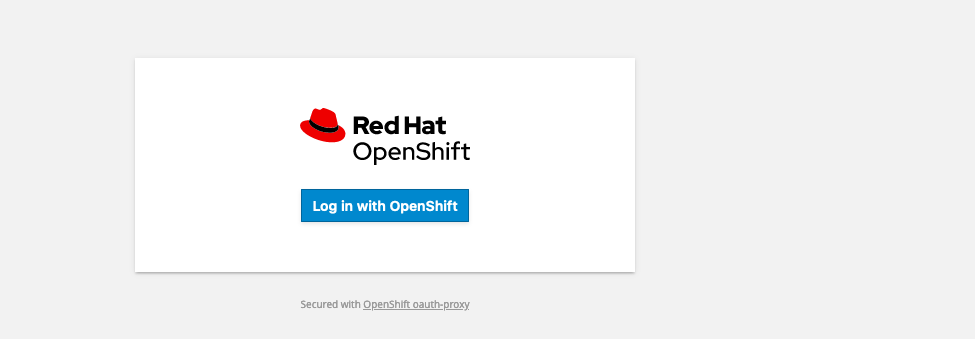
Open your instance of Dev Spaces here and log in with your OpenShift credentials.
Click on Log in with OpenShift
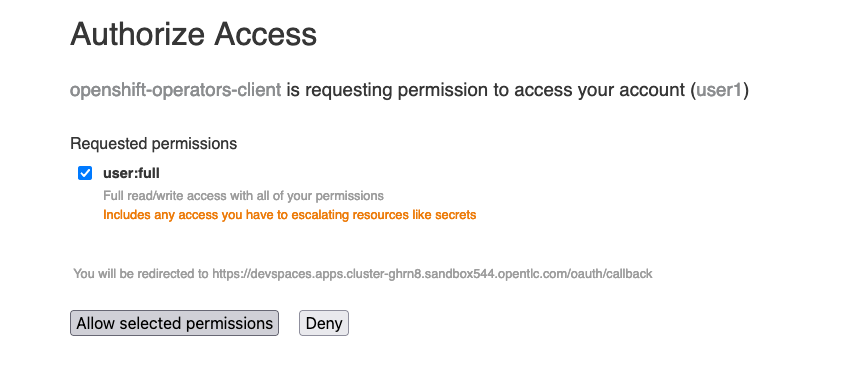
Log on again to OpenSift when prompted as heroes_user, it will take us to the Red Hat OpenShift Dev Spaces dashboard, where we will create a our workspace, but first we need to authorize the operator to access our user account by clicking on Allow selected permissions.
-
We will create the workspace from the code that is in our Gitea repo. Copy this URL
gitea_console_url/gitea_user/quarkus-super-heroes/raw/branch/rhbq-3.2/devfile.yamlpaste it in theGit Repo URLfield and clickCreate & Open
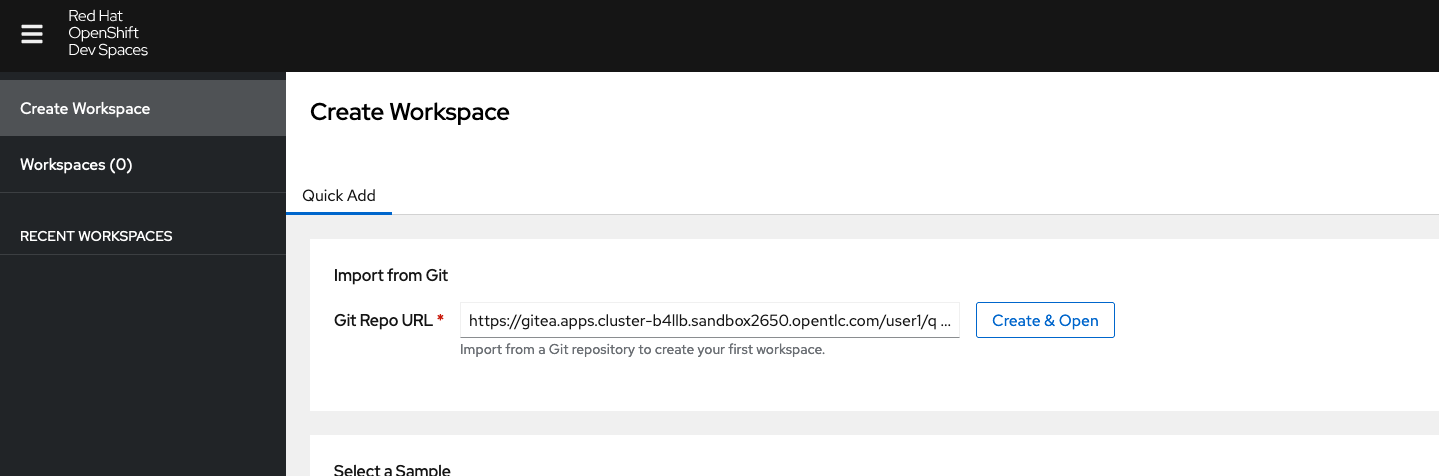
A list of tasks and its progress will be displayed.
When the process is finished the Quarkus workspace will open in an IDE. Click on Clone repository
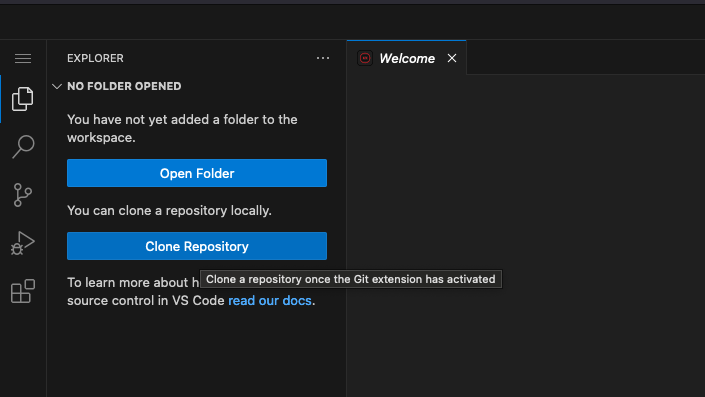
And paste the Gitea repository URL with the code for the Super Heroes application gitea_console_url/gitea_user/quarkus-super-heroes.git

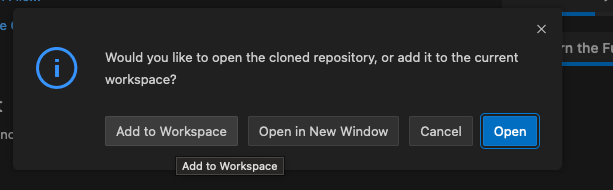
Choose the default destination folder to clone the rep

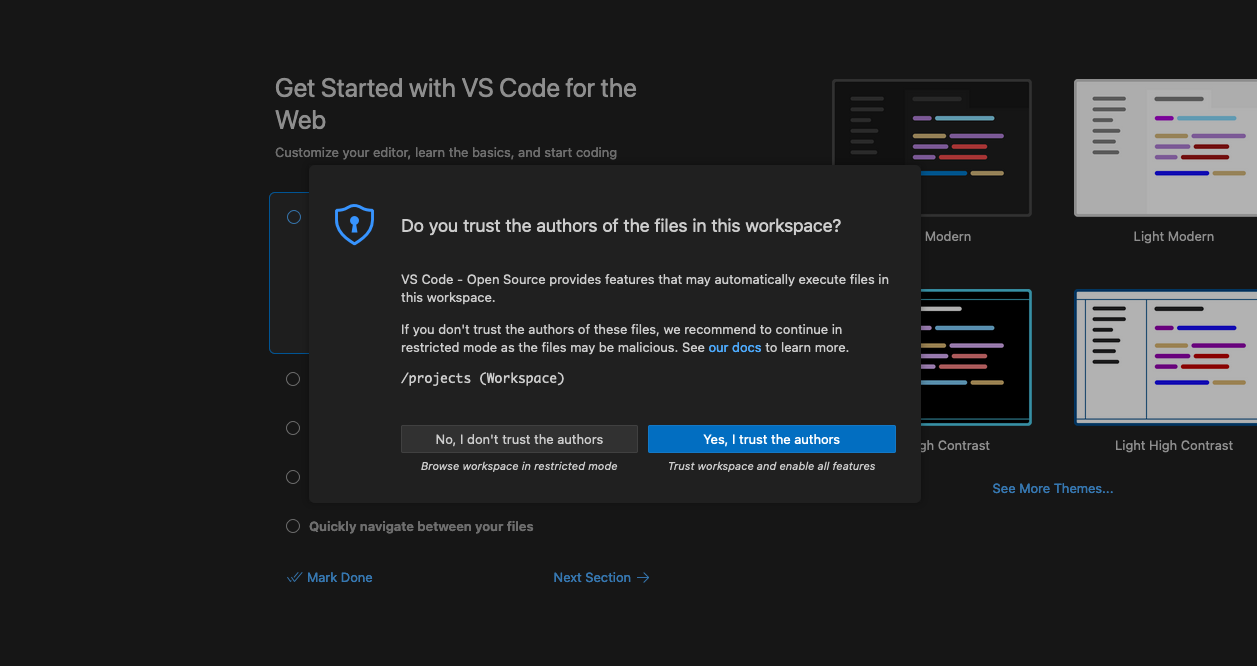
And click Add to Workspace when prompted as well as on Yes, I trust the authors
-
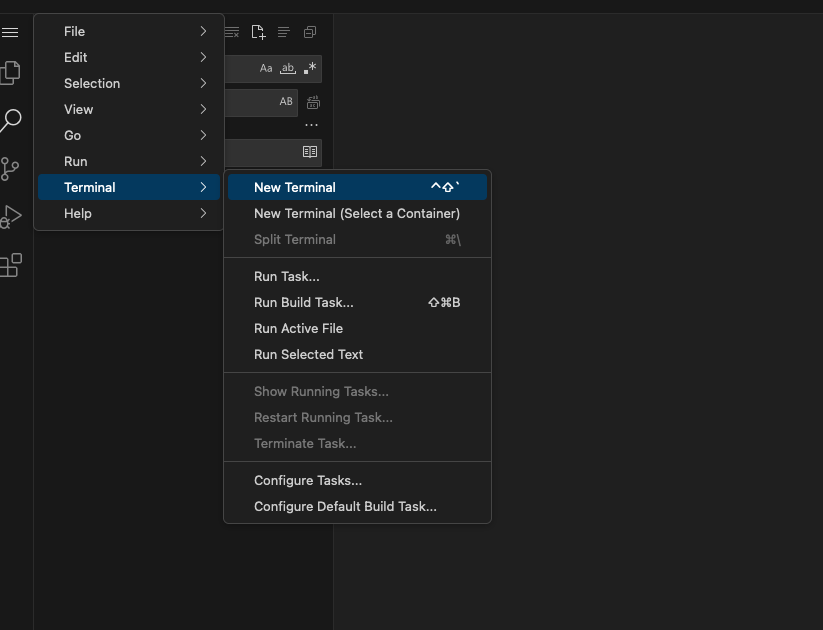
Now we are going to build and deploy the application. Open a new terminal by going to [Terminal] → [New Terminal] on the menu bar present on the top left menu.
-
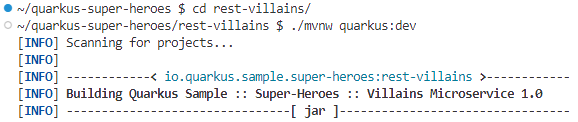
Navigate to the folder with the rest-villains code by typing in:
]$ cd quarkus-super-heroes/rest-villains
-
Run:
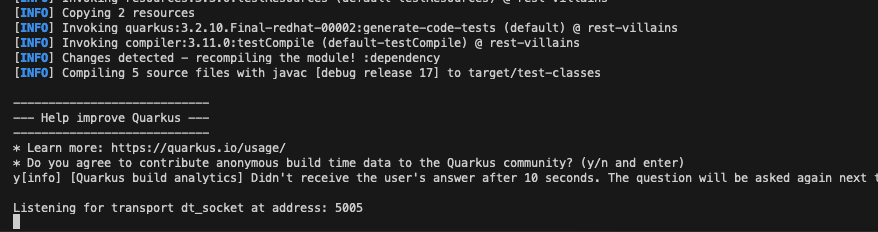
]$ ./mvnw quarkus:dev
Type y when prompted if you want to contribute with anonymous build data to Quarkus community.
-
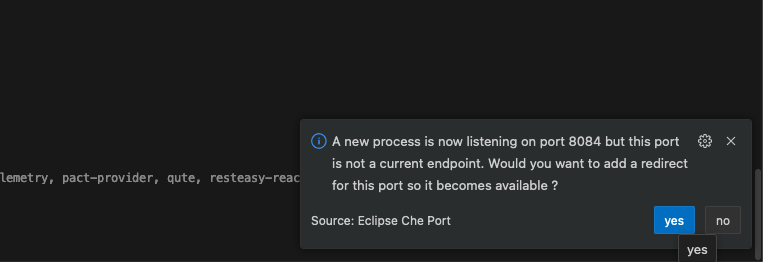
Once this completes, a pop-up will appear to redirect the port of the application. Click
yes.
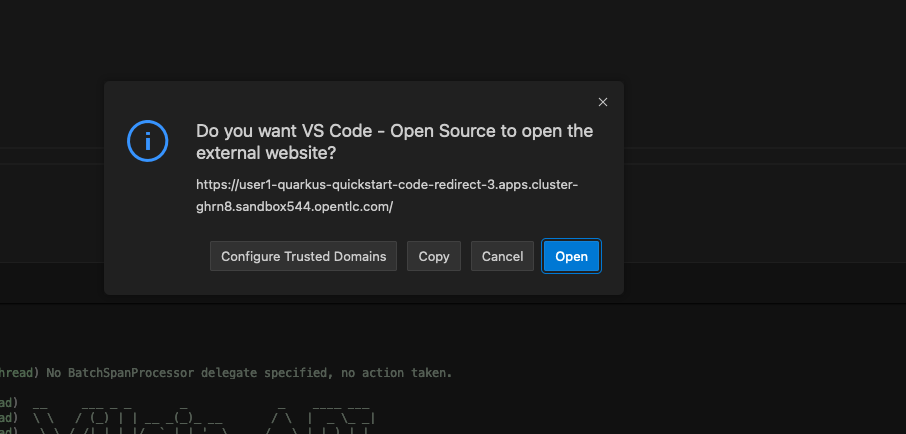
Another pop-up will ask if you want to open the URL to the application. Click on Open In New Tab.
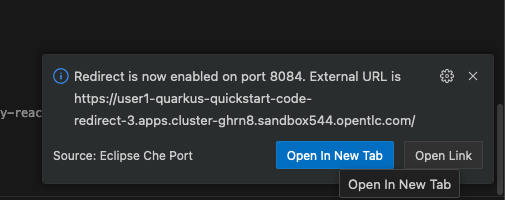
And confirm.
Add /api/villains/hello at the end of the URL of the application.
Note: Take note of the response “Hello Villain Resource”
-
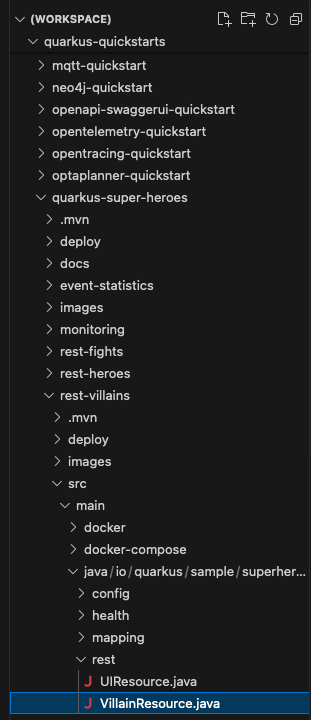
In your workspace on the left hand side of the window, open the rest-villains folder, and branch down through the following sequence rest-villains/src/main/java/io/quarkus/sample/superheroes/villain/rest/VillainResource.java
-
Down in line 257, replace the implementation of the hello() endpoint to: return "Hello Summit 2024!";

-
Flip back to the browser and refresh the page to see your result changes.
That’s it! We just experienced the ability to build or change an application with no need to compile. This enables developers to swiftly deliver an application wherever they need it.
CONTAINER HELP
Quarkus does all of the heavy-lifting and integration for developers when developing and testing their applications. For example, Quarkus supports the automatic provisioning of unconfigured services, removing the provisioning and configuration hassle.
-
Create a new project:
-
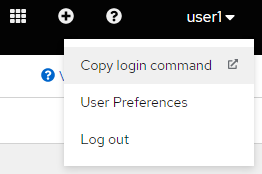
In the OpenShift Console, click your user in the top right corner, and select Copy Login Command. (This will use your same credentials as earlier)
-
-
Click Display Token hyperlink, and copy the oc login command under “Log in with this token”

-
Open a New Terminal in your DevSpaces worksapce, and paste the oc login command you just copied.
-
Alternatively, login directly with you username and password:
]$ oc login -u heroes_user -p heroes_password heroes_openshift_api_url
-
Type the following to create your new project:
]$ oc new-project dev-heroes_user
-
Navigate to the rest-fights code folder:
]$ cd /home/user/quarkus-super-heroes/rest-fights/
-
Run:
]$ ./mvnw clean package -DskipTests \
 -Dquarkus.kubernetes.deploy=true \
 -Dquarkus.kubernetes.deployment-target=openshift \
 -Dquarkus.container-image.builder=openshift \
 -Dquarkus.openshift.resources.limits.memory=2Gi \
 -Dquarkus.openshift.resources.requests.memory=256Mi \
 -Dquarkus.kubernetes-client.trust-certs=true
Note: This will take a few minutes while it deploys a fresh kafka instance back to the namespace, even though the Strimzi instance is still there. The rest-fights app will now be configured to use the new single-pod instance.

-
Flip back to the Topology in your OpenShift Console, switch to your new Development Project and note all of the resources deployed in this new project.
Developers can focus on code without having to touch containers, leaving all the packaging to quarkus plugins, as it can redeploy applications directly to the development env on cloud.
SELF-PROVISIONING
Finally, we have the ability to self-provision services. This allows greater efficiency by enabling your developers to focus on the code rather than the logistics. Developers are now able to take full control over their infrastructure and application configuration, while being shielded from the underlying complexities of the cloud providers and services. As an example, if I need another database, I can simply provision another database using a template or operator. There is even a UI guiding you through the process, and the provisioning and configuration can be exported as code that can be reused later for DevOps.
-
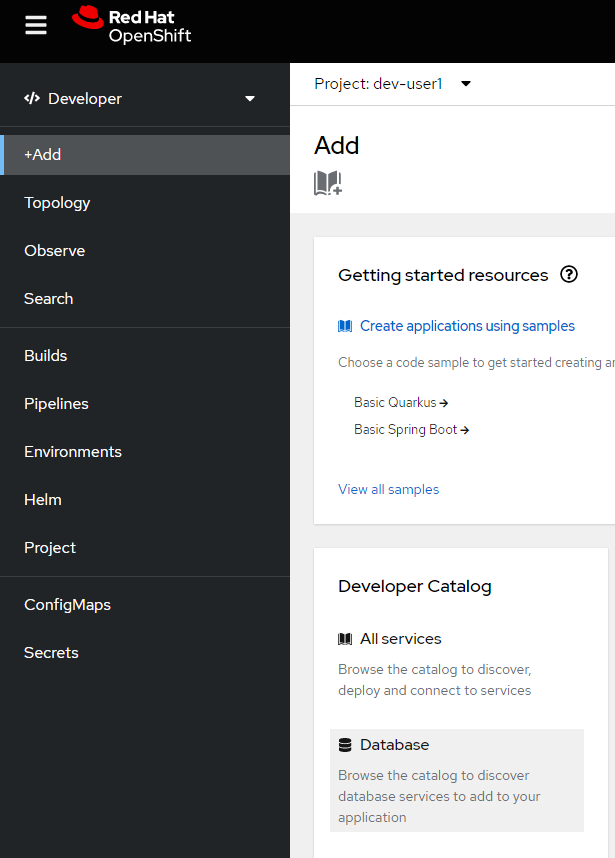
Go to the OpenShift Console and make sure you’re still in the Developer perspective.
-
In the newly added development project dev-
heroes_user, Click +Add on the left menu-
Select Database in the Developer Catalog
-
-
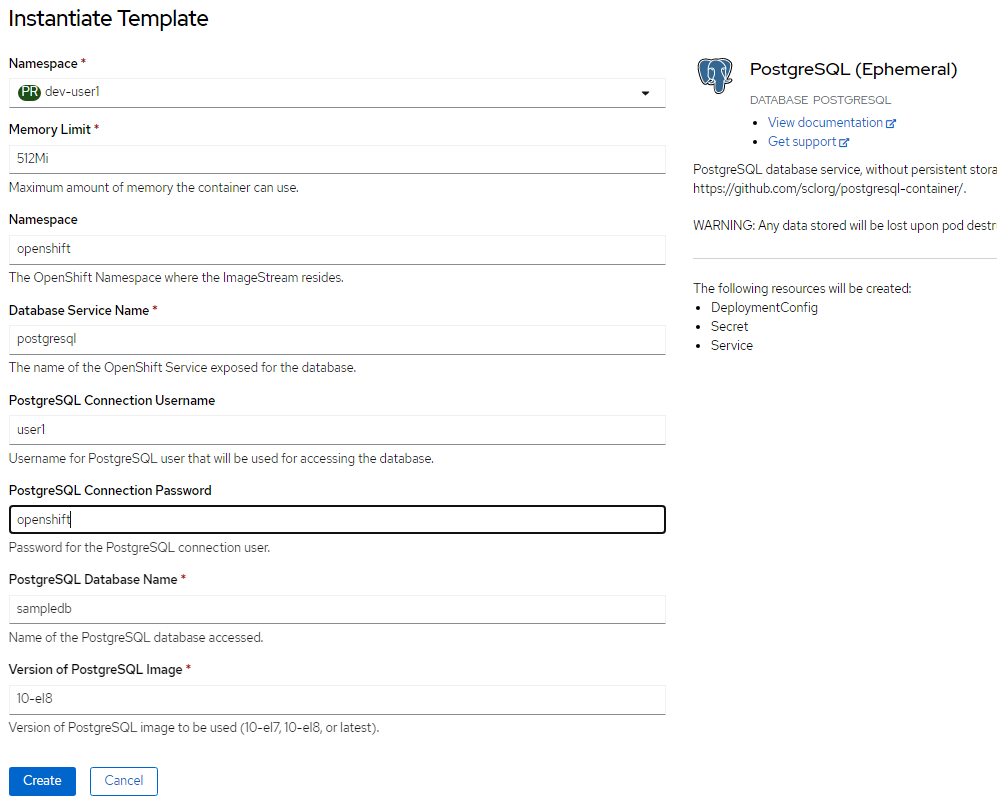
Choose PostgreSQL (Ephemeral) Template
-
Click the Instantiate Template button at the top
.png)
-
Enter a Username + Password of your choice in the Instantiate Template page. Everything else default is fine for this demo.
-
Click Create
-
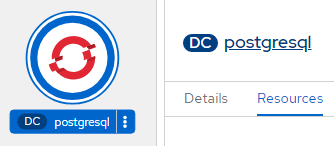
Back in the Topology identify your new database
-
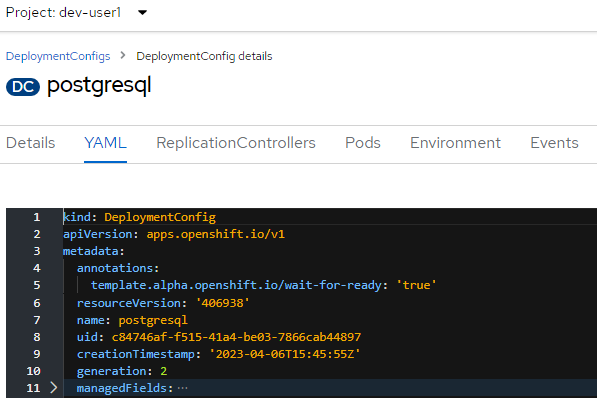
Select the DB, click the DC postgresql hyperlink by hovering over the label in the top right, and navigate to the YAML tab
-
-
Here you can see and/or make changes to the deployment config yaml file for this newly provisioned database
That’s it! You’ve just self-provisioned your new database.